


[RM2K3] LOWER LAYER NO LONGER SHOWING
Posts
Pages:
1
I had started on a small game a few years back, let it gather dust for a while, and a few days ago started to work on it again. I was fixing some edits in the map itself, and once I imported the new tileset, every time I clicked on the upper layer, it ONLY showed the upper layer, as opposed to the upper layer overlaying the lower layer. Testing with gameplay only shows the upper layer.
Here are some screenshots to show this better:
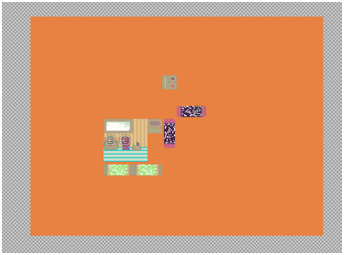
The lower layer:

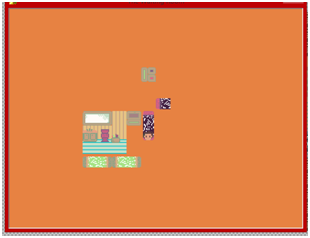
The upper layer:
Test play:
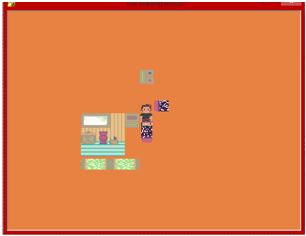
In the second test play screenshot, you can see how the avatar gets cut off when you move it onto where a floor square is supposed to be.
Any help is greatly appreciated!!
Here are some screenshots to show this better:
The lower layer:
The upper layer:
Test play:
In the second test play screenshot, you can see how the avatar gets cut off when you move it onto where a floor square is supposed to be.
Any help is greatly appreciated!!

With or without the star, you should not be able to see that orange. Your transparency is probably broken in your image files. Make sure they're saved as PNG and reimport. 2k3 understands JPEG or PNG, but only PNG can save in layers, which is why any images you use need to be PNG (also, JPEG has a bunch of data loss, lowering the quality of any image you save as JPEG). Use the actual 2k3 importer because it will let you choose your transparent color. When you import, it will show you a preview of what you're importing. Click on the color you want transparent.

If you find rm2k3's import feature cumbersome (I certainly do), you may try out this utility instead. With it you can simply drag/drop image files and it will automatically figure out your transparency color issues (at least in the majority of cases). Just remember to have a backup of all of your files because the utility will overwrite them.
https://rpgmaker.net/engines/other/utilities/184/
https://rpgmaker.net/engines/other/utilities/184/
Pages:
1

