


 Add Review
 Subscribe
 Nominate
 Submit Media
 RSS
RSS
- Summary
- Blog
- Images
- Reviews
- Media
- Game Manual/FAQ
- Worldmap
- What People Are Saying
- Downloads
- Play Lists
(SSLP) Chapter 1 - Blucia and the Tower of Doom
 Liberty
- 01/15/2015 09:02 AM
- 1260 views
This Let's Play is being shown on the Something Awful forums. There are some participation elements, such as naming characters and creating teams, but what is posted here on RMN will be old updates. If you'd like to jump in and participate, check out the thread here.
Apologies if I give the wrong information in parts. I'm working off memories of the game as well as lurking through the game itself (yay for unlocked games!)
===============================================================================
Update 01 - Loot up and Suit up!
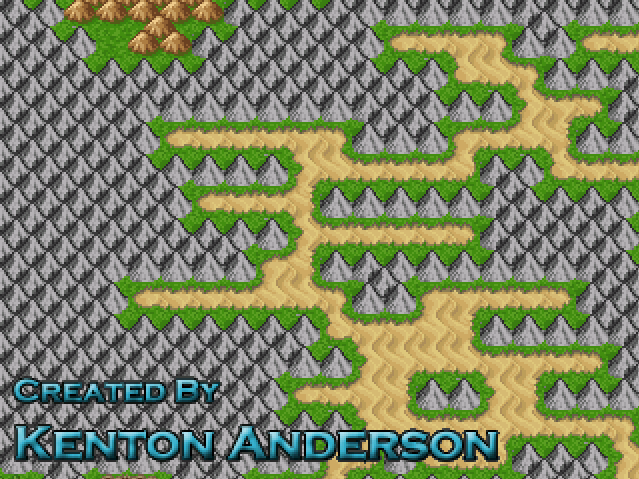
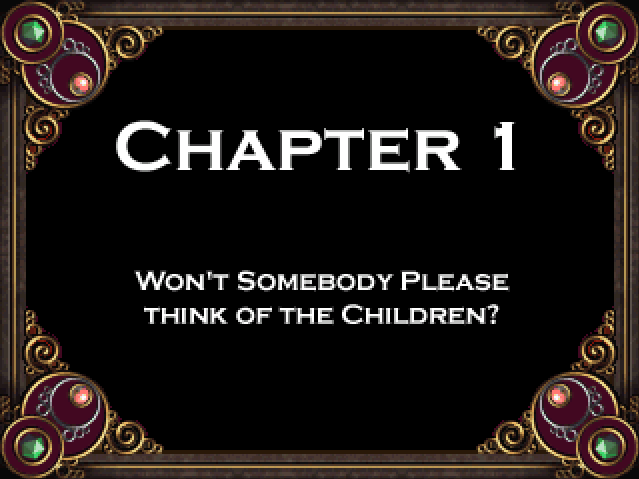
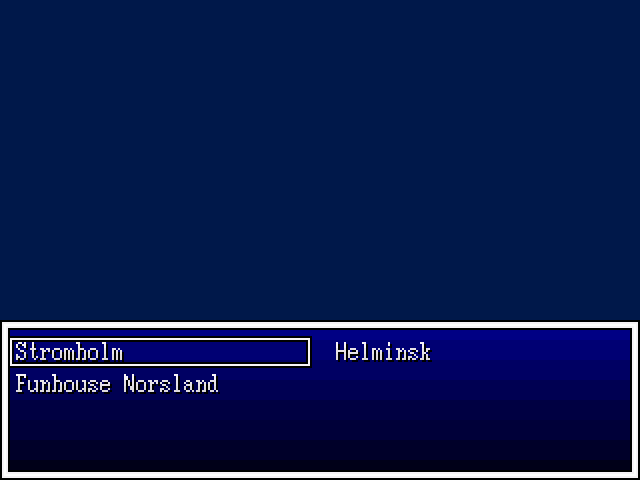
Let's start with the typical title screen. As an RM2K3 game, there's not much you can do with the title screen - just change the window graphic, music and background image. That said, this is a nice piece, considering that 2k3 games are stuck with 256 colours. Yikes!
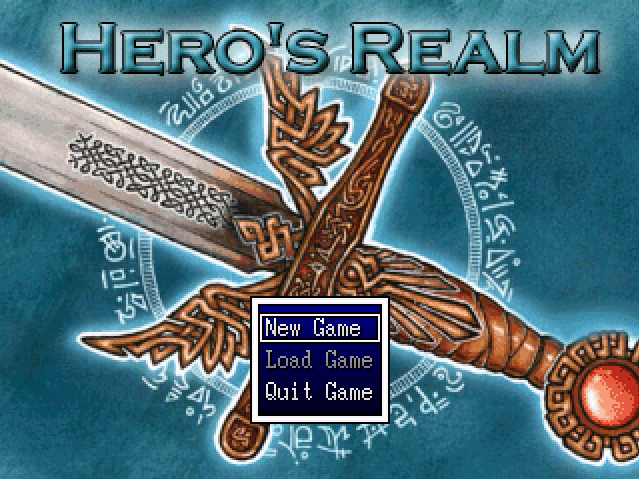
Gotta appreciate the choice. We're not going to be taking it, though, but thankfully the opening is pretty short, so...

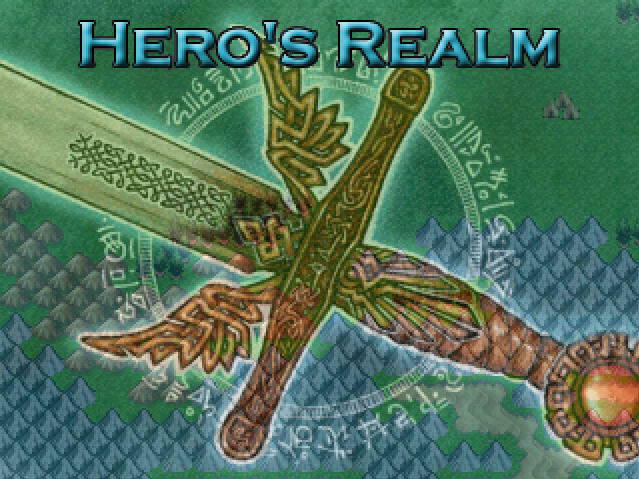
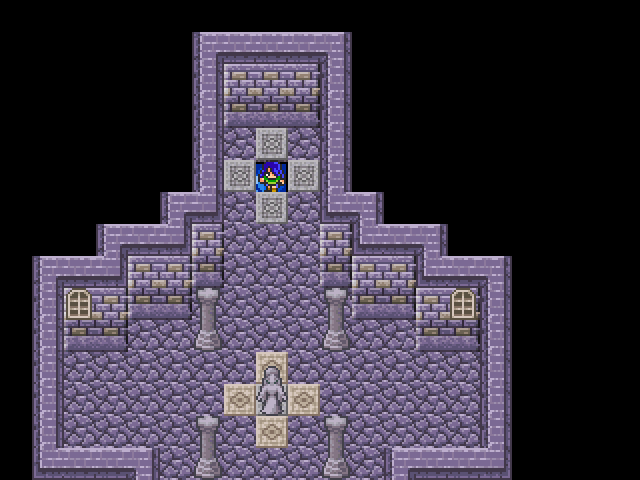
The screen scrolls down, with the image of the main icon super-imposed over the map. There's a castle there. We'll probably visit it at a later date.
A better look at the logo. It's nice, considering the colour depth issues the engine works with.
The screen fades out and...
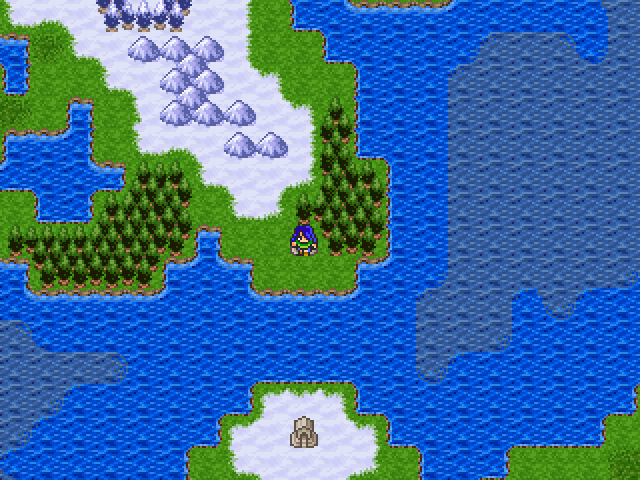
...into another area of the map. Cue credit roll~
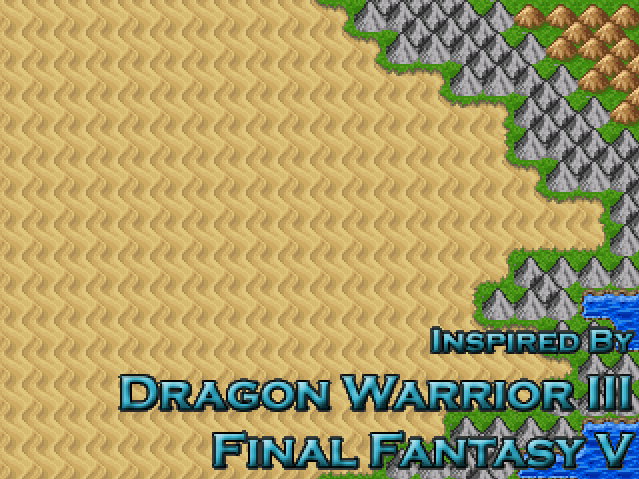
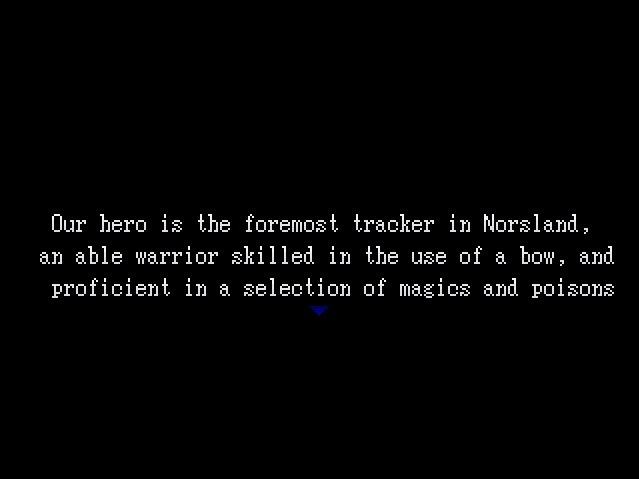
We find ourselves in the middle of a desert as kudos to the inspirations that caused this game to be made fade in and out. It's nice to give appreciation!
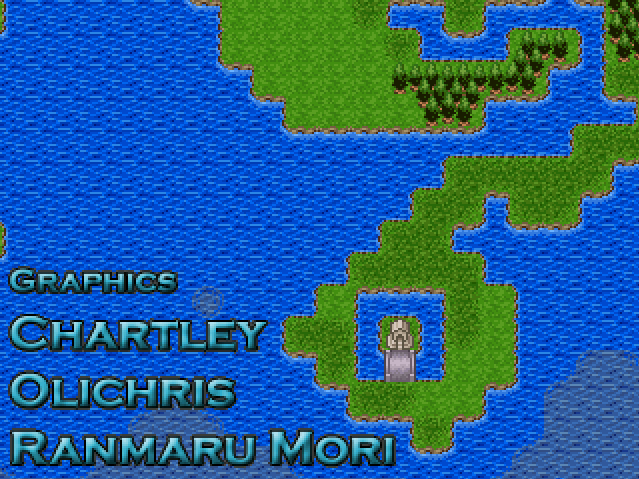
Another place we'll be visiting. This isn't taking as long as you'd think as the game employs a fade out after each credit given, then showing up in another area.
Yeah, I know, this is riveting stuff. It'll get better, trust me~

Ice! Every RPG has that one town...
You may notice rips in this game. RPG Maker games tend to not care too much about where resources are gathered. It's an interesting phenomenon, so you'll probably be seeing more through-out the game. The game itself is free and any resources used are from old games, so most people don't see it as an issue as long as correct credit is given.
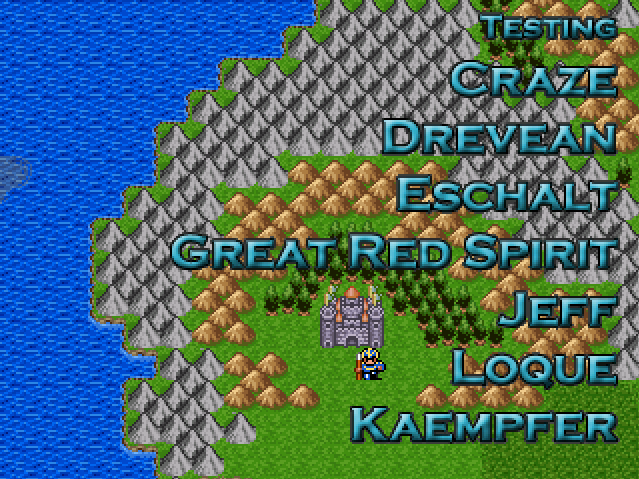
Always thank yourguineapigstesters! That guy there will be coming in to play very shortly.
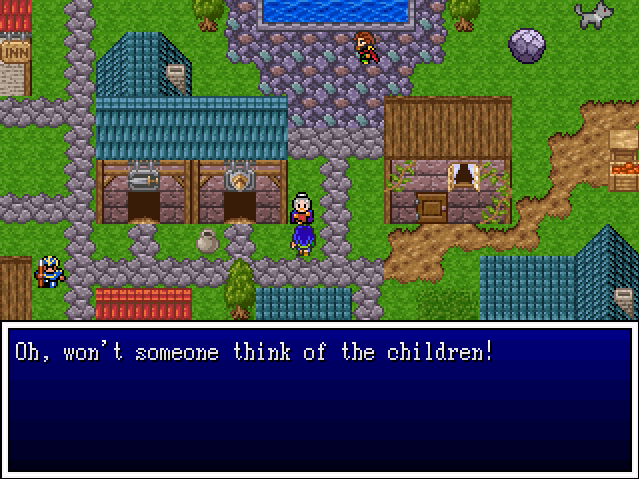
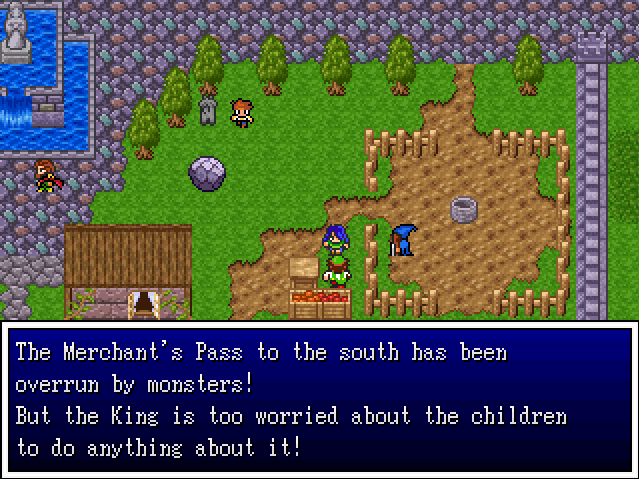
Welcome to chapter one! Why do the children need to be thought of? Let's find out shall we?
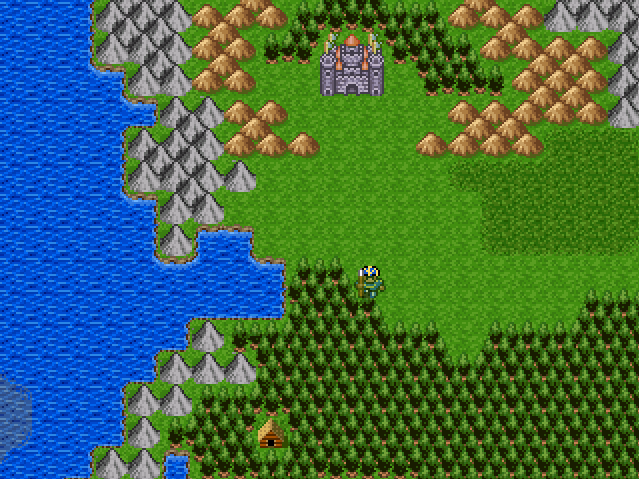
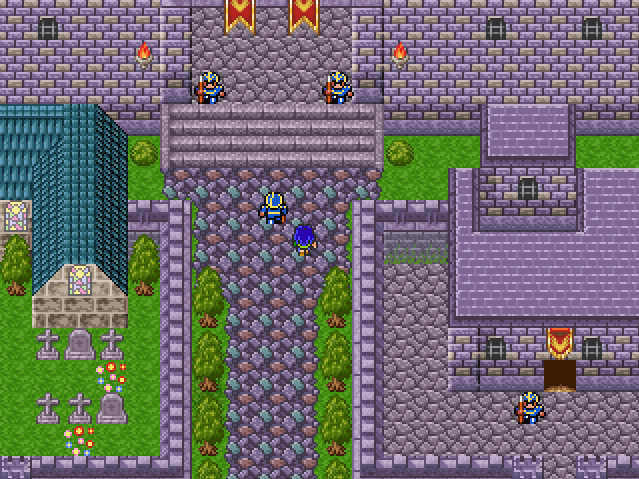
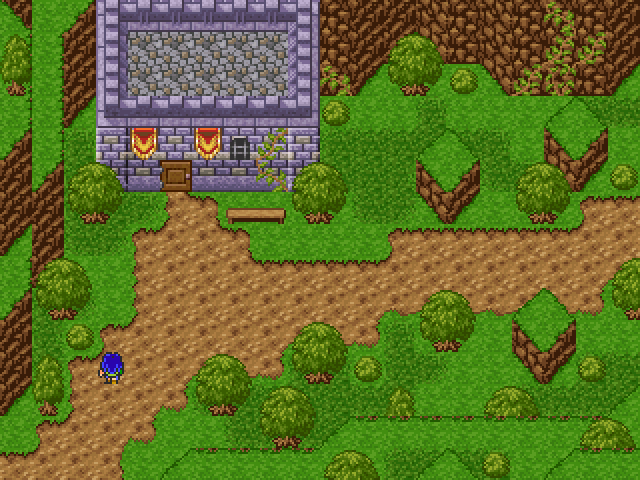
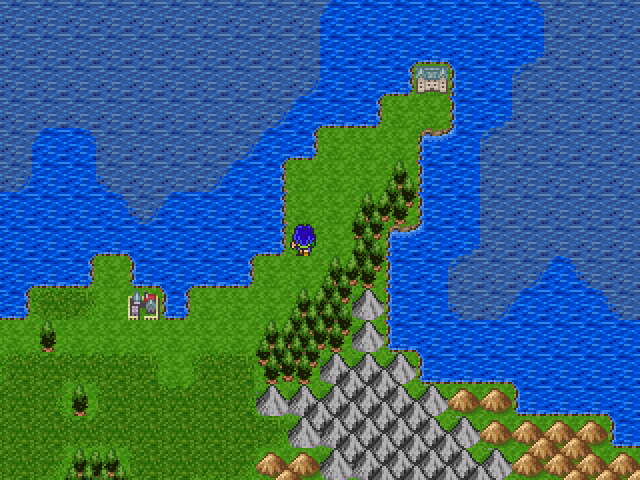
That dude is on the move. You can just see a house in the lower left of the screen. That's where he's headed.
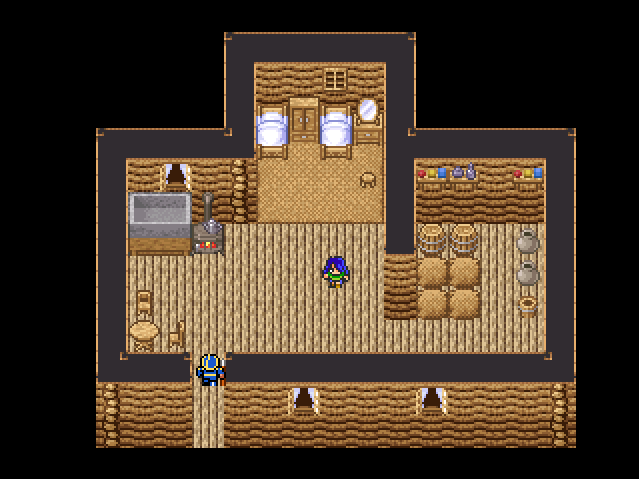
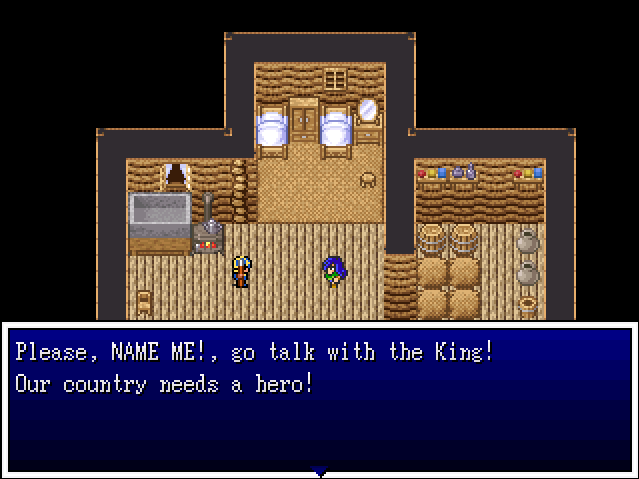
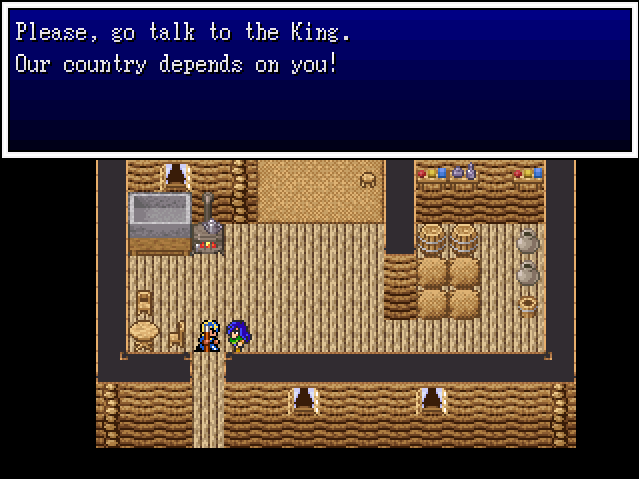
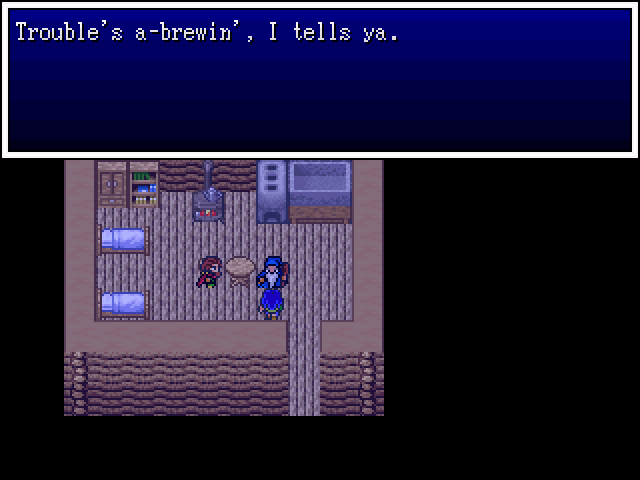
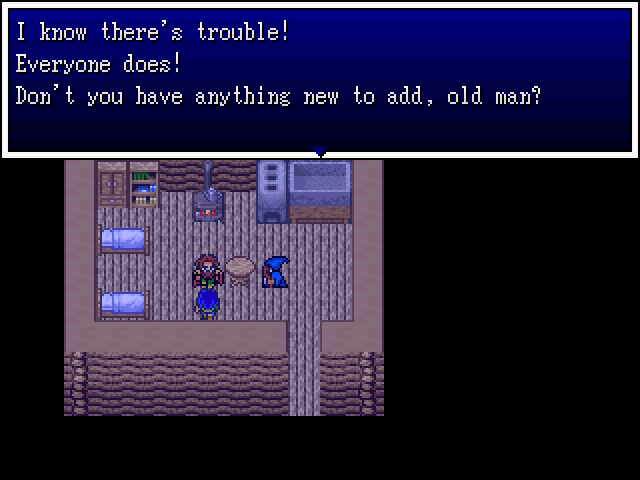
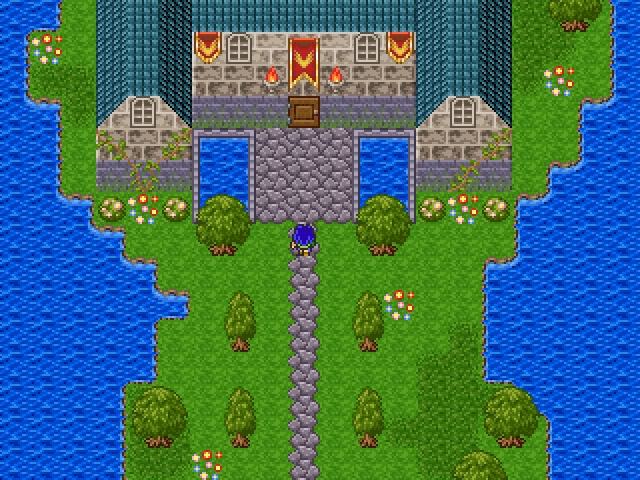
Well, hello there! Just come on in. Make yourself at home.
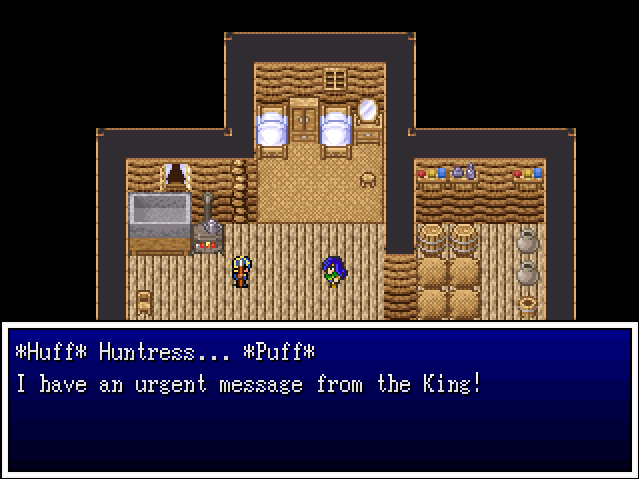
There is a great crisis brewing in the kingdom, one that has all the citizens worried! Please go talk to the King! We are in need of a hero!
First game dialogue ahoy!
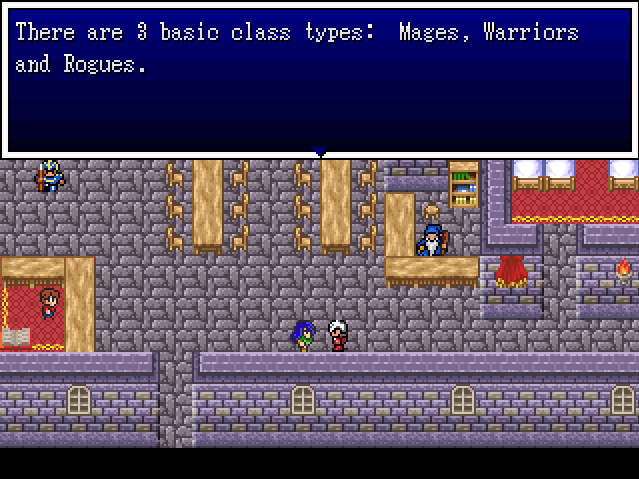
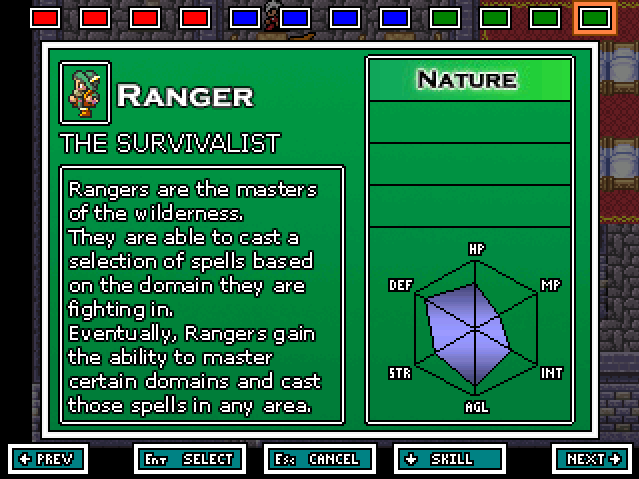
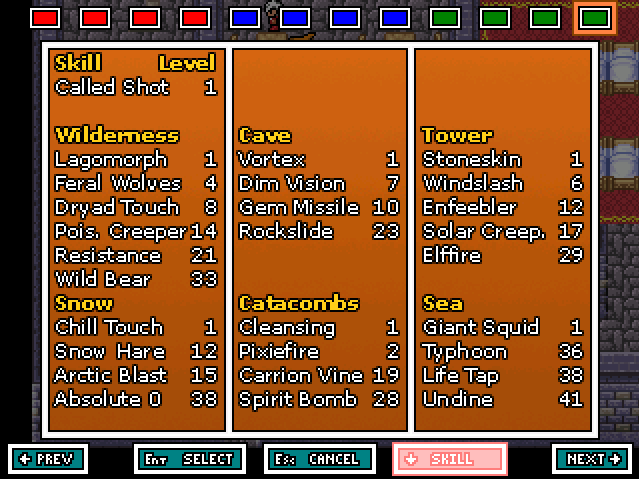
The main character of each chapter has their own special class. We'll get into the other classes a little later in the update, but just pointing out that this character will be the only Huntress you get in the game.
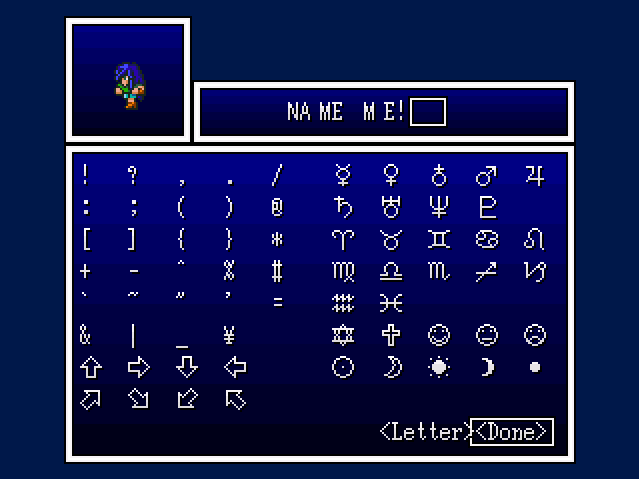
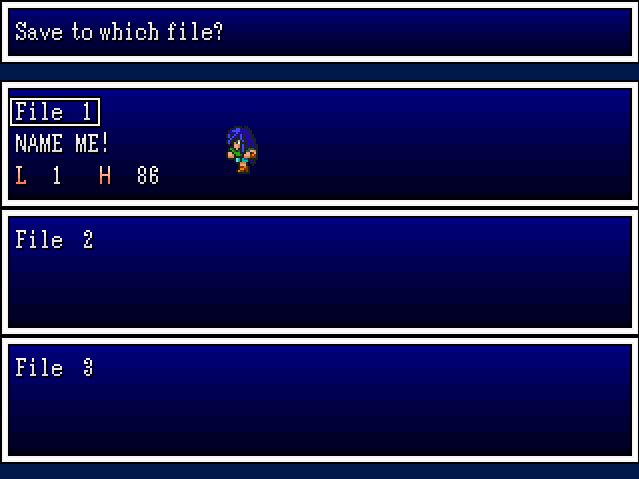
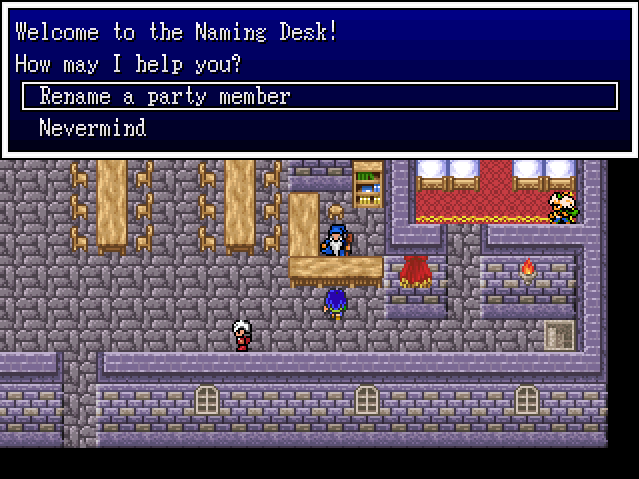
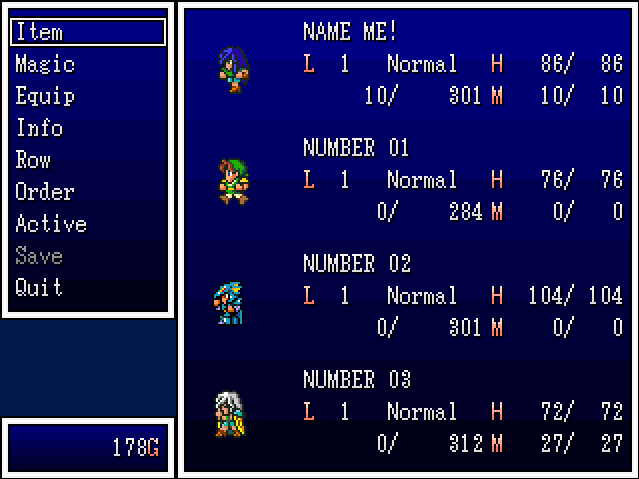
Time to get your participation on! Her default name is Holdana. Let's see if we can't do better. There are 10 characters in each name, so keep that in mind.
Okay, so no bets on who this mystery hero is going to be.
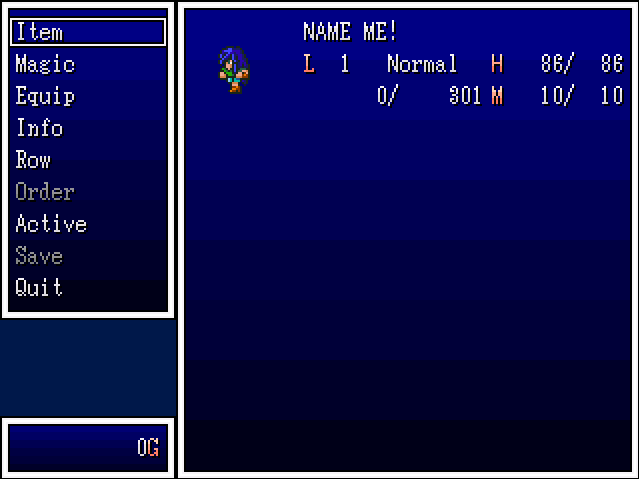
Ah, the ol' 2k3 menu system. Everything is pretty easy to figure out. A fast run-down, though.
Items are where you'll find all of your items. I'll show them off later.
Magic shows what spells you have (none so far).
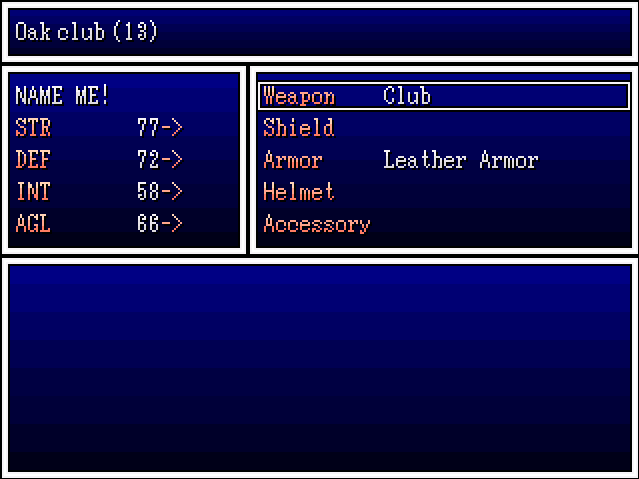
Equip lets you mess with your equipment set-up and see how it affects your stats.
Currently we have a Club (+13 STR) and Leather Armor (+12 DEF). Not great stuff but enough to beat up furry animals with.

The Status screen shows character stats - pretty basic if you've ever played a jRPG before. Title won't be used, sadly. Frnt shows if you're in the back or front row.
Row will change whether you're in the front or back row. Back row will up your defence but lower your attack (unless you have a ranged weapon equipped) while being in the front will raise attack and lower defence.
Order will let you rearrange your party.
Active/Wait can be toggled to allow waiting while you choose actions in battle, or allow constant actions by the enemies. I prefer Wait just so I can think about what to do next, so that'll be what I use for this LP.
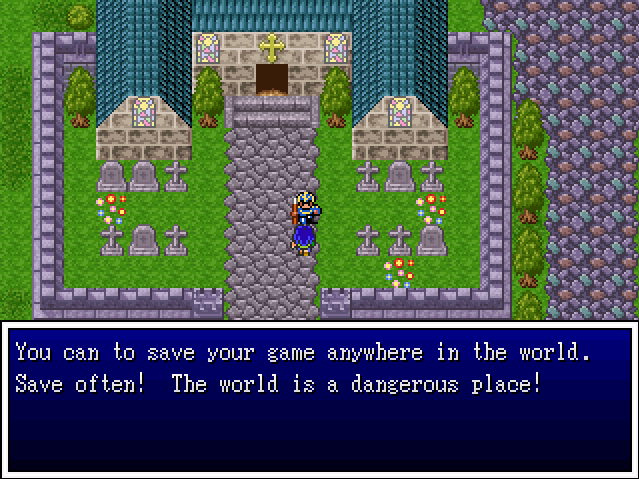
Save can only be used on the world map, and as the label says, will save your game.
Quit ends the game. Pretty self explanatory, really.
Mr. SoldierGary is really anxious that I get going, so of course...
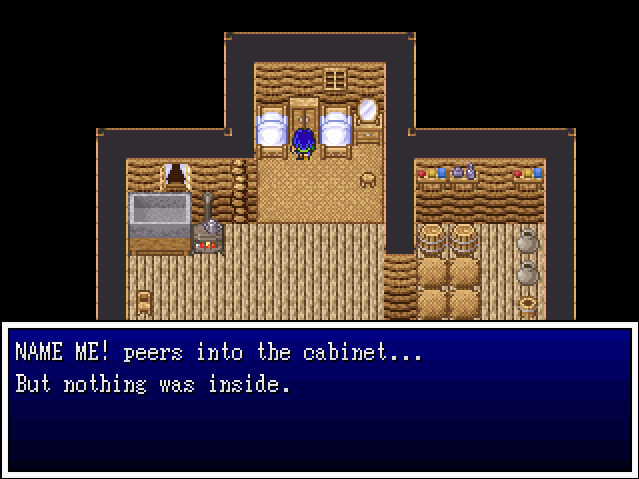
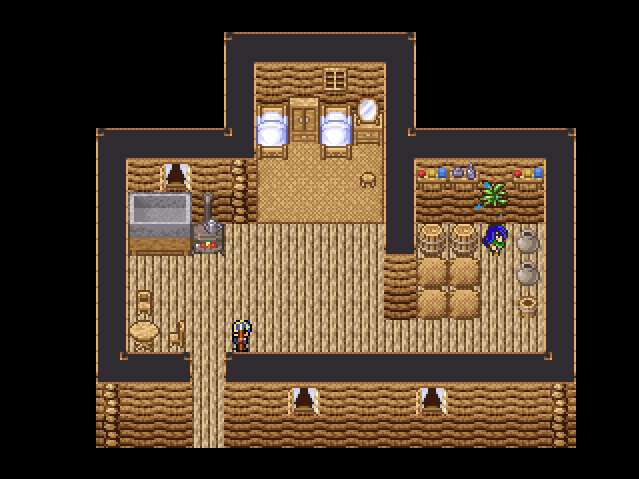
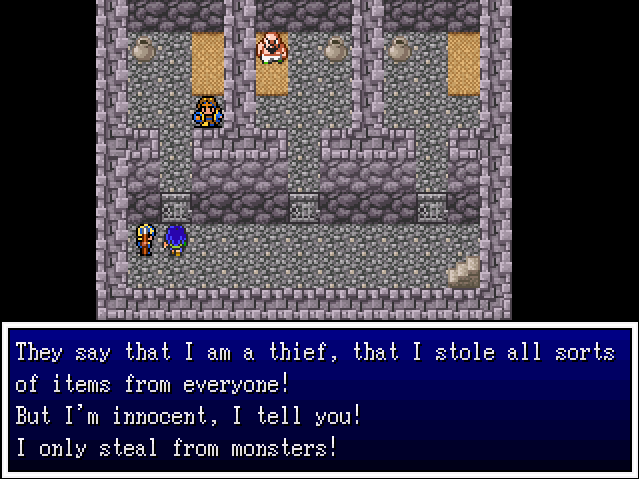
...I'm gonna take my time and loot the place. It's my own home so it's not like I'll be stealing. (Though that's bound to happen some time in this update.)
As with Dragon Quest games, various containers can be searched in this game. When empty, you'll get this message. I won't be showing all these messages and try only show when I actually hit jackpot.
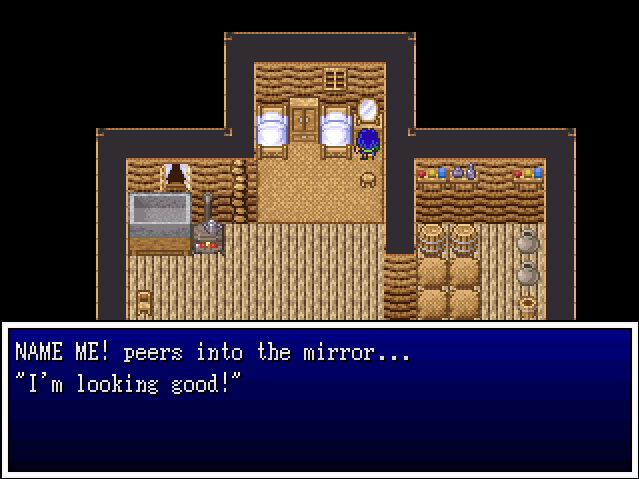
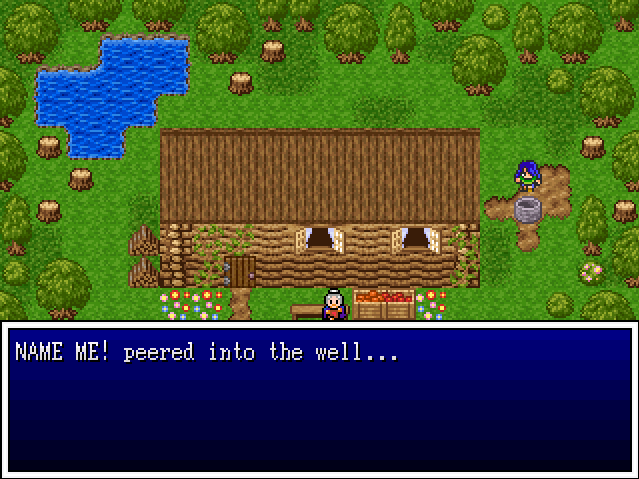
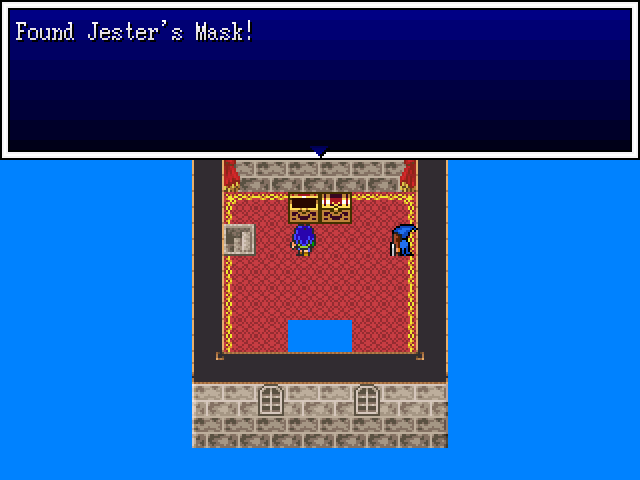
Mirrors, however, are always going to get a spotlight because each has something different to say. Some funnier than others. That said, NAME ME! had a good sleep last night and is really feeling her look today.
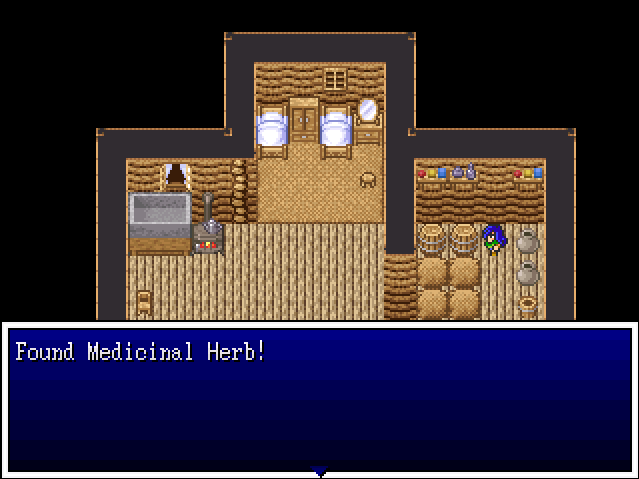
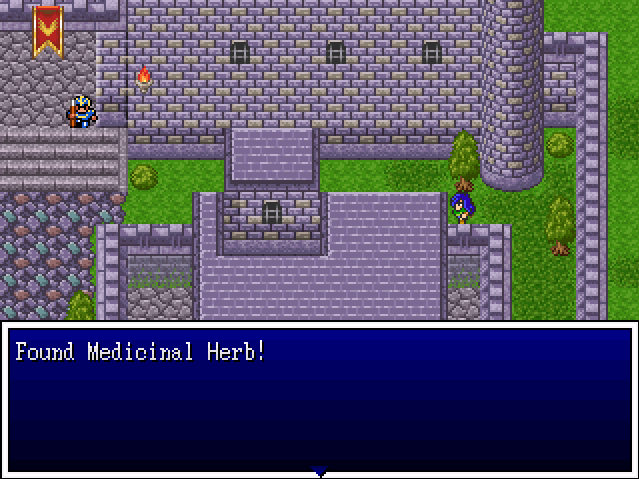
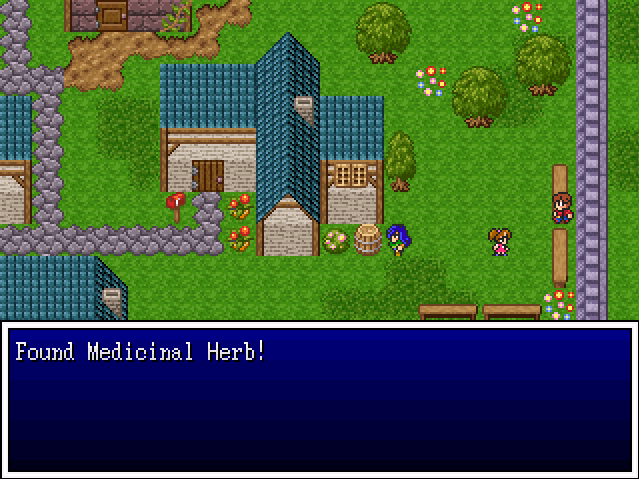
When you do find an item, a small item will pop up over your head. They can be hard to capture via screenshot though, due to them being pretty fast to vanish. I got lucky with my first, so here's the typical herb/medicine icon. I'll probably not bother screenshotting them, though.
This was a Medicinal Herb. They restore HP by 35. Not great, considering NAME ME! has over 80 HP at the moment, and will soon jump over triple digits, but we'll end up getting enough to spam heal if we need.
Case in point: our second Medicinal Herb, found in the barrel across from the last one. These should last us well enough for the moment.
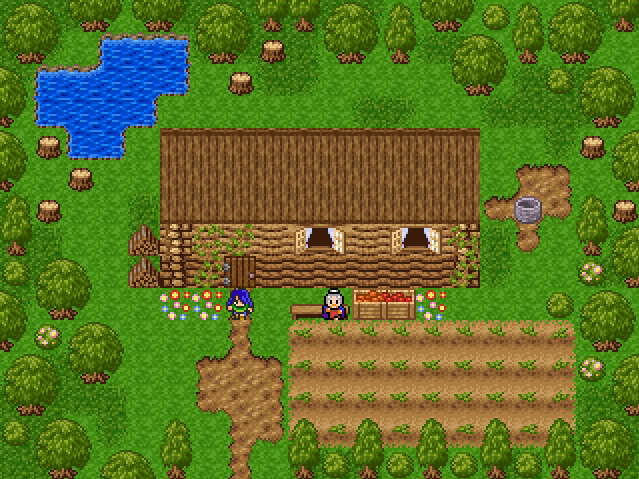
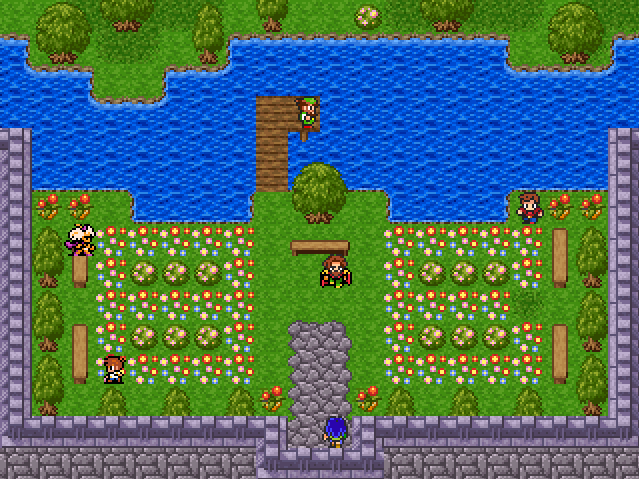
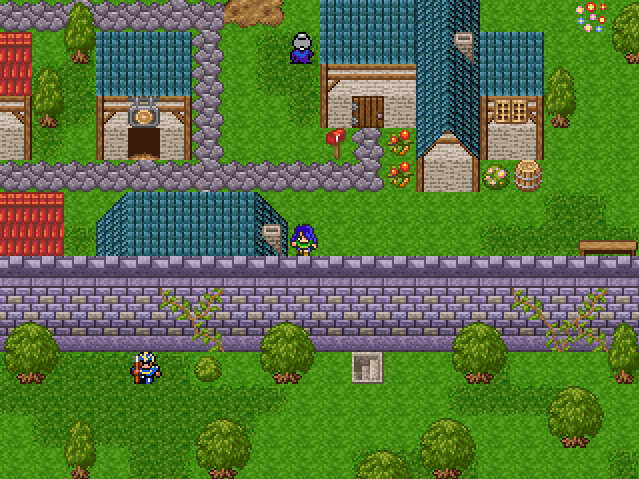
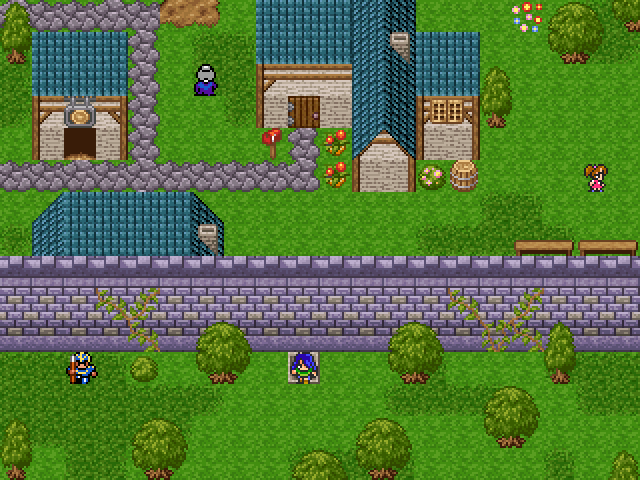
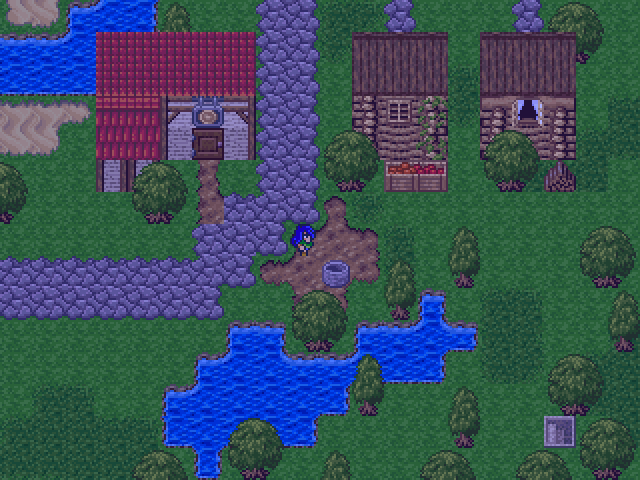
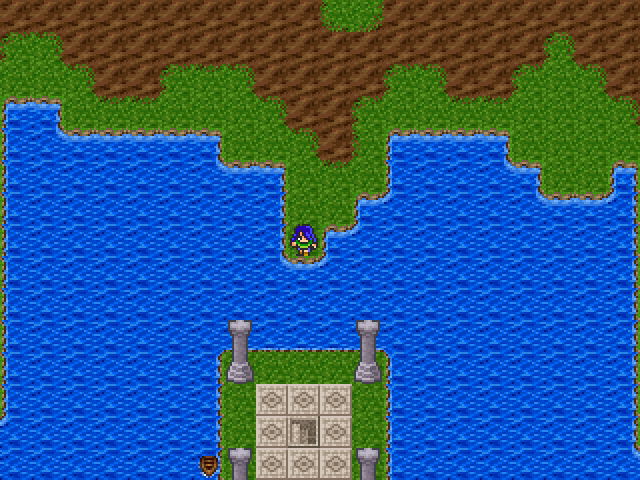
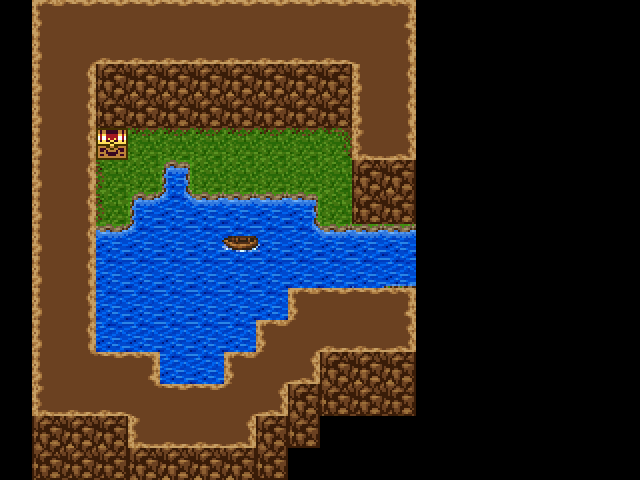
That's all for inside the house, so out we go. It's a pretty piece of land and it's ours! We have a well AND a pond! Living the high life!
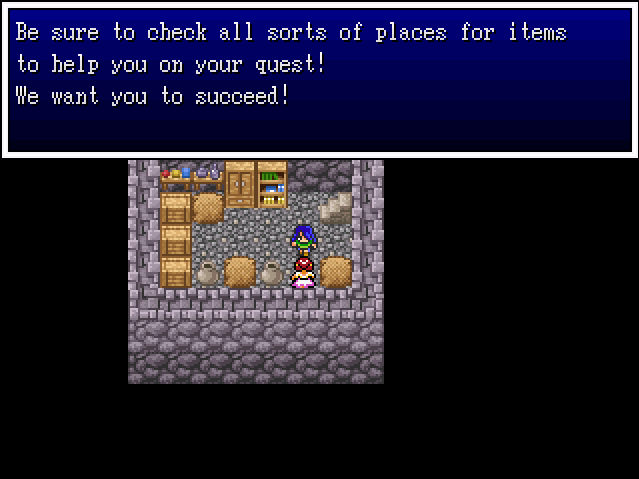
If you happen to come across any Beast Tokens in your travels, seek out a Token Market. You would be able to trade it there. Take care of yourself.
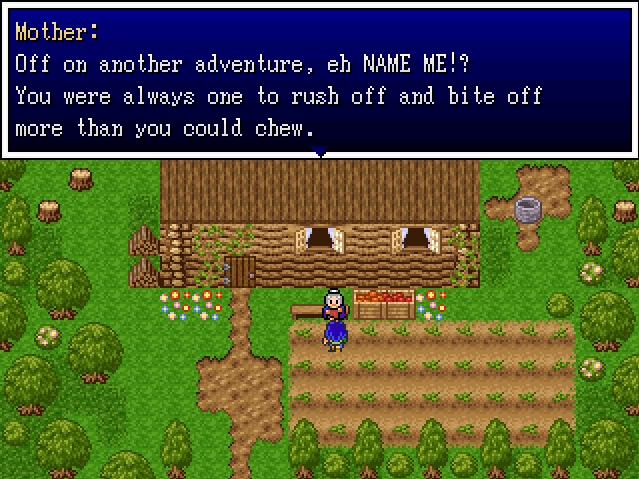
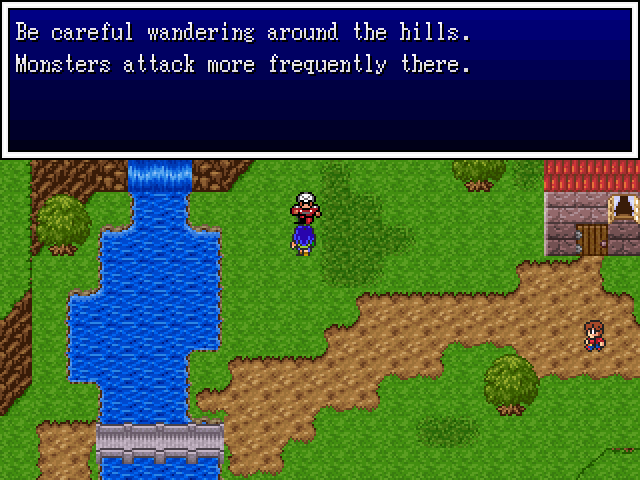
Yes, our mother lives. We're already ahead of the jRPG hero curve! True to motherly form, she dispenses wisdom - though we won't be seeing this nugget of wisdom come in handy for a while.
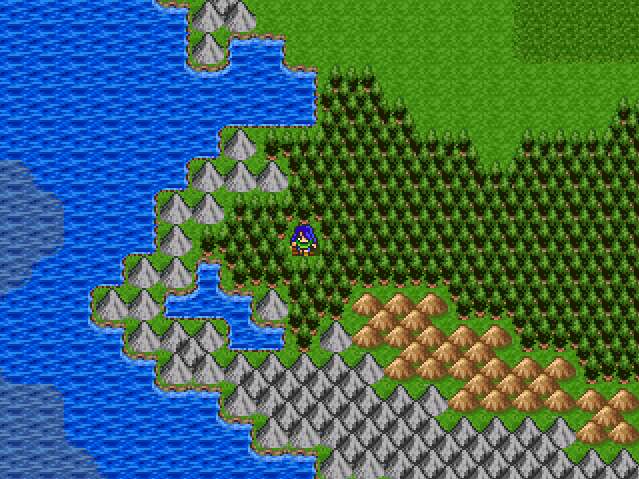
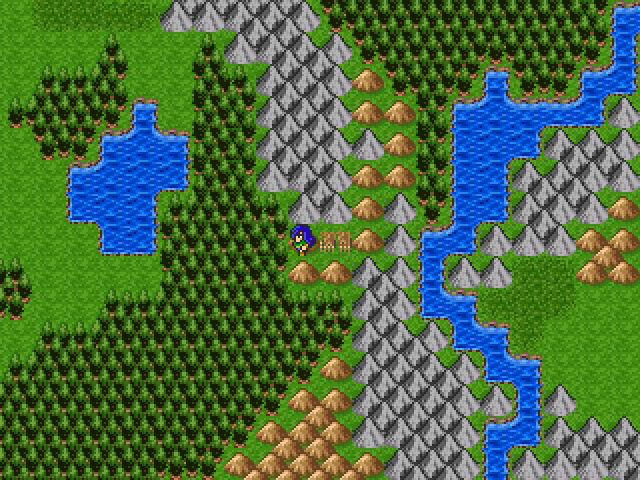
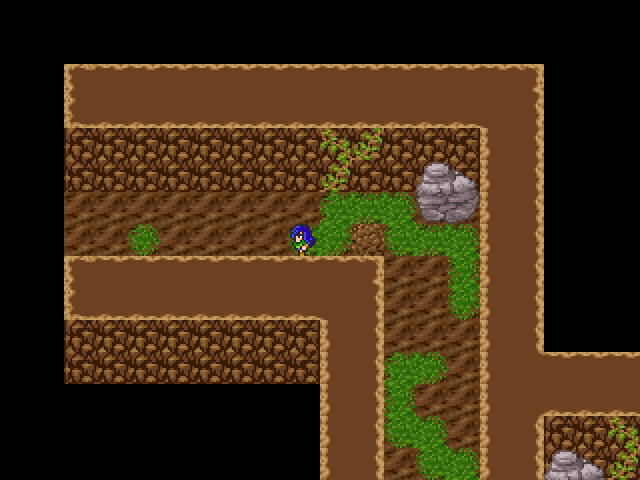
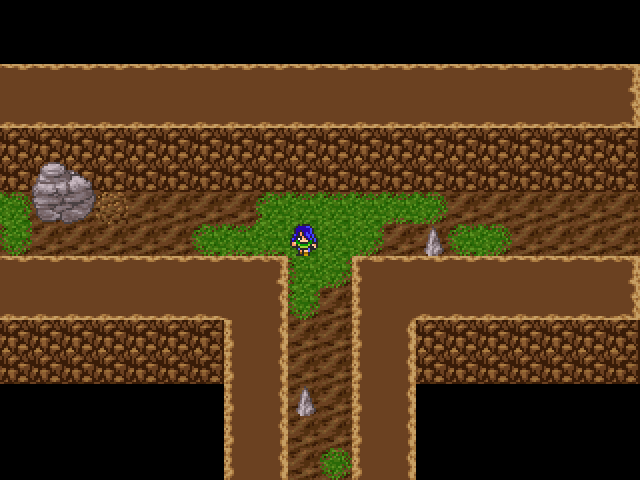
We are now free to explore the world map! And when I say we are free, I mean we can go anywhere we like (within the borders of the Kingdom, at least).

Hm... That place looks plot relevant. Screw that!

FREEDOM!
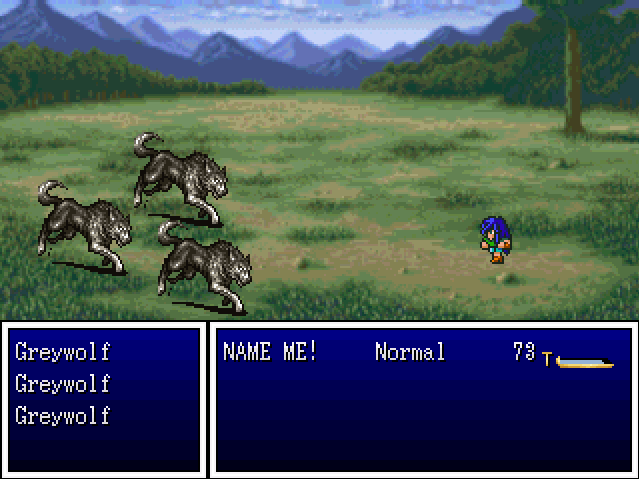
Oh.
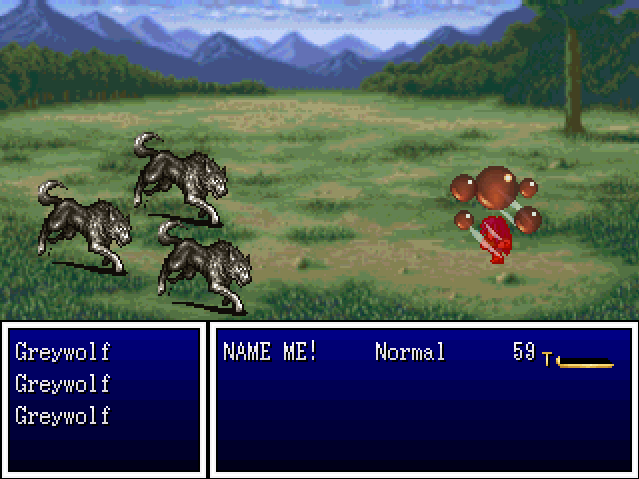
Uh...

Oh dear.
Well... perhaps we shouldn't have done that just yet.
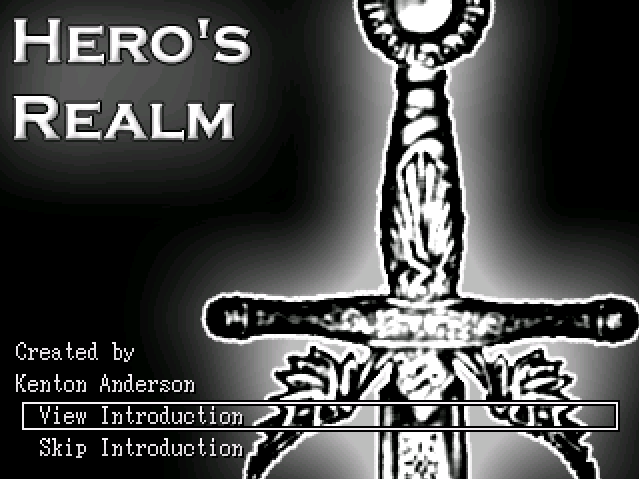
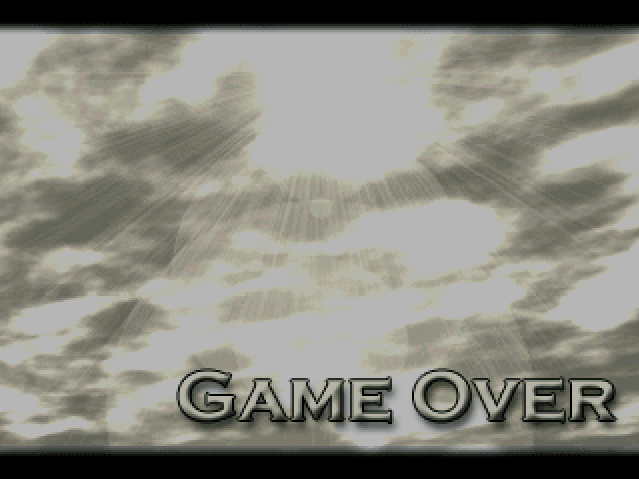
I actually forgot to drop a save and had to replay the start. Thank God for that Skip Intro option. This time I rectify that as soon as I hit the world map. Now, there was something...
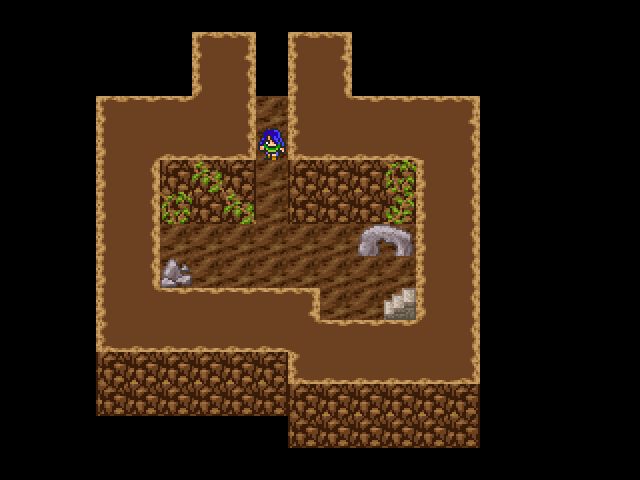
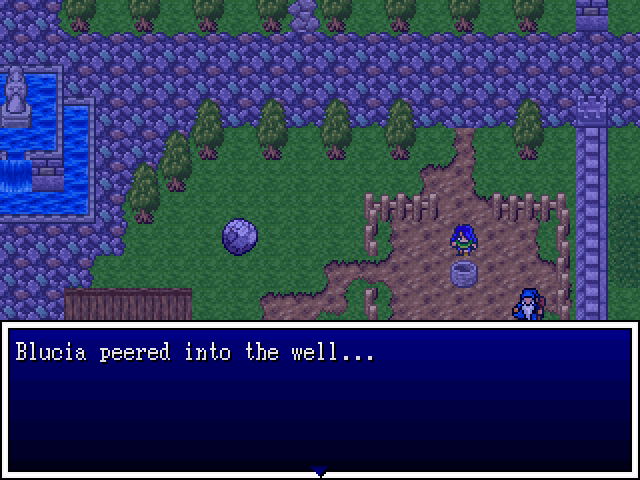
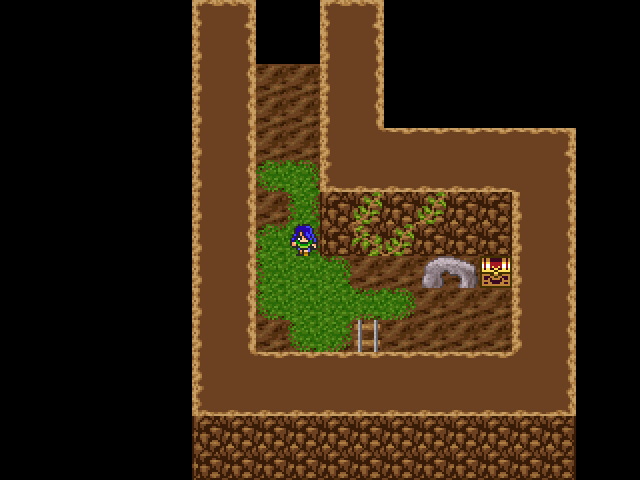
Well, well, well.
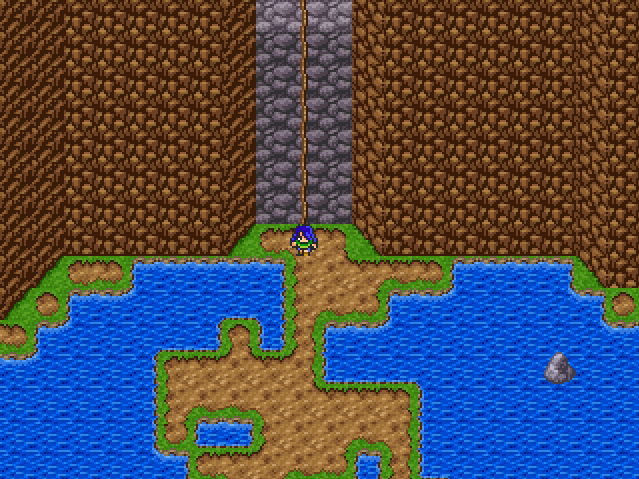
Some wells will have little hidden areas in them. It's a nice throwback. There will be more.
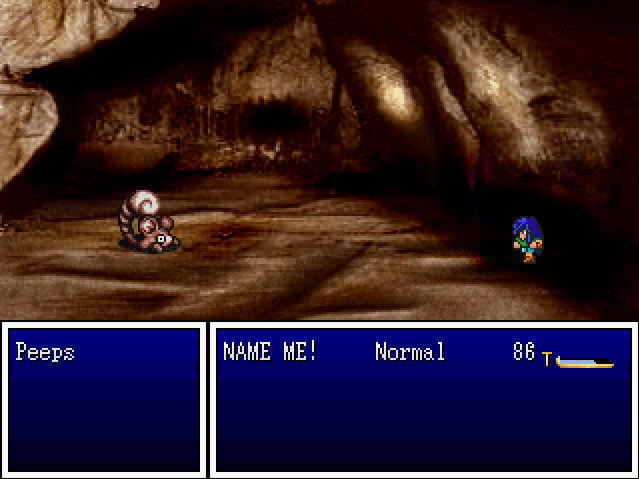
Down here you can fight Peeps. They're pretty easy and a good way to introduce the battle scene. It's simple, really.
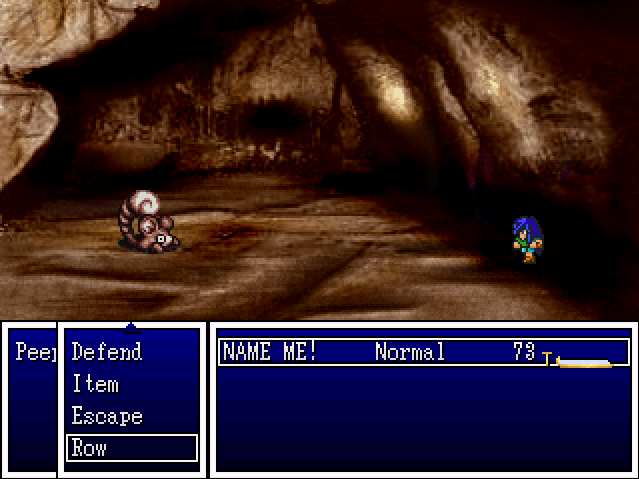
The bar to the far right will fill up and shows how long until you get to take a turn. Once full, you get to pick one of the actions to the far left.
Pictured: Me forgetting to get an image of the first half of the action box. You're bound to see the options eventually but it's pretty basic stuff - Attack, which allows you to hit the enemy with your current weapon; Skill/Magic, which lets you use skills/magic; Pummel, which is NAME ME!'s personal skill (it basically saves up a turn and double attacks on the next. It's more useful as it sounds as it sometimes bugs out and allows for a no-action turn to pick skills then have everything go off at once. This can make the difference between life and death sometimes, as your heroes often get their attack to go off first.); Defend, which takes a turn and cuts damage; Item, which lets you use an item in battle; Escape, which lets you run from the enemy, based on your party speed; and Row, which lets you move your characters from one row to the other.
Phew!
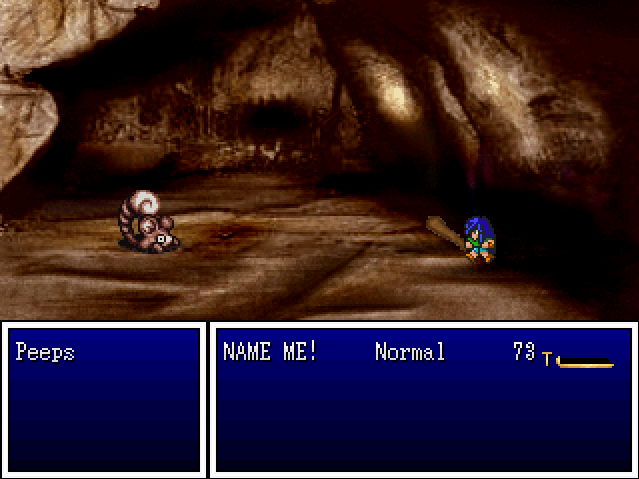
NAME ME! wails on the enemy with her club. Since this is a very small, very furry critter, it dies immediately.
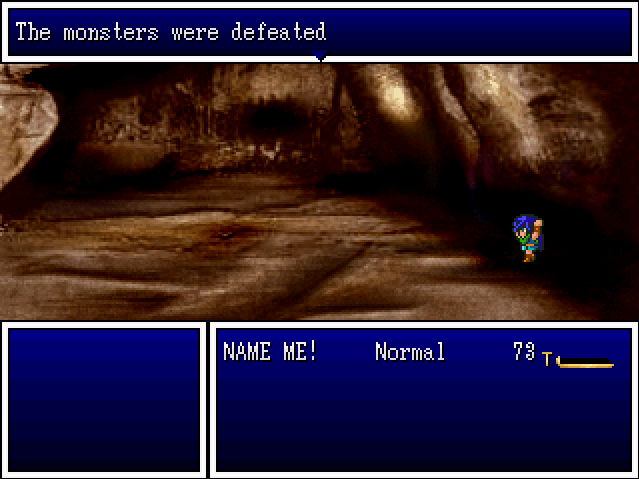
NAME ME! rejoices in it's death.
Now, you'd think this would be a good area to grind up a few levels, but the experience and gold isn't worth it. They give 5 EXP each and only show up in one-monster packs but since you need 301 EXP until your next level... It's better to just use the monsters on the world map.
Not pictured: Metal Peeps which are very, very rare and give much more EXP. Unfortunately, I couldn't run in to one after grinding up to level two, so... They're basically a recolour with bigger stats. So much so that it makes it very hard to deal with them with a one-character party.
Right, enough piss-farting around. We don't want a repeat of the Greywolf incident, so we'll head straight to the castle.
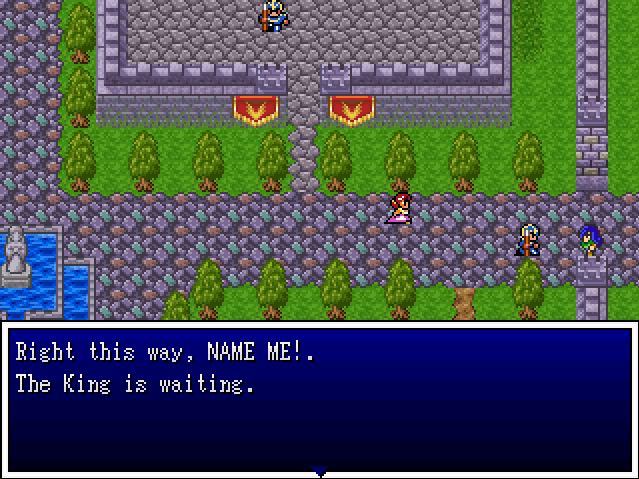
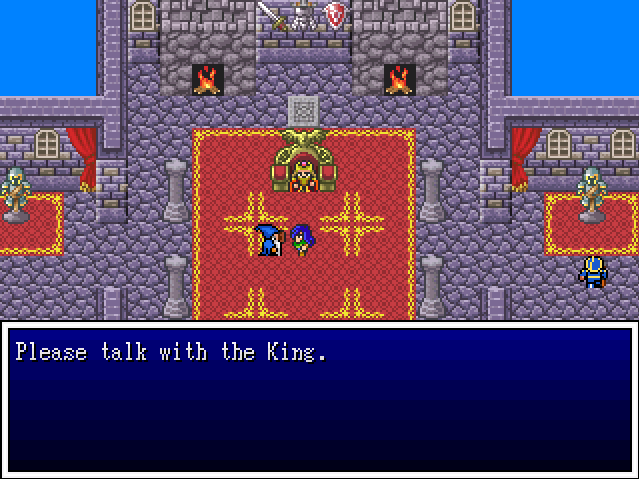
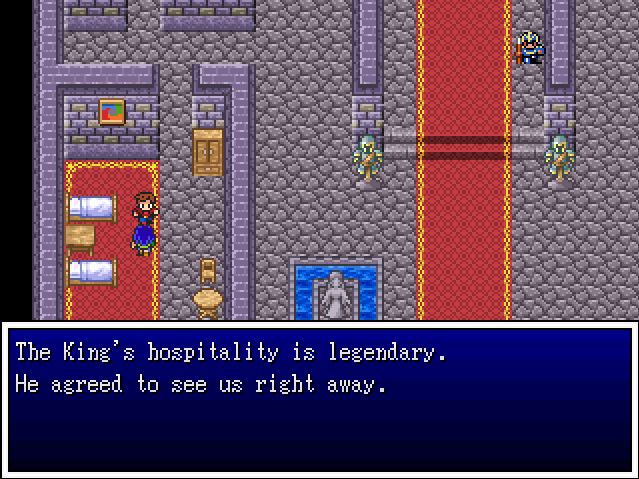
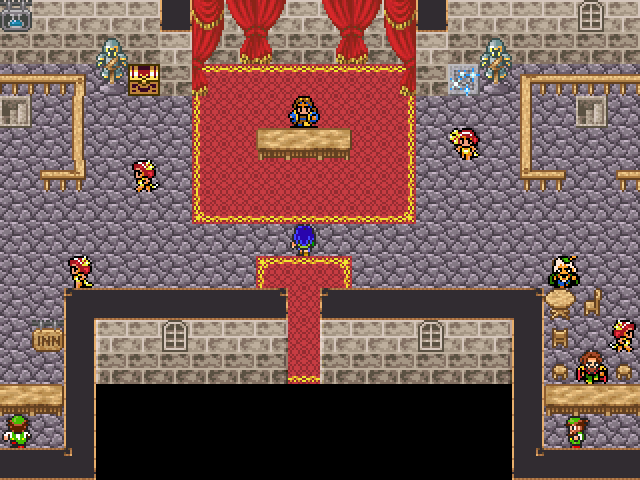
We don't even get to say a word before being dragged off to see the king - whether we're ready or not.

Well, Your Majesty, I'm here. You wanted to see me?
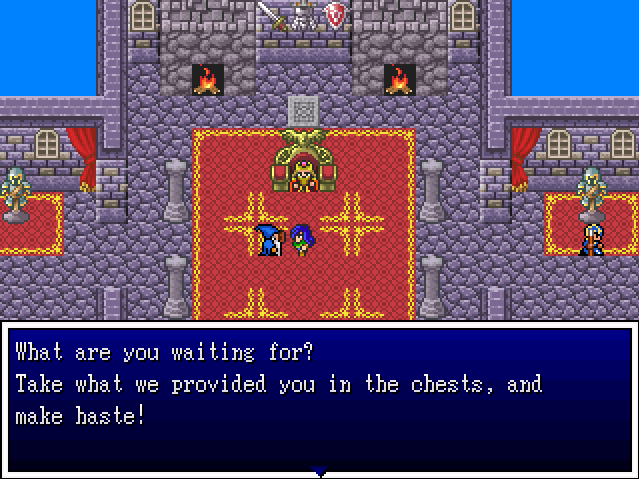
I kid, I kid. Loot first, plot second!
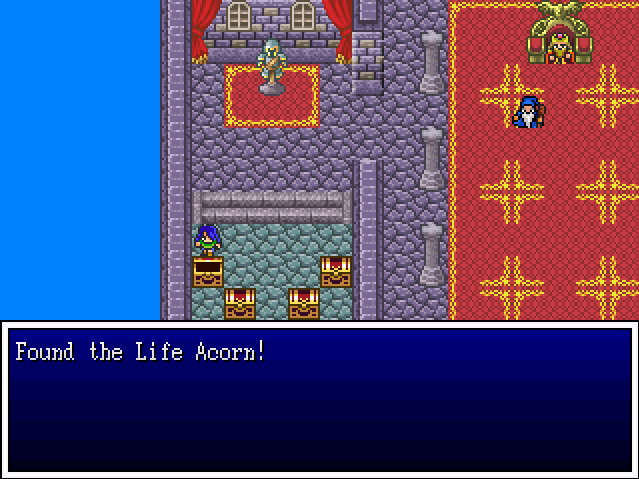
These four chests are ours for the taking!
We get:
- a Life Acorn (increases MAX HP by 5)
- 120 Gold
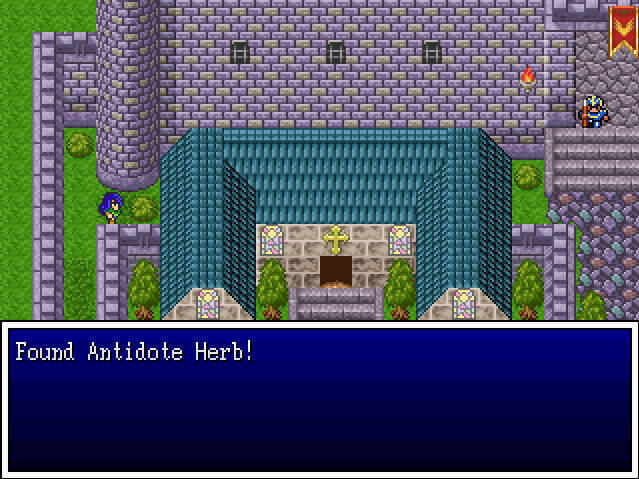
- a Medicinal Herb
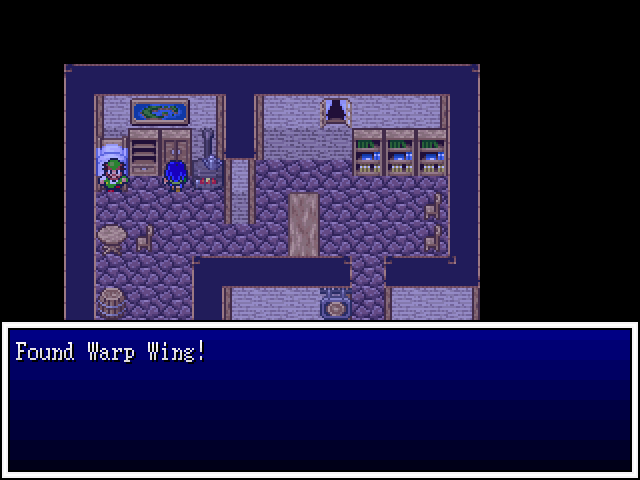
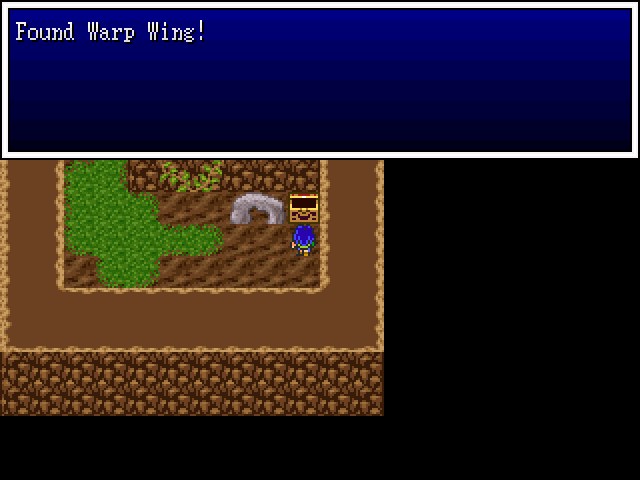
- a Warp Wing (returns to previously visited area)
Now, you might think that these would be the only items in the room but there are two hidden items in here as well!
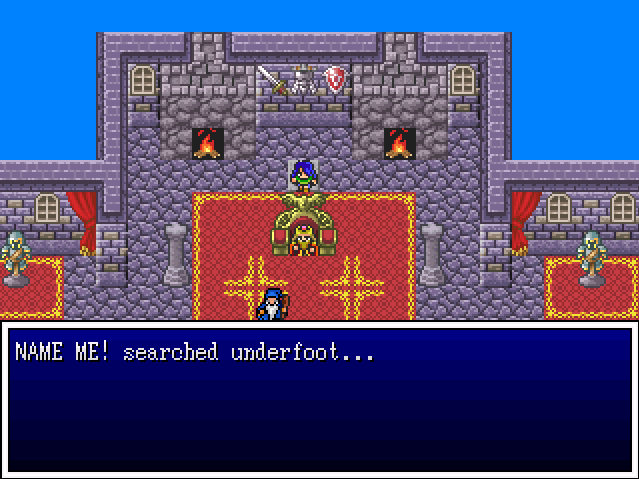
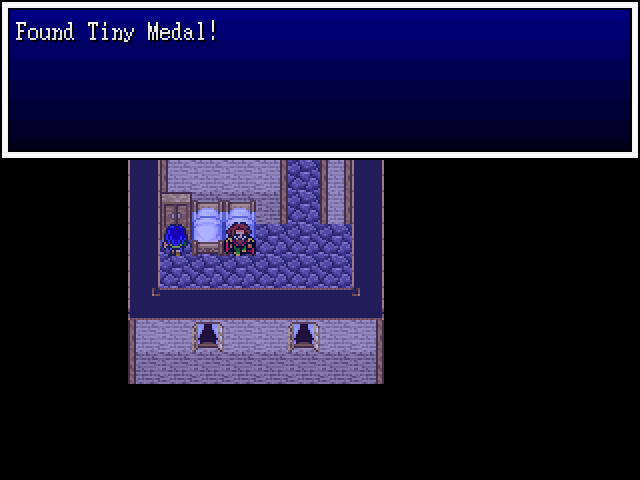
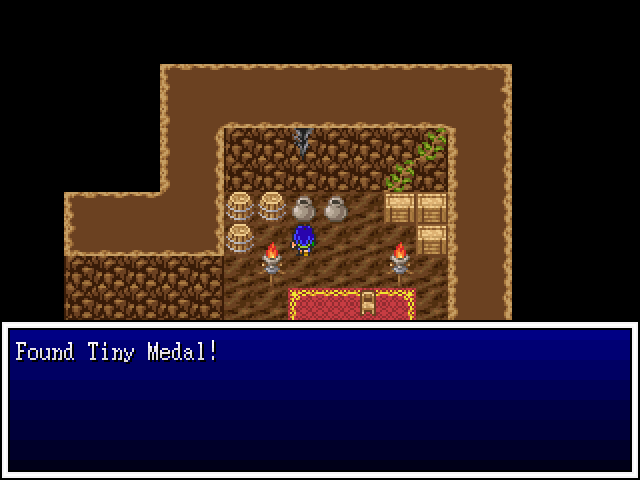
Something found in the early Dragon Warrior games, the under-foot search is brought to Hero's Realm as well. Behind the throne we find the first of another Dragon Quest staple - Tiny Medals. I'll be explaining them in the next update.
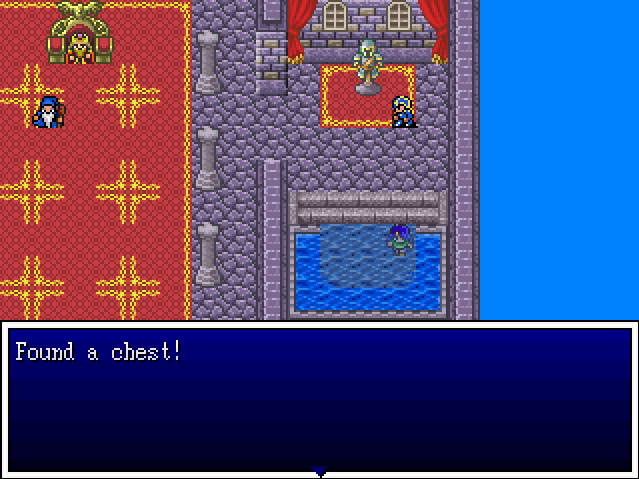
You can also find hidden chests under water! This one holds a Knife, which we'll check out in the next update too. For... reasons~

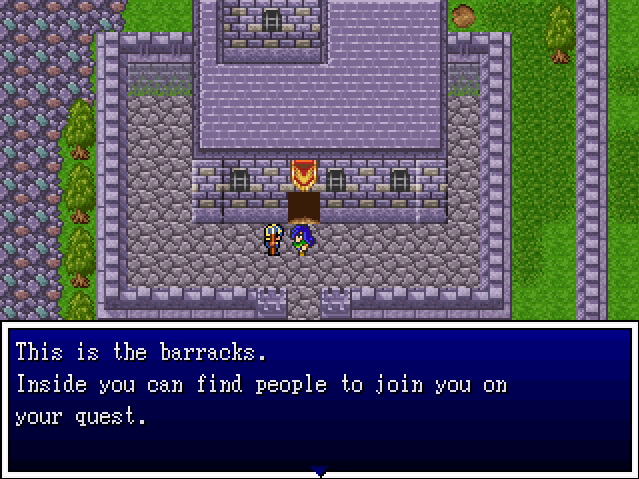
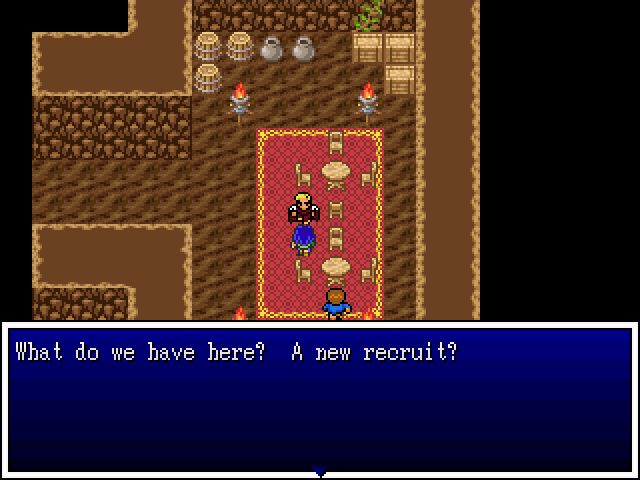
Oh, don't worry, we'll be seeing the barracks very soon.
Since we found the chest you can now see it in the water, too. It'll give a generic "Chest is empty" message if you check it again, as with any spots where you grabbed treasure.

Looks like we have no choice.
Fine. On with the plot then.

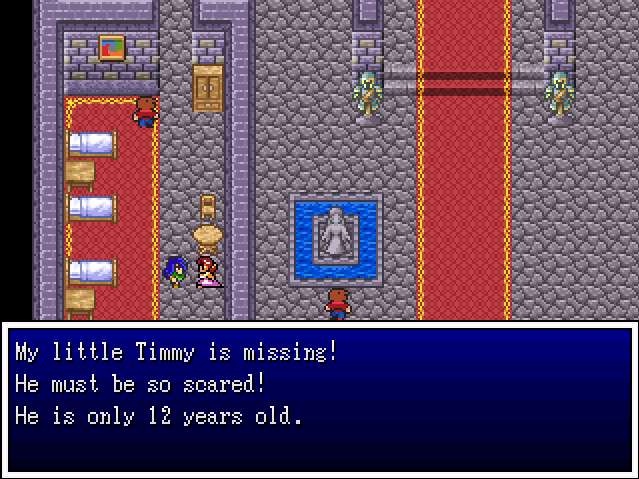
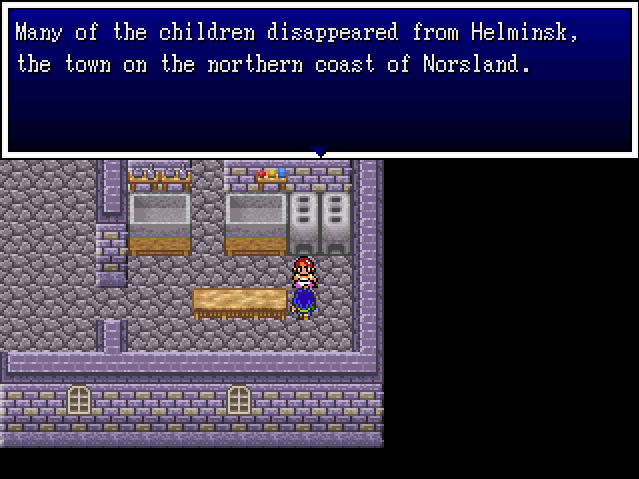
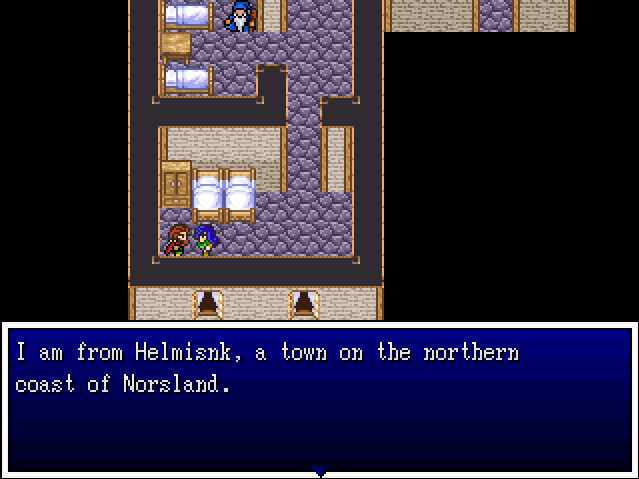
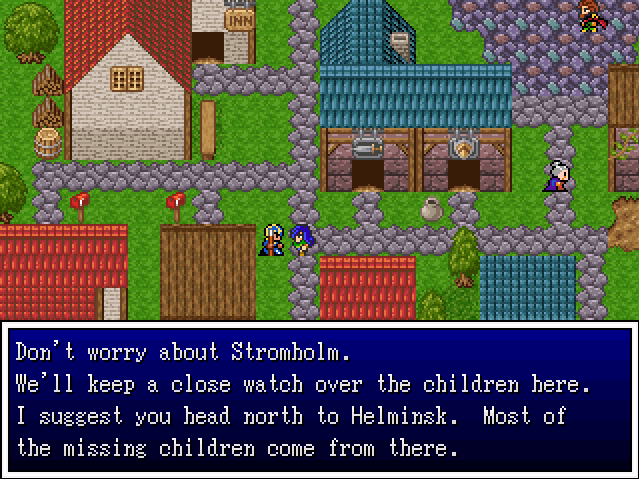
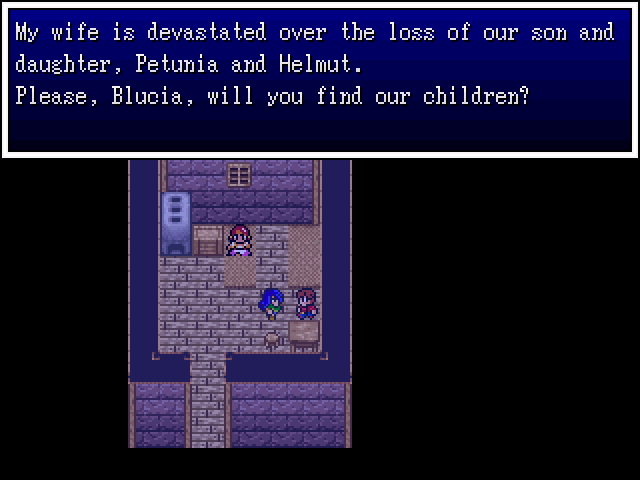
You must have heard the rumour that children across the land have been vanishing recently. The parents from Helminsk have come to me this morning in tears, begging for help.
I cannot ignore this rumour any longer! NAME ME!, as our nation's greatest tracker, please find the missing children!
Our country is counting on you!
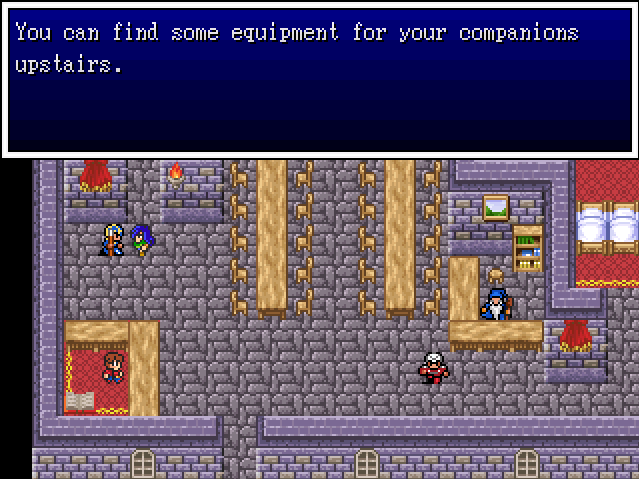
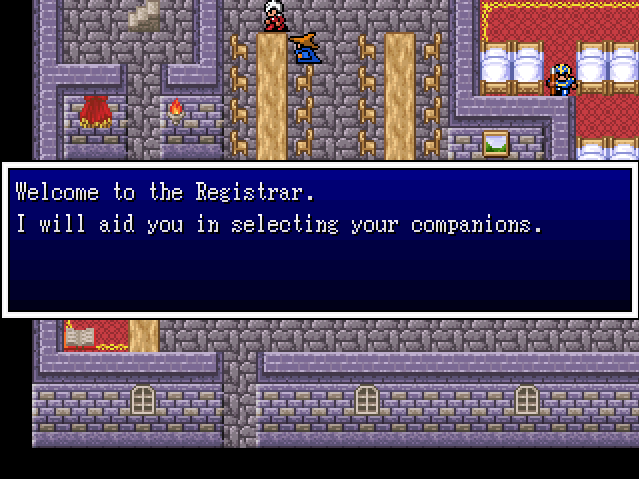
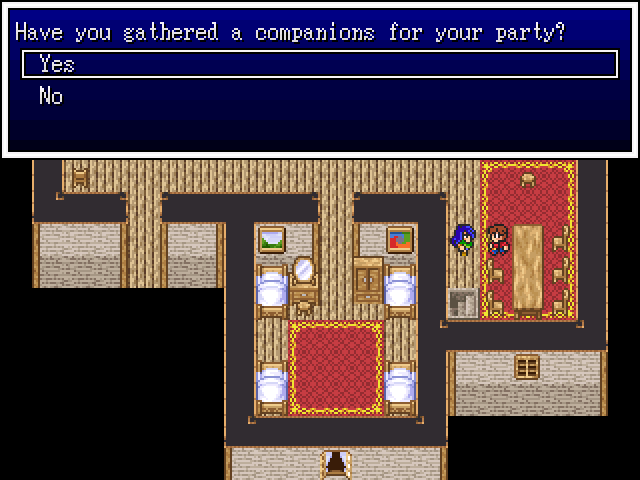
Feel free to visit the barracks. You may find companions to help you on your quest.
Sounds like something I'd be interested in helping out with. No good can come from kids being kidnapped, after all.
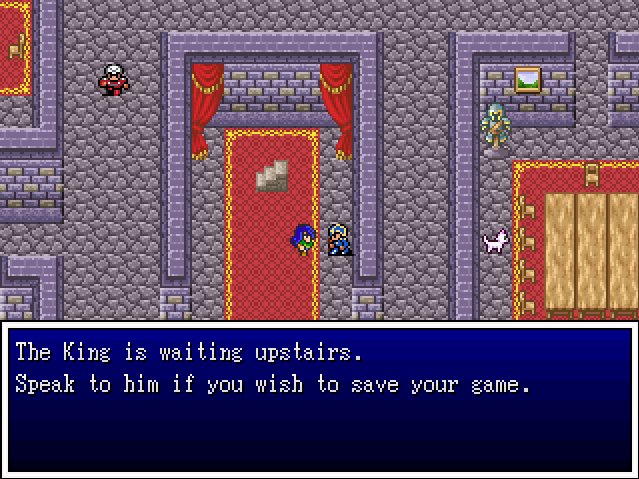
If you talk to the King again he will offer to save your game for you, and tell you that he's counting on you. No pressure then!
The advisor will now chat, though he hasn't got much to say aside from pointing out that speed is needed. Fine, then, we'll go.
Oh, hey! S'up Gary?
Yup! We figured that one out for ourselves. Thanks for the advice, though.
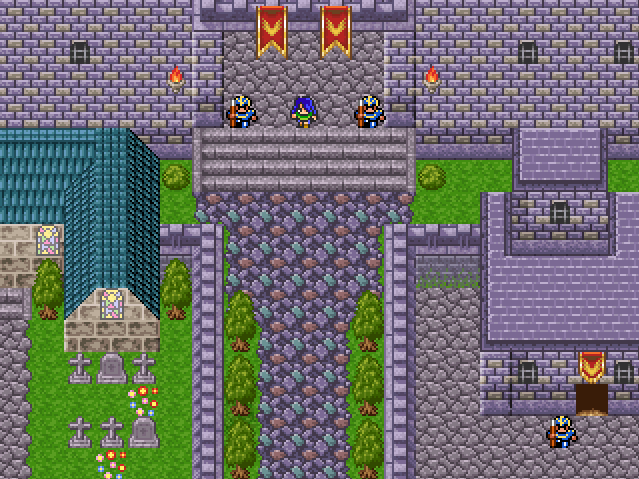
The castle has a few areas in it. To the far right is a doorway that leads to the jails and to the north is a door leading to the castle gardens. Let's check out who's hanging around here in the main area first, though.
:(
The King is a nice man.
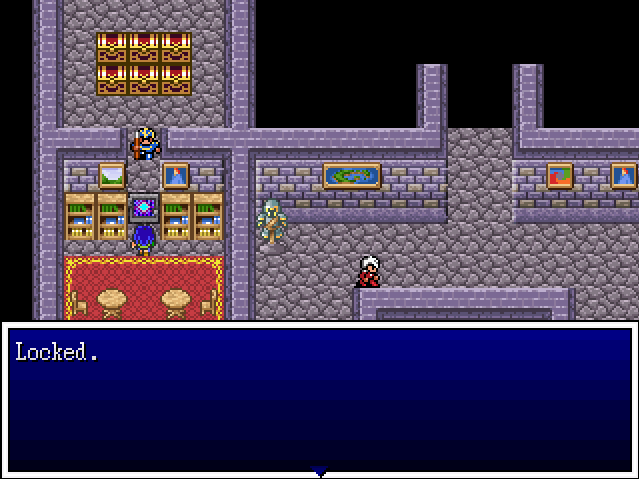
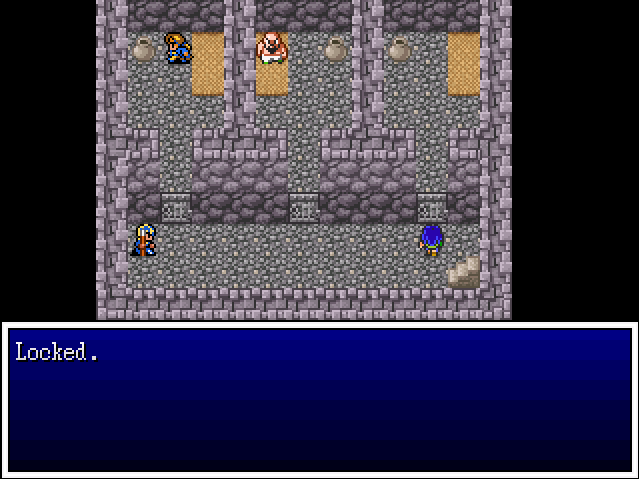
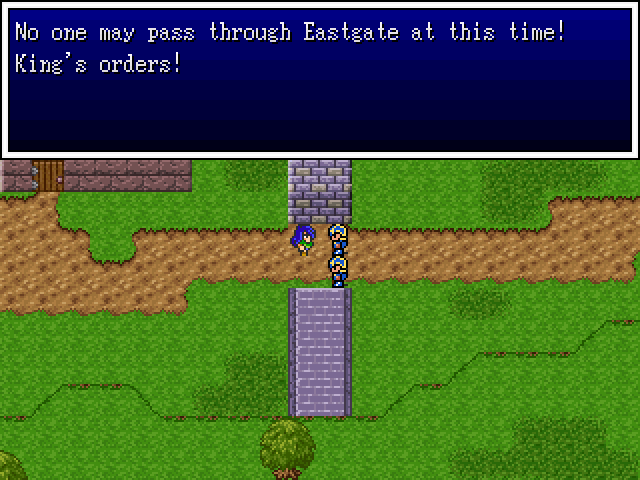
Door! >:(
We'll be back for you...
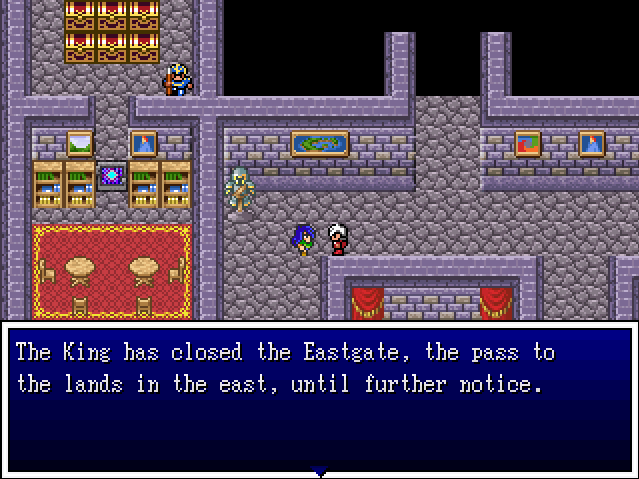
This means we're locked in the Kingdom. Don't worry, we'll get to escape eventually.
Good to know, I guess...?
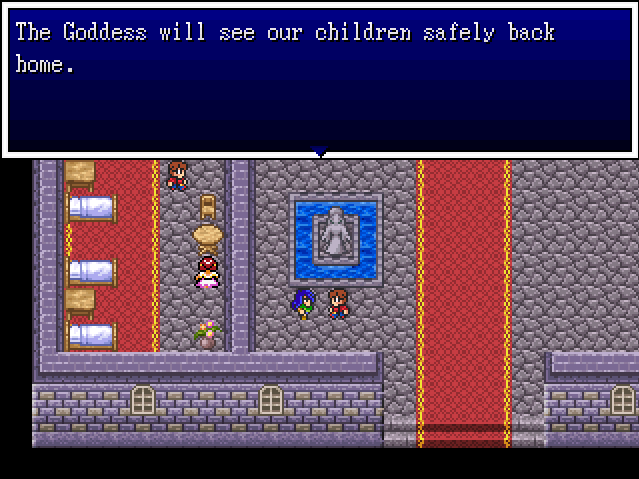
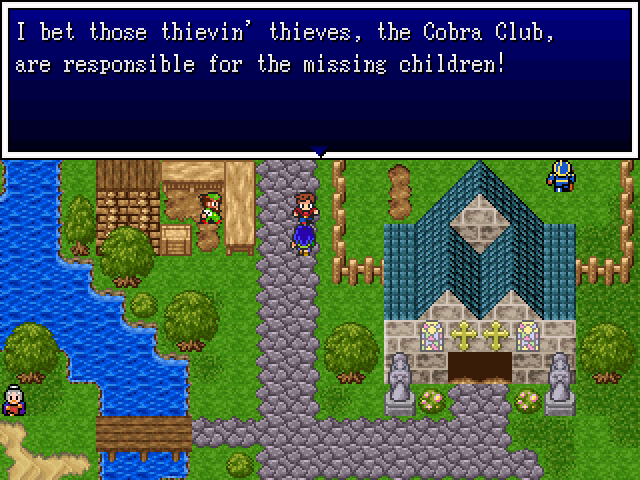
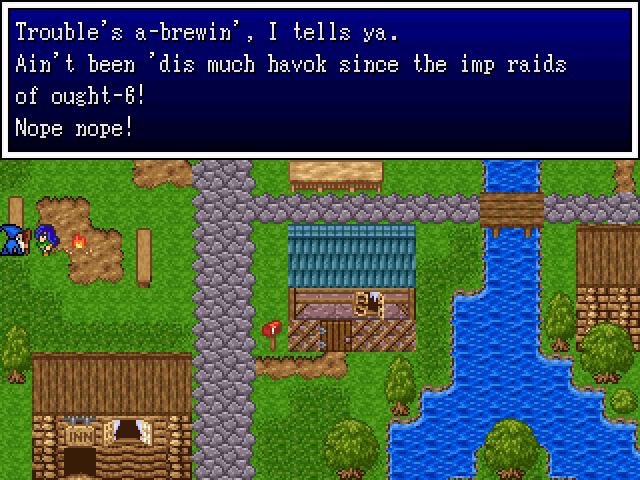
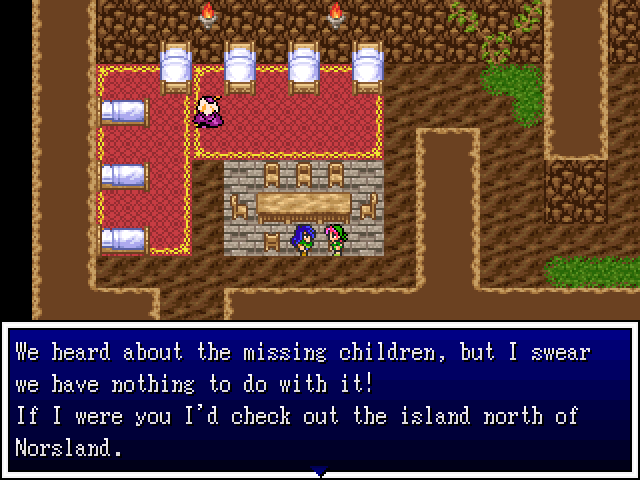
Don't worry, random lore-building NPC, NAME ME! is on the case! They're practically home already!
Pretty~
Meta much?
There are some bugs through the game. Hopefully you guys won't deal with them in this LP, but for the most part the game is pretty bug-free. The issues are more problems with the engine it was made in, really.
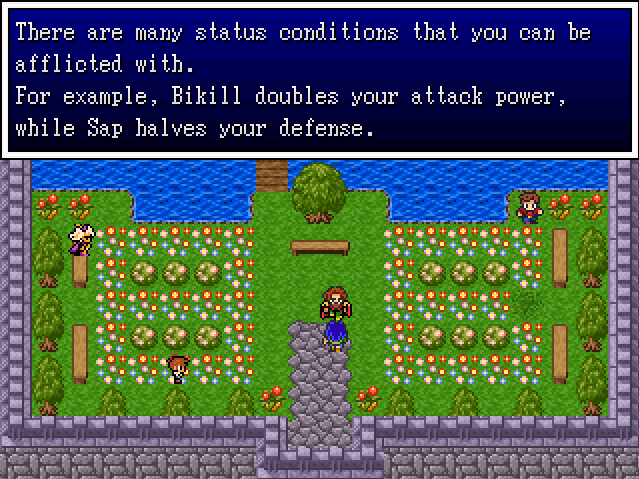
Bikill - Doubles attack power.
Upper - Doubles defence.
Focus - Doubles magic power.
Speedup - Doubles agility.
Heroic - Doubles all stats.
Invisible - Immune to physical attacks.
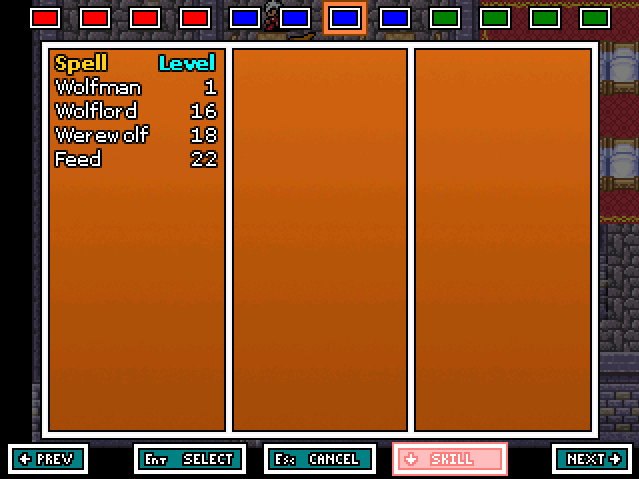
Werewolf - Doubles attack, no control.
Ironize - Immune to phys/magic attacks.
Weak - Halves attack power.
Sap - Halves defence.
Discord - Halves magic power.
Slow - Halves agility.
Inept - Halves all stats.
Poison - Lose HP while walking.
Sleep - Cannot act.
Numb - Immobilized.
Surround - Unable to hit targets.
Stopspell - Unable to cast spells.
Chaos - Attacks allies randomly.
Yes, he tells us exactly all of that. Useful information but each condition name pretty much spells it out so we shouldn't get too confused.
Oh? Me too!
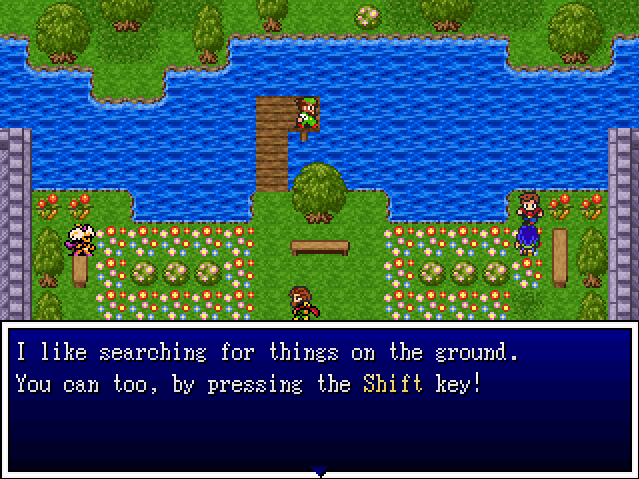
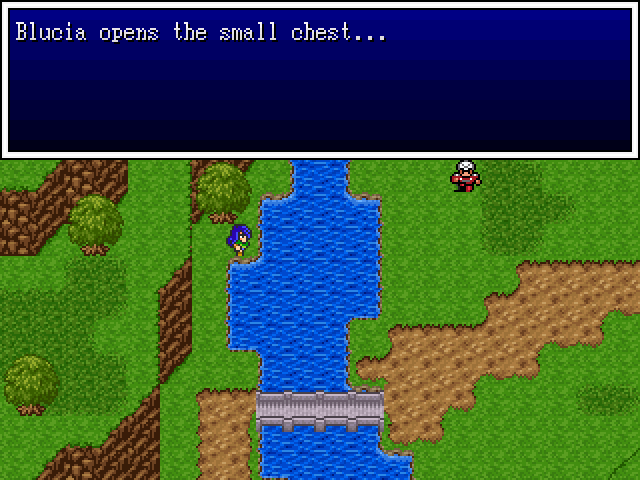
Oh, hey, what's that conveniently-looking odd spot down there?
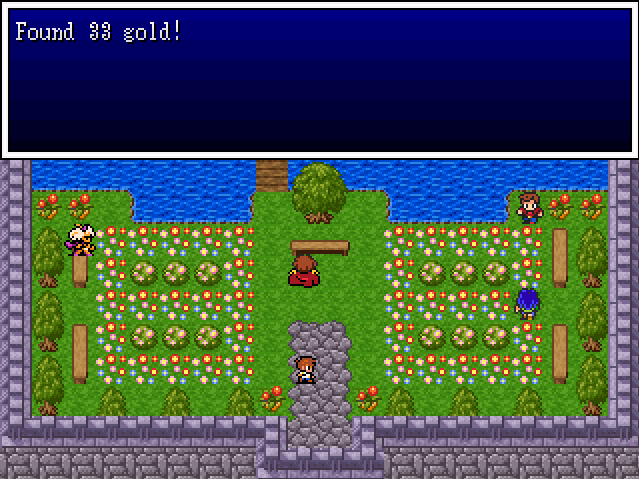
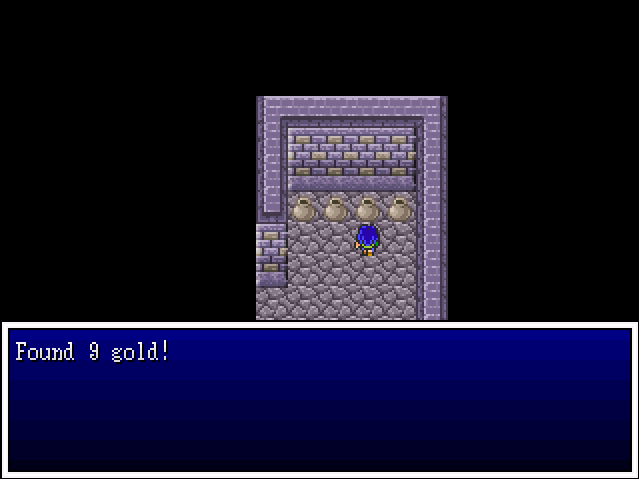
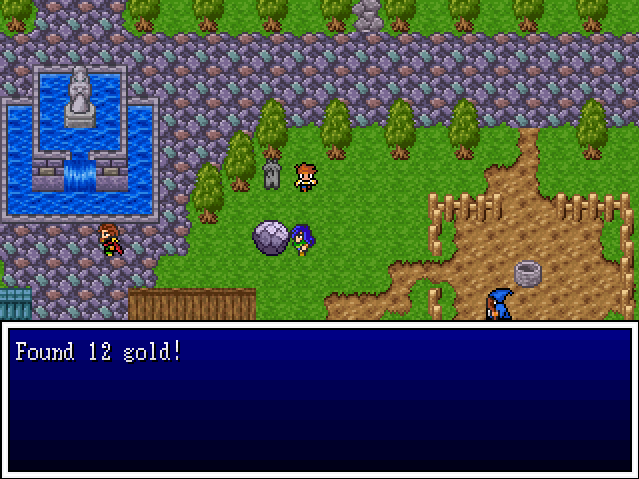
Money!
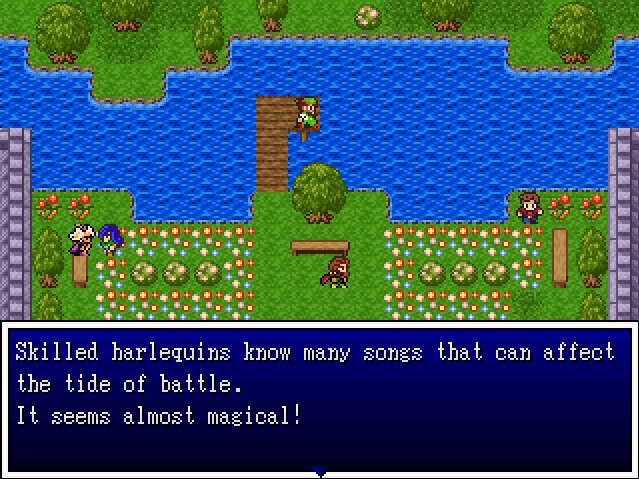
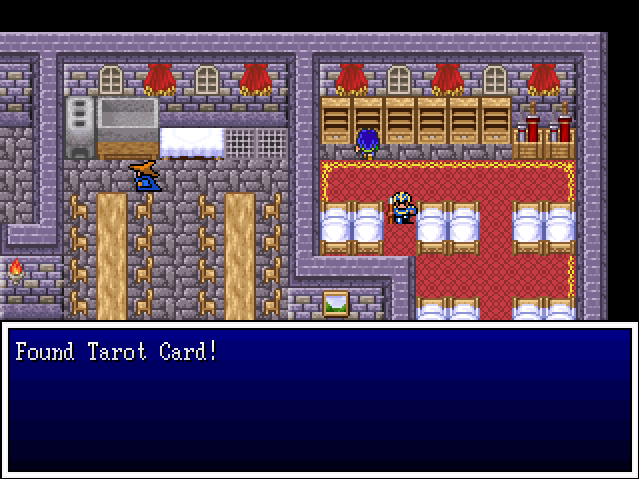
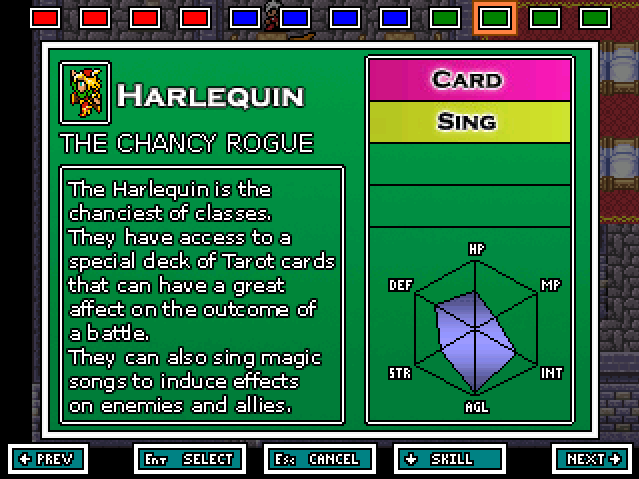
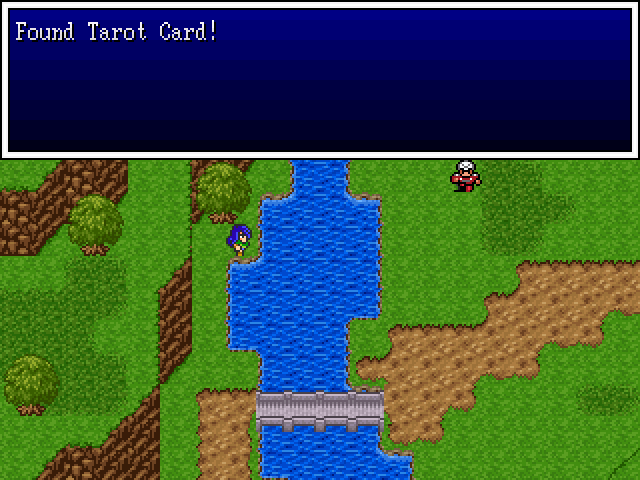
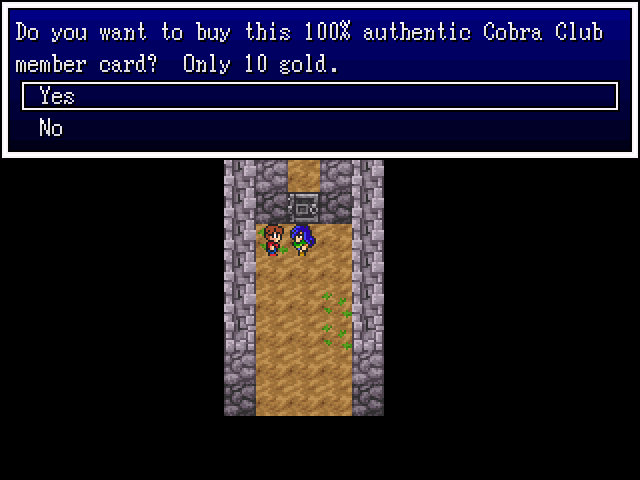
But you never know what a Tarot card will do until you use it.
I don't mind using Tarot cards (and thus, Harlequins) but they can be a bit OP. Doesn't stop me from loving them, despite the random nature of their spells.

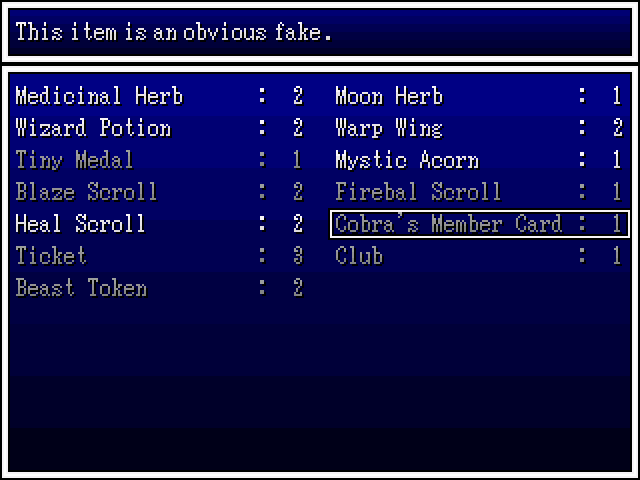
To open these chests in your inventory, simply use them like any other consumable item. The contents of the chest will then be revealed to you.
Alternatively, you can press the 0 key to automatically open all chests in your inventory.
This is an interesting feature of the game and I'll admit I'm kind of fond of it. Even if it doesn't really affect the game much, it's a funny little touch and depending on the chest you'll get different items at random.
This is found to the left of the main castle hub, which leads to the jail.
I'll be keeping an eye out for that!
Dooooor! Grrrr!
I'll be back for you.
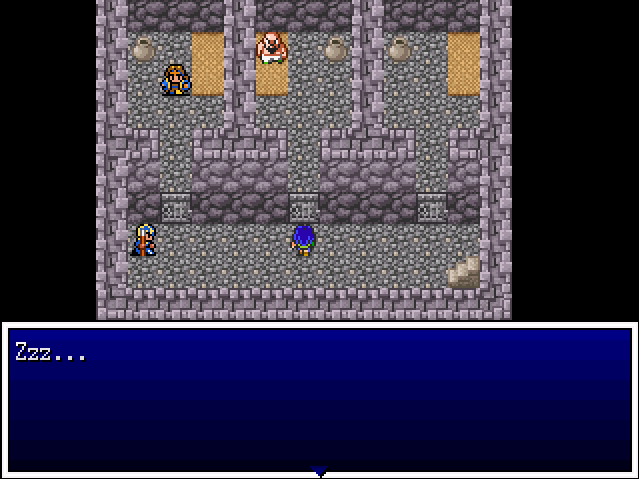
Someone has the right idea.
Pssst! By the way, I would watch out for the guy in the cell next to me... He only wakes up at night.
Okay, I'll be sure to come back at night if I ever need to talk to him, I guess.
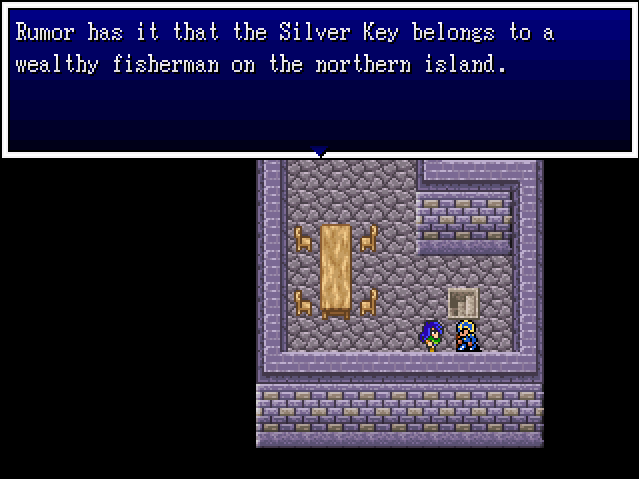
There is a tower on the island north of Helminsk.
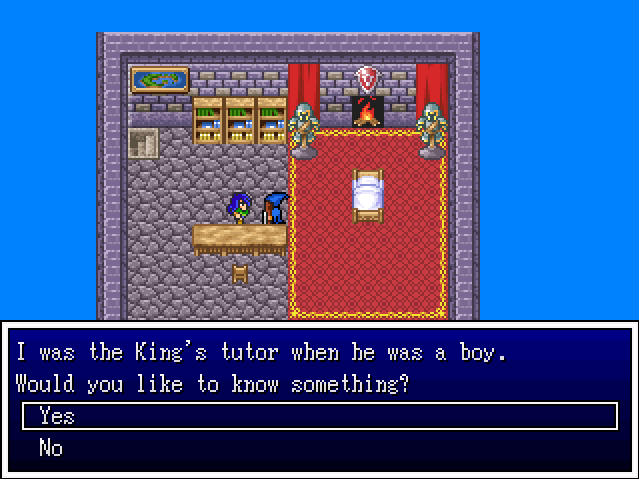
To the left of the gardens door is a staircase going up to the King's room. I don't know why his tutor is chilling in his room. He's not very helpful - that's all he says. If you choose no, he just shuts up.
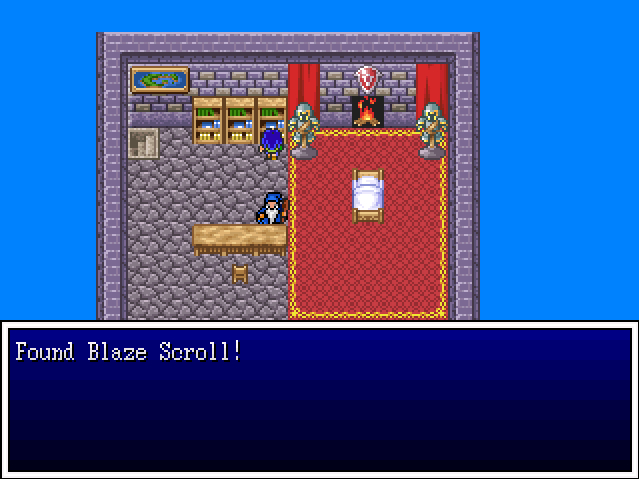
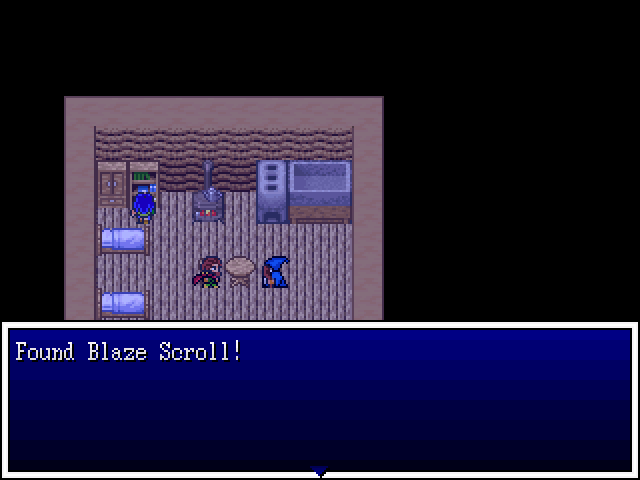
This is a nice find and will help us out in battle. Blaze Scrolls cast Blaze - a single-target, fire-based spell. It will come in handy.
That is all the King is packing, though. We can tick the castle off our 'To Loot' list for the time being. Now to check out the town!
FREEDOM!
You don't have to tell me, mate!
Greywolves! >:O
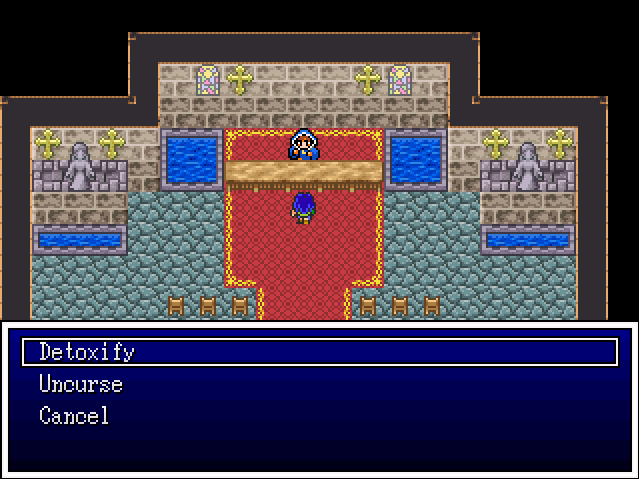
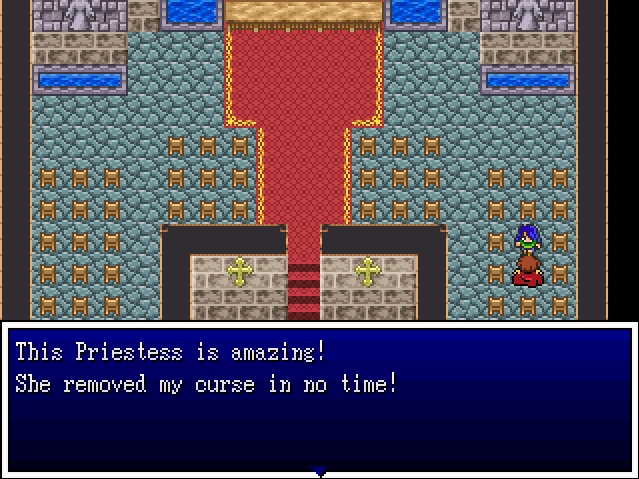
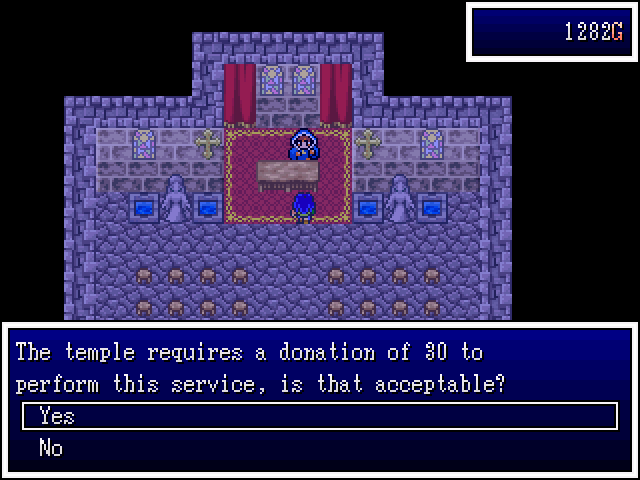
The church will restore your allies back to life (for a price) or give a blessing (heal from an ailment)...also for a price. Uh, I mean 'donation', of course!
...but you're still ugly...
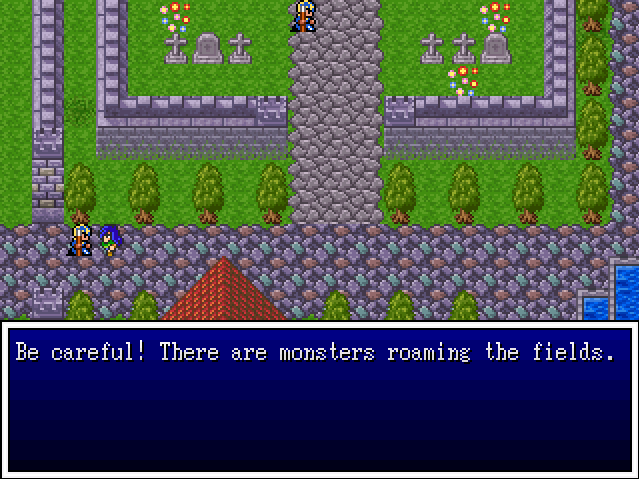
There sure are! Often in packs, too.
...let the looting begin!

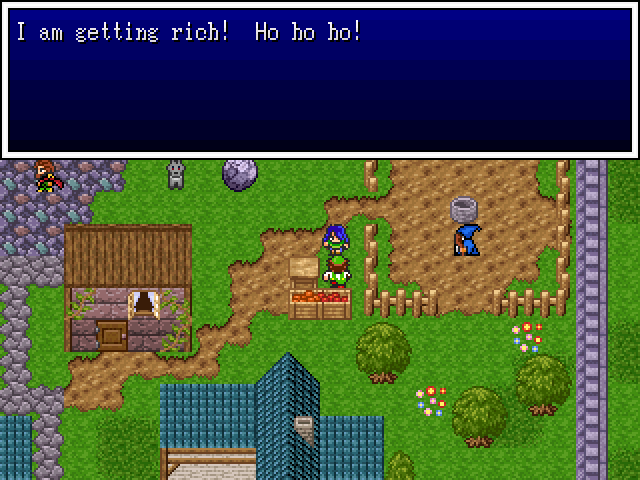
Muahahahahaha!
Soon...
You bastard. I just know there's something in that cupboard! I'll be back...
Right, let's see what the word around town is then, shall we?
Nah, that's my job. And I'm expecting pay for it, too.
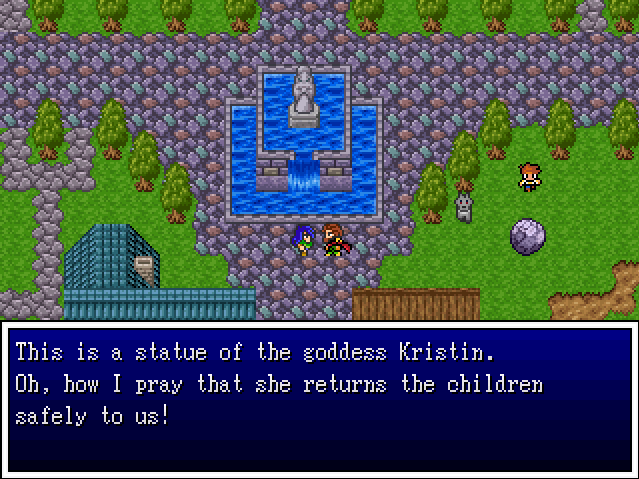
Goddess: Kristin. +1 Lore!
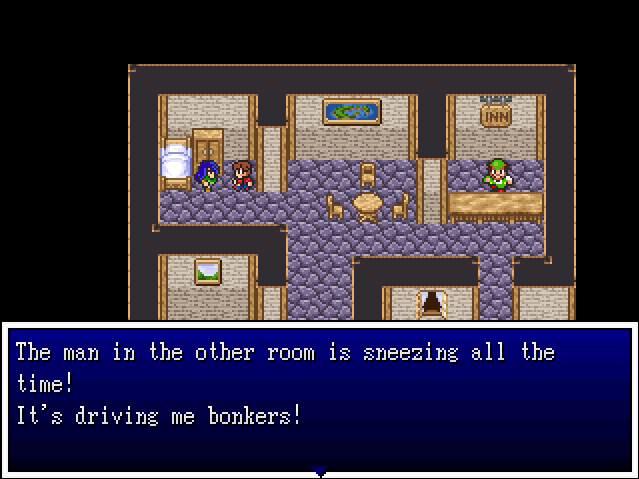
Allergies? I hate allergies.
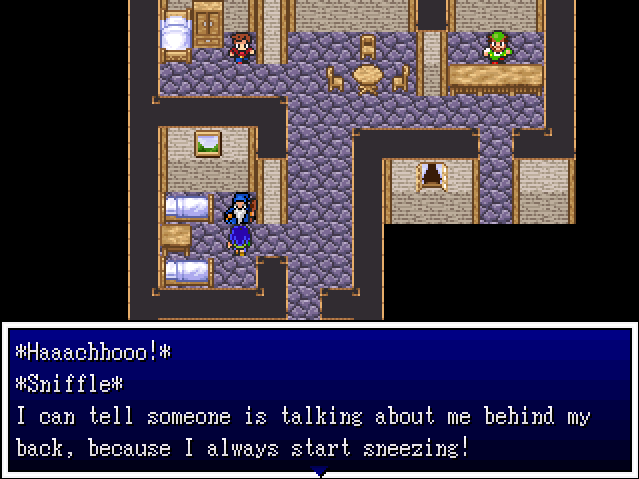
Oh. Not allergies.
You'd better! I'd hate to rescue the kids only to have to go after them again because you dropped the ball.
Don't worry, Ma'am. NAME ME! is on the case!

^.^
X3
Sir. I think you need to lie down for a while.
Oh? Let me give it a go.
Cinch!
SCORE!
*GASP*
C-Could it be?!
SIDE QUEST GET!
I'll be dealing with that later. Mufufufufufu~
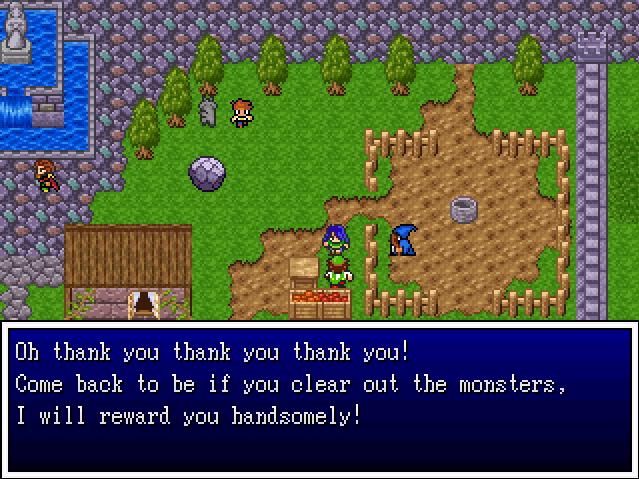
'Handsomely, eh?' I like Handsomely!
Spelling error count: 1
This is it guys... Participation time is up again!

Smells of loot in here...
This will be less useful to know than you think.
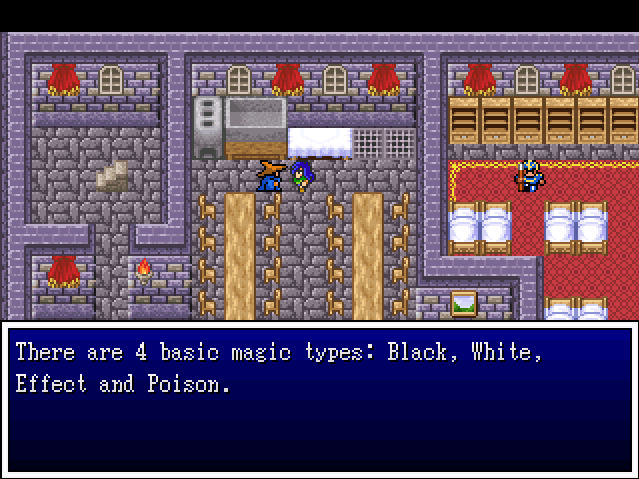
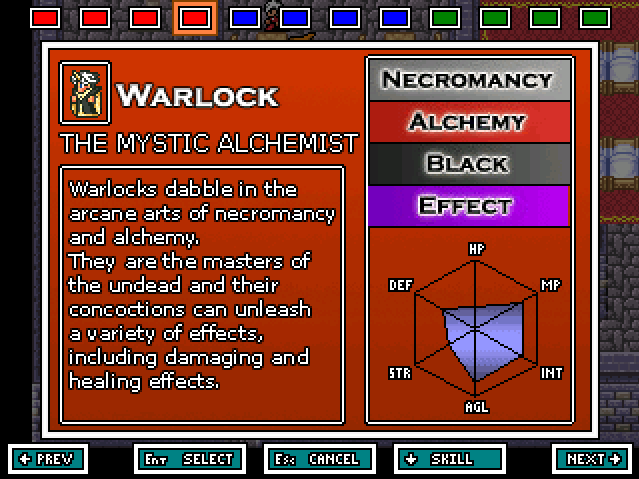
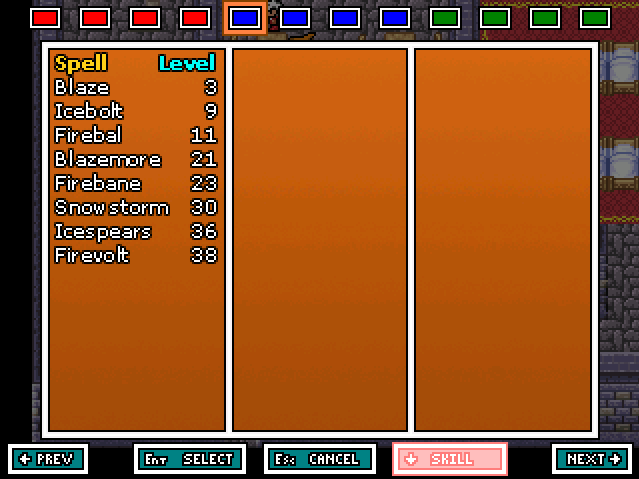
Black Magic does direct damage to an enemy, and is typically of the Fire, Ice, Lightning, Earth or Magic variety.
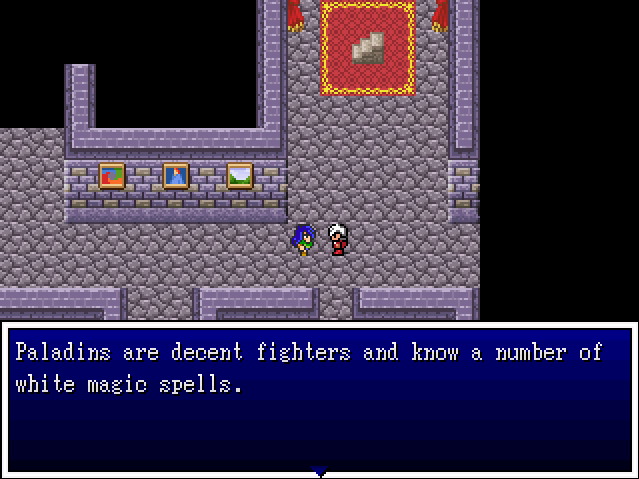
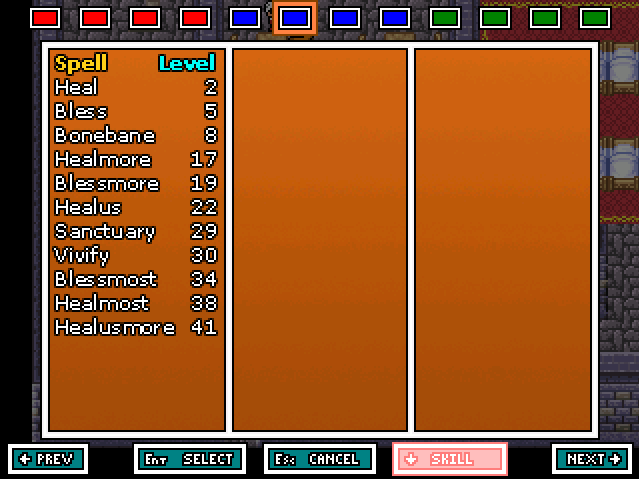
White Magic is used to heal or revive companions, as well as cure status ailments. Also, the Bless attack type of spells are very effective versus the undead.
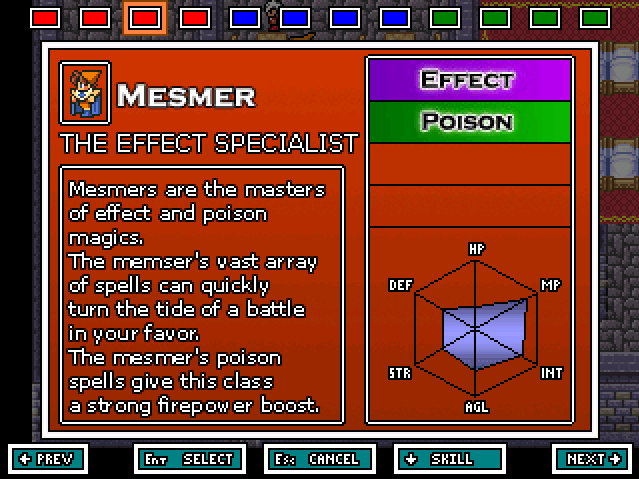
Effect Magic is used to change the status condition of monsters or allies. You can double your stats, or halve enemy stats, or afflict them with conditions such as Sleep.
Poison Magic deals damage per round to enemies, typically 1% of their total health per round. It can be useful for long battles or for enemies with lots of HP.
Thanks info-dump-dude. This info is relatively more useful than the previous guy, but still pretty self-explanatory.
Well, I know where I'm headed!

LOOT!
We grab another Club, some Wayfarer's Clothes (+7 DEF) and a Leather Cap (+2 DEF).
This guy will come in useful for when you lot decide on our party.

I don't know that NAME ME! will be visiting this place any time soon, but I'm sure someone will... We will probably need an all-woman party for it, though, so keep that in mind (there will be another chance for an all-woman party later on).
Nothing I didn't already know, bud. Thanks, though. Reminders are appreciated!
Aw yeah~
More loot! In the two pots and cupboards we find even more treasure!
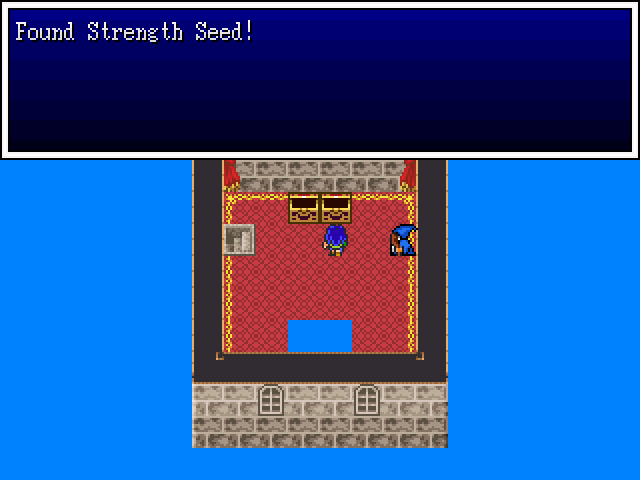
- a Stamina Seed (increases Max DEF by 5)
- 4 gold (...yay)
- a Tiny Medal (Yay!)
- a Firebal Scroll (casts Firebal - a fire-based spell that attacks all enemies)
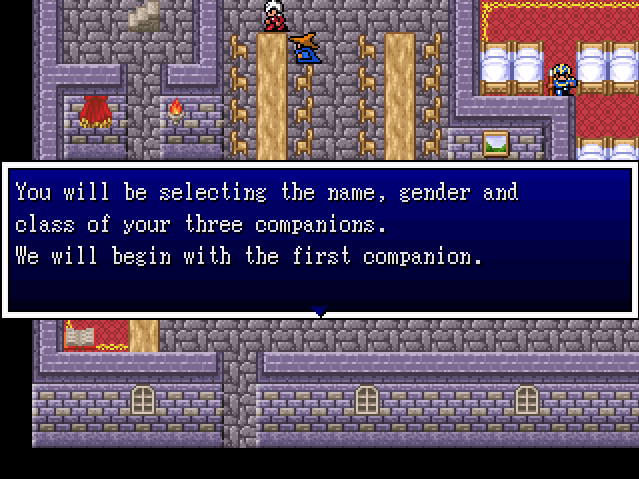
Now for the real fun! You guys get toscrew me over build the party!
There will be three characters that need to be created. You get to choose gender, name and class.
Gender is pretty much just cosmetic, though it should be pointed out that there is an optional area for all-women party and women have more options when it comes to armours.
Name can have up to 10 characters.
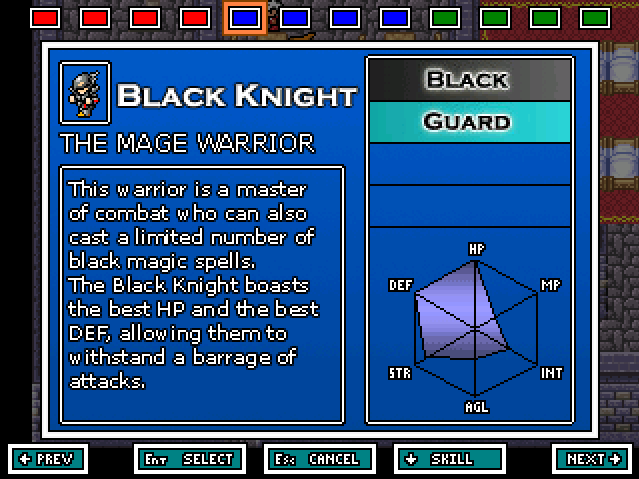
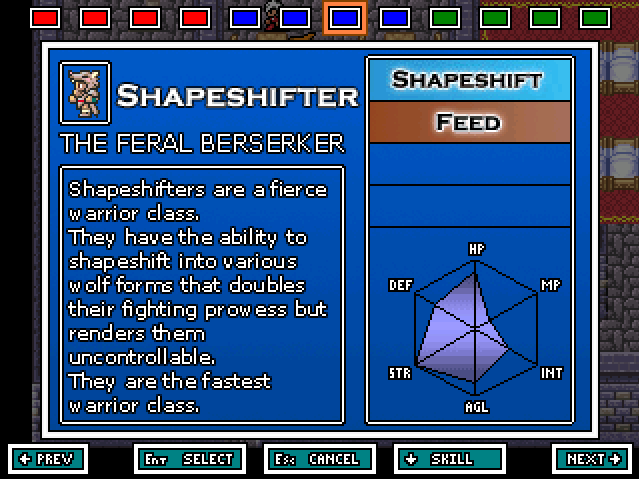
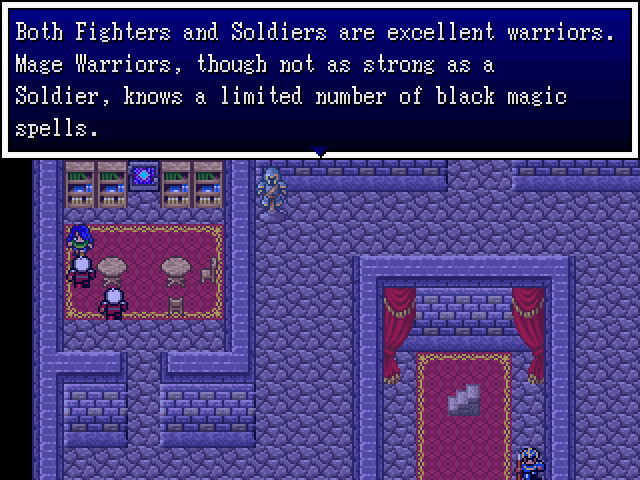
Classes will be detailed below.


Our current group.
Update 02 - Kung-fu Paladin
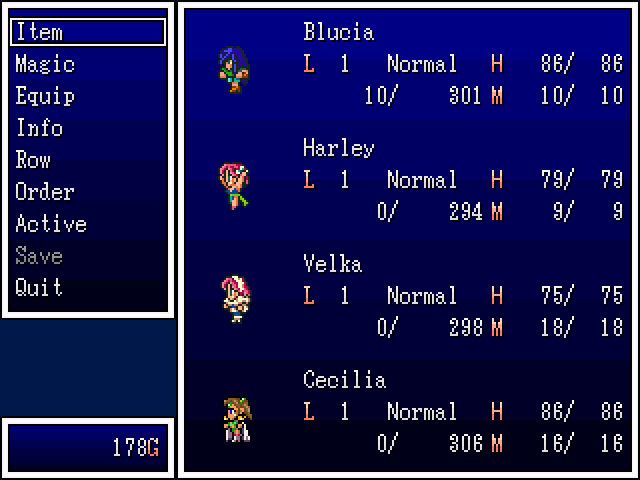
Here's our team. The majority of you went for an all female party, so that's what we got!
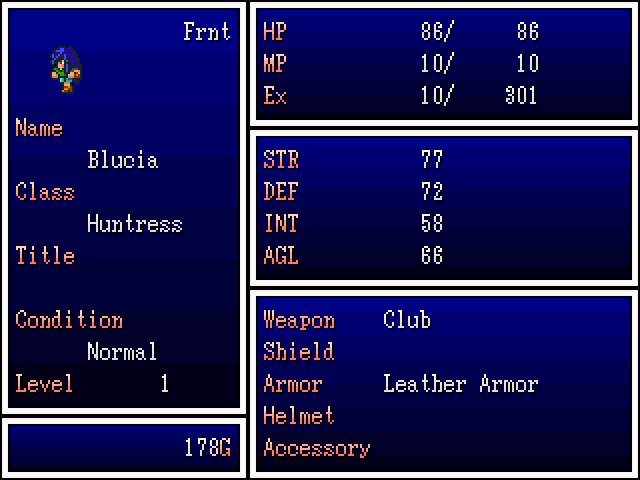
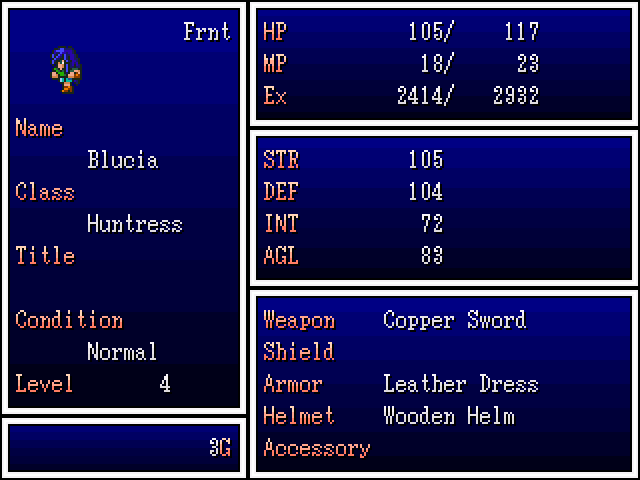
First off is Blucia. She's going to use a mix of physical and magical attacks. She's also pretty fast on her feet and sturdy, so she'll be kept in the front lines.
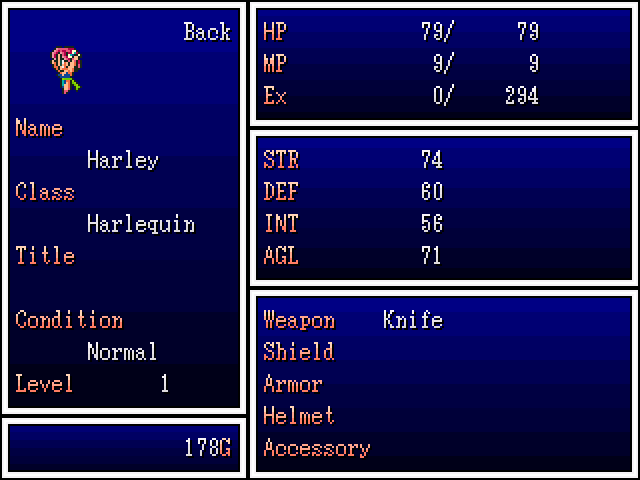
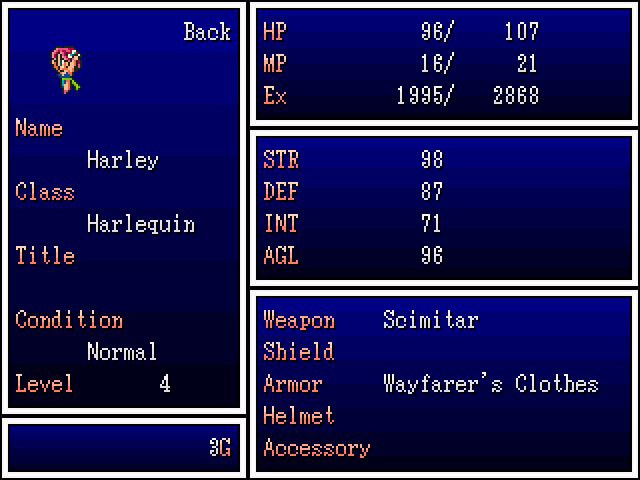
Next up is our Harlequin, Harley. She's going to be mainly magic-based, depending on what Tarot cards she gets. Otherwise she'll be hitting things. She's fast, but a little fragile.
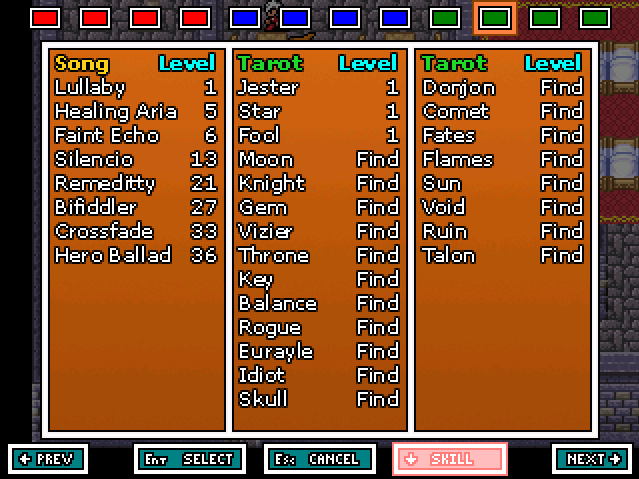
She starts out with a few neat skills.
Lullaby is a group sleep spell and will be hella useful. It hits fairly often and is one of the best spells for crowd control.
Tarot card items are interesting. Only Harlequins can use them and they teach one of the random Tarot cards to the user when applied. Harley starts with some already, but we'll get more. When used in battle the card will randomly activate a spell tied to it and randomly pick a target to apply that spell to. Some cards are better than others, as expected. These are what she started with and I'll show off any new ones she gets as well.
Star Tarot is decent. It won't target the enemy, which is great, and applies one of the four buffs to the Harlequin: Upper, Speed, Focus or Ghost. It can fail, though.
(Ghost doubles attack and intelligence, and doesn't allow physical attacks to hit on you, but you can't control the character.)
Jester Tarot is iffy. It applies Laughter to a group, which stops them from making any actions in battle. It wears off pretty fast, but can backfire and hit your group which isn't great.
Fool Tarot is another hit or miss. It can do nothing or apply Heroic or Confusion to the target. The target is, again, random.
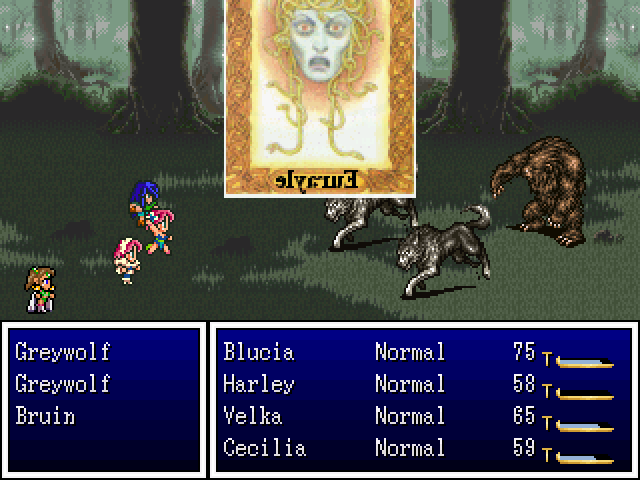
The Card we had in our inventory taught us the Eurayle Tarot.
Eurayle Tarot isn't great. It applies either Numb or Poison to the target. Once again, target is randomised so it can backfire.
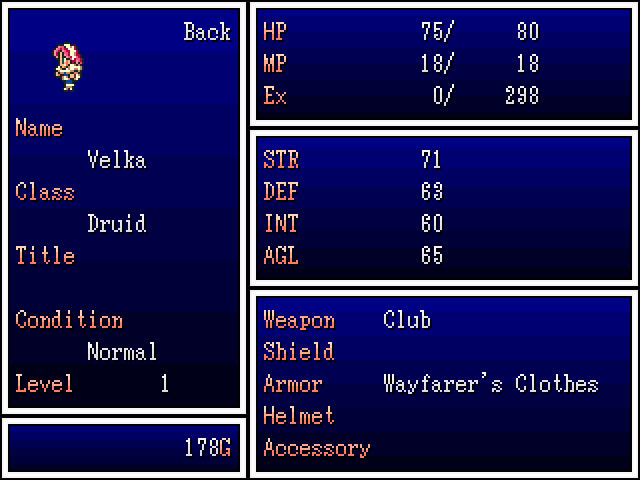
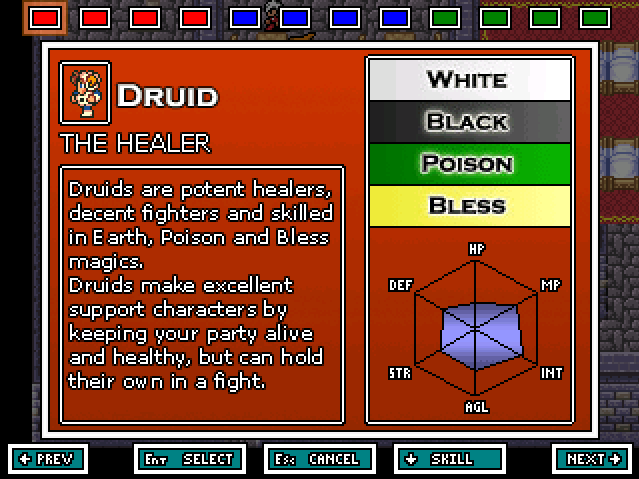
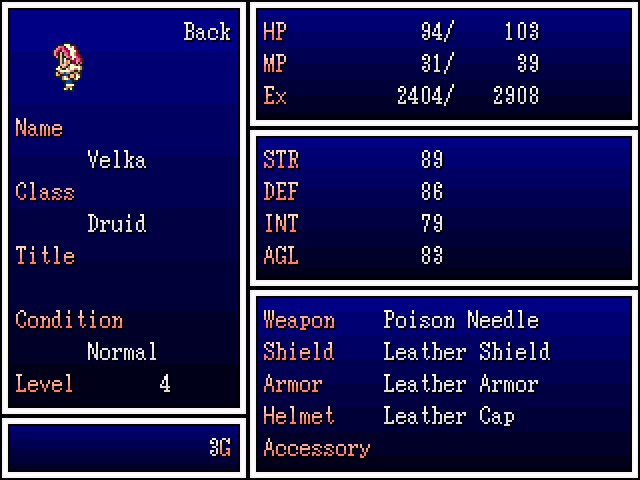
Our Druid, Velka, is pretty fragile and can be a bit slow, but her healing is going to come in handy, just like her ability to use the Bless spells later on. She starts with two spells already - Poison and Heal.
Now, Poison may sound bad but it's actually pretty decent. The spell has a chance to inflict poison to the enemy but also does some pretty decent damage - more than she can currently deal out, even with a weapon. She will be kept in the back row, though, due to her fragile nature.
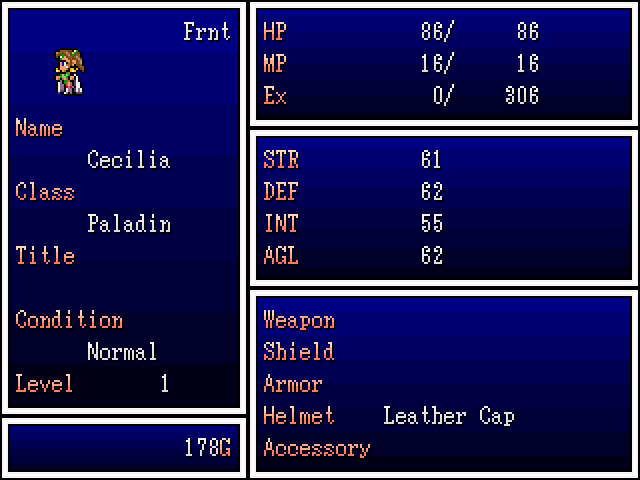
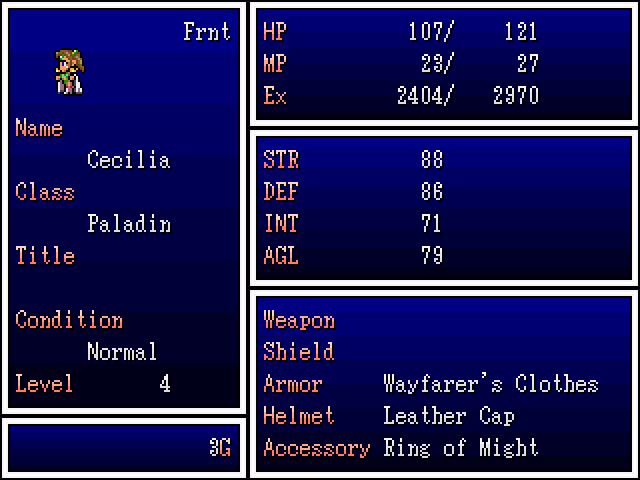
Cecilia is our Paladin. She's sturdy and while she's not the fastest, she'll be able to take some hits while also healing up our group when needed. In fact, her healing is on par with Velka's, though it takes her a while to get some spells. She will also get Bless eventually, which means that we're going to be overpowered for this chapter. I'm perfectly okay with that, though.
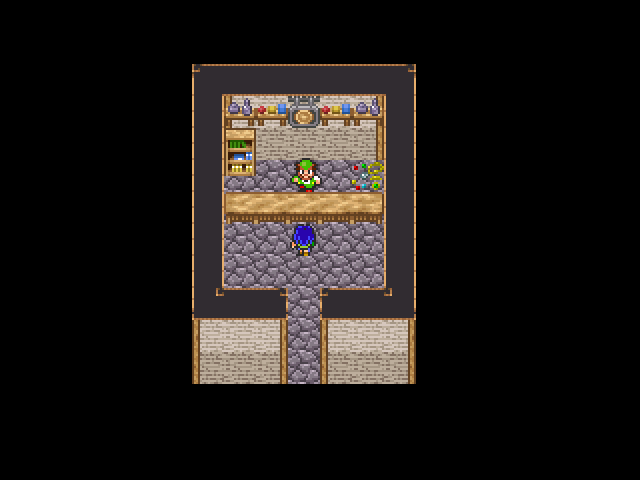
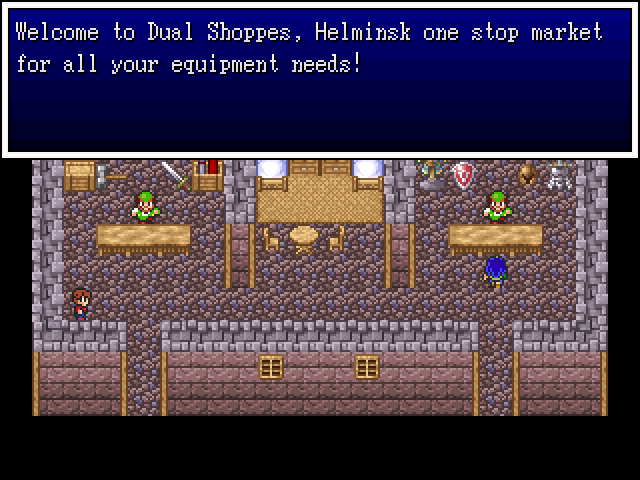
When we last left off we had just gotten the crew together so now it's time to check out what we can buy. You'll notice that the gang already have some goodies equipped - these are the items that we'd found before. To the Shops!

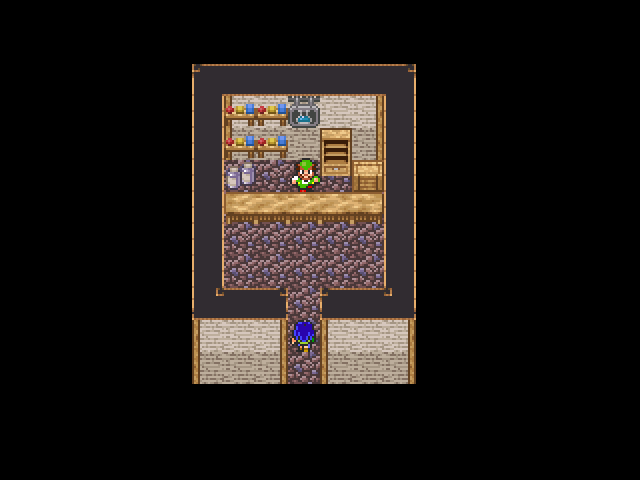
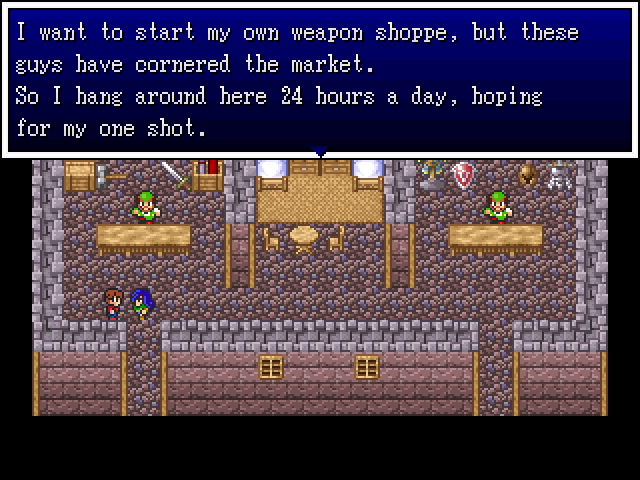
The weapon and armour shops in Stromholm are in the same building.
The weapon shop has some weapons that are upgrades and some that we can't buy or can't equip. On the right you can see how the items compare to what is already equipped.
Green arrows mean that the main stat for that item is higher than the current equipped item.
Red arrows mean that the main stat for that item is lower than the current equipped item.
For weapons, the STR is what it's judged by. For armour, DEF is. Other stats aren't taken into consideration on this screen, so it's hard to know whether one item has other aspects to it.
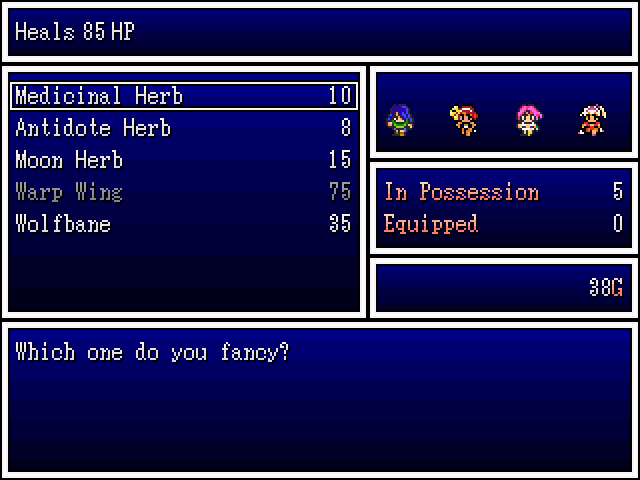
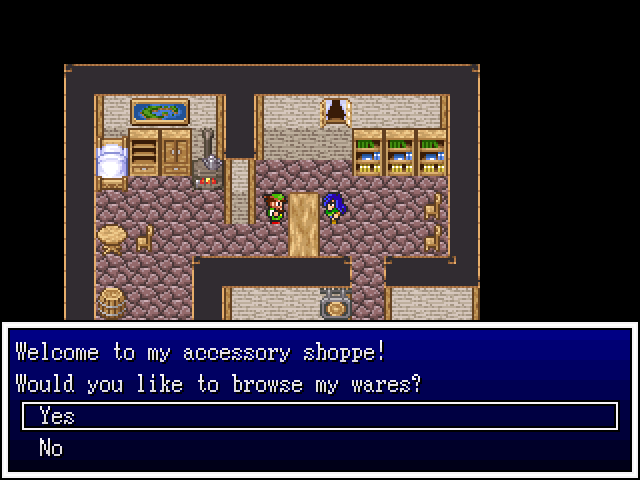
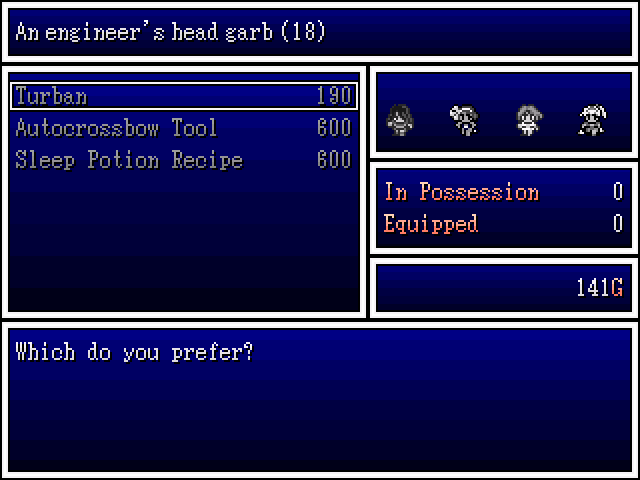
The item store has a few non-typical items.
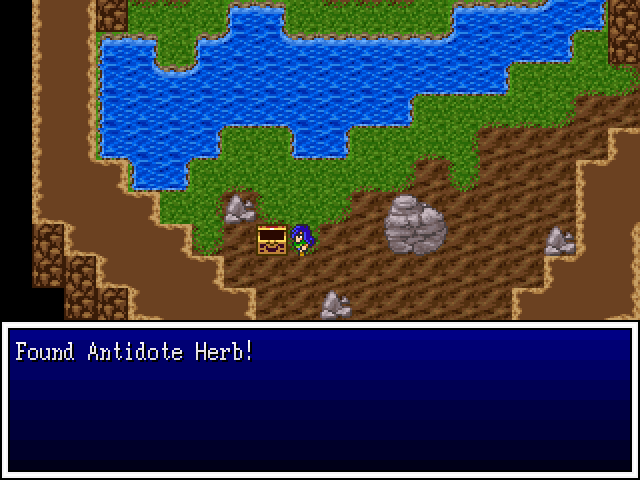
Antidote Herb removes poison.
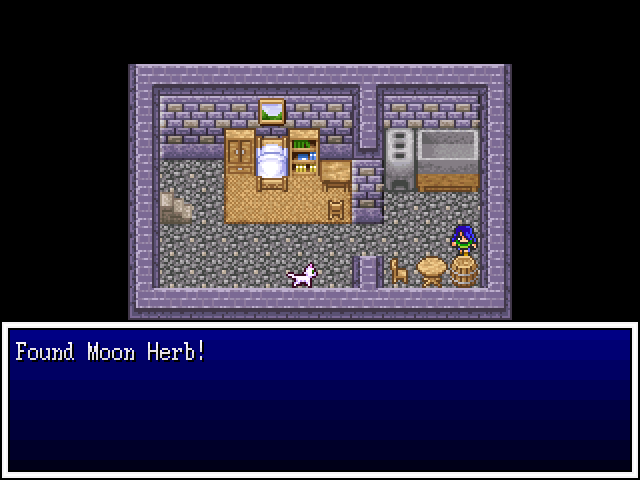
Moon Herb removes Numb.
Wolfbane will revert Werewolf status.
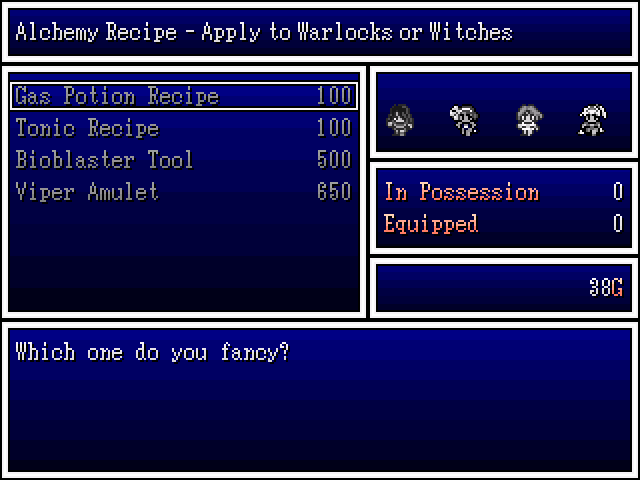
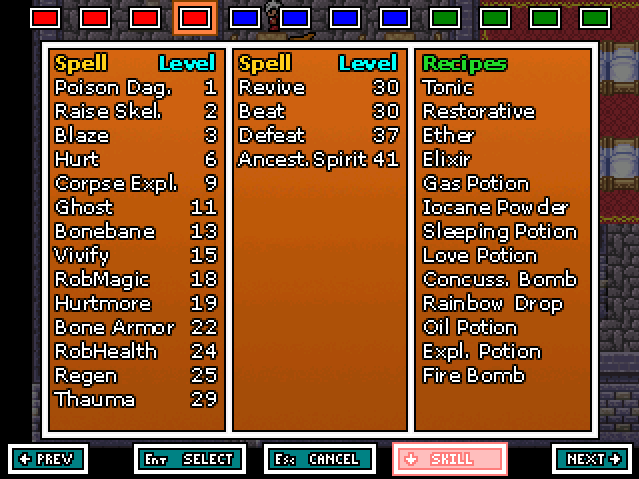
Next up is the alternate item shop. Here you can find things for different classes and accessories. The Recipes are for Witches/Warlocks and the Tools are for Engineers. We don't currently have any, though. The Viper Amulet will nullify poison attacks when equipped and while it would be useful, we have better things to spend our money on. Like armour.
Speaking of...
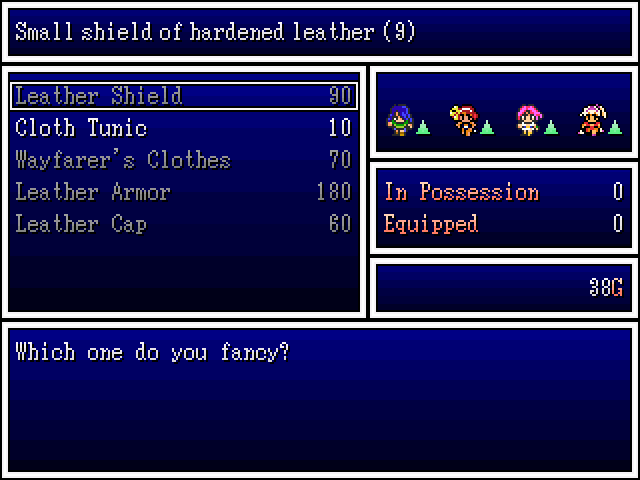
Most of this stuff is an upgrade to what we found, bar the Cloth Tunic. Each of our current classes can use a shield, which is nice.
I picked up a few Wayfarer's Clothes (7 DEF) and a Copper Sword (24), which I gave to Blucia.
Lady, not everything is about you.
Now, some of you might notice we skipped a house in the last update. The reason for this is because we've a small sidequest there, but will need a party. Thankfully, we now have one! Time to raid!
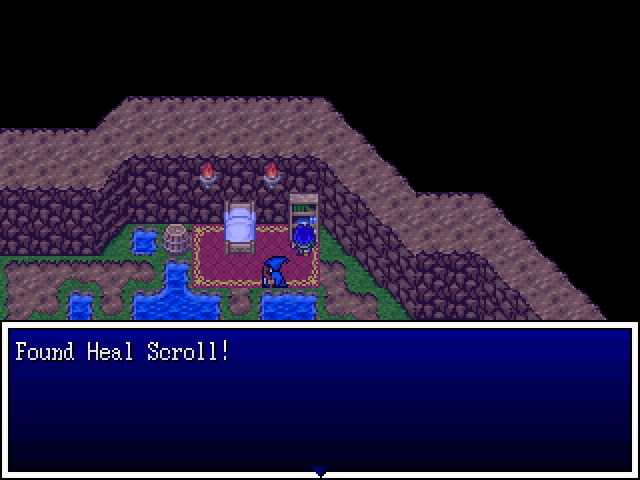
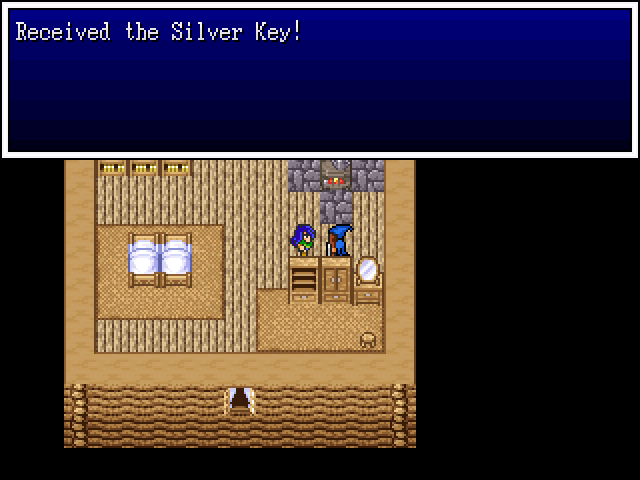
In the bookshelf to the right we find a Heal Scroll which casts Heal (+45 HP, one target).
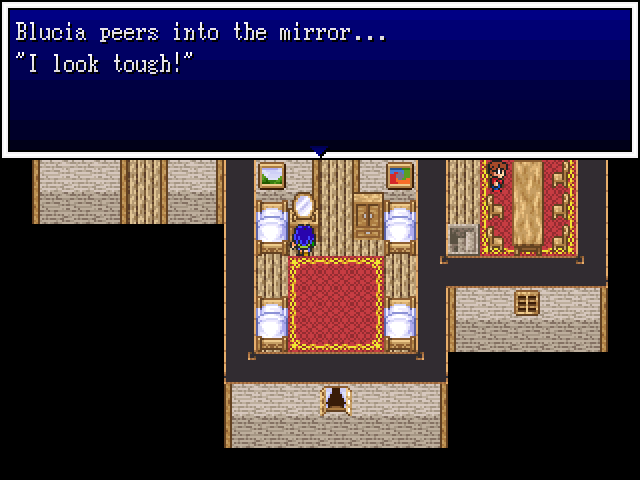
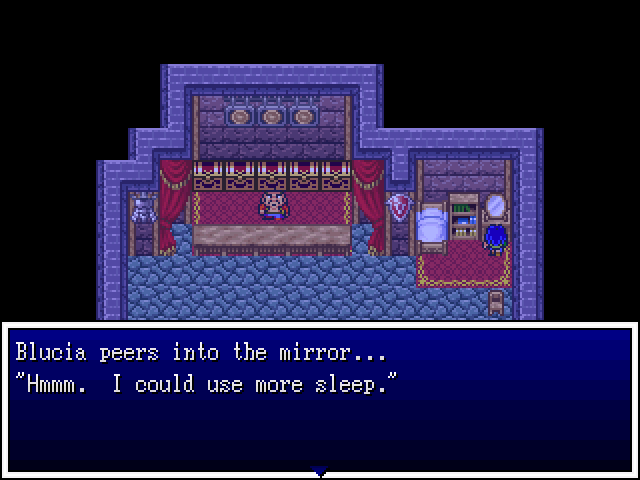
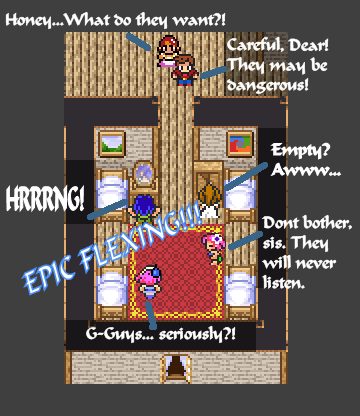
Blucia stops to flex in front of the mirror and check out her epic muscles. She's been lifting, brah.
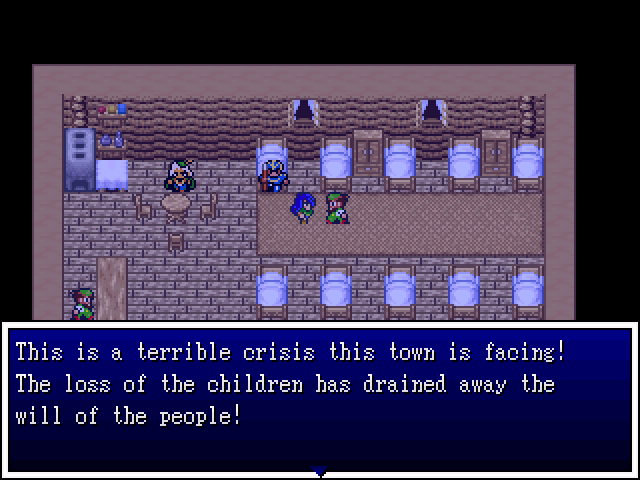
Good good. Having a well-balanced party is crucial to survival these days.
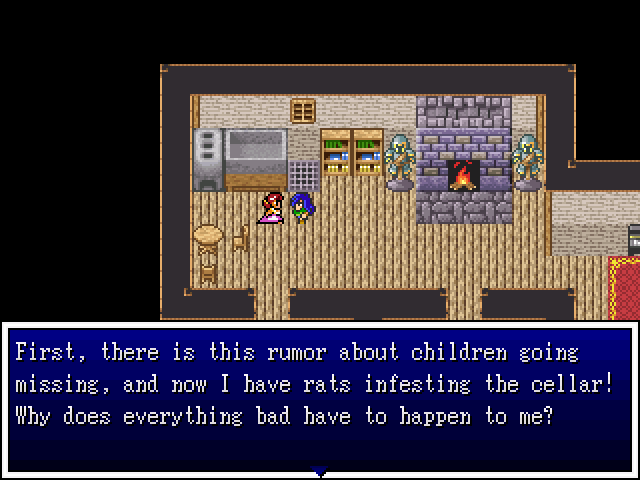
Okay, fine, that's about all we're getting here. Let's check out these rats in the basement the lady mentioned.
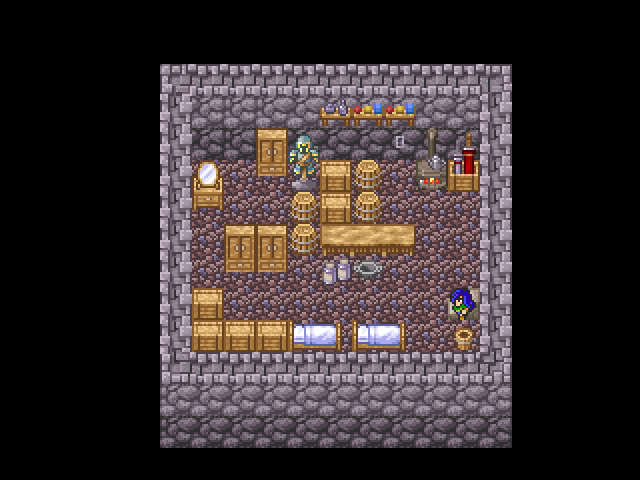
My loot senses are tingling.
I see something of interest, though. Let's check that out first, shall we?
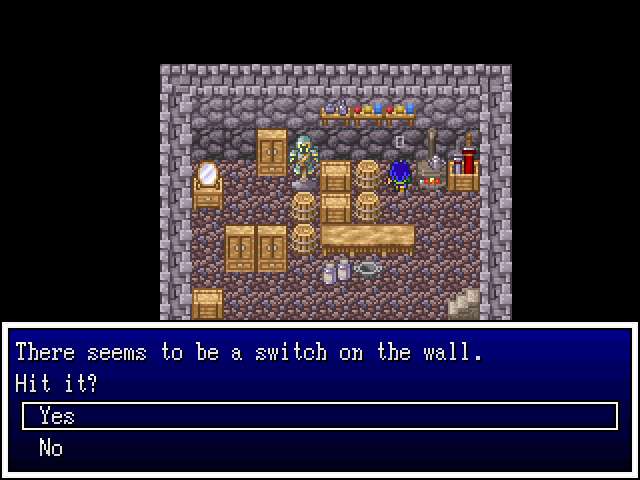
Hitting this switch...
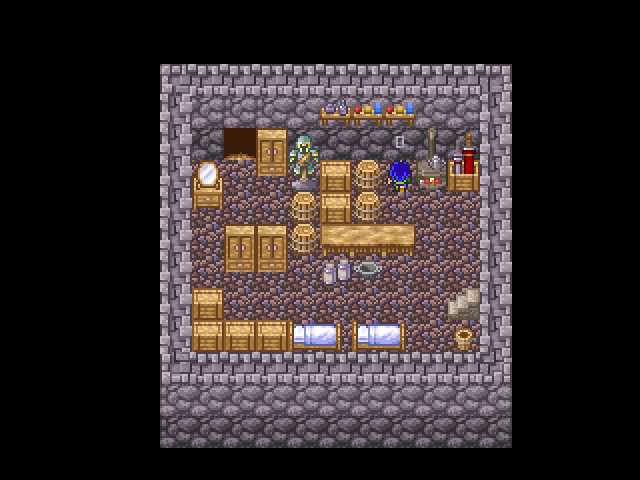
...will open this hidden door.
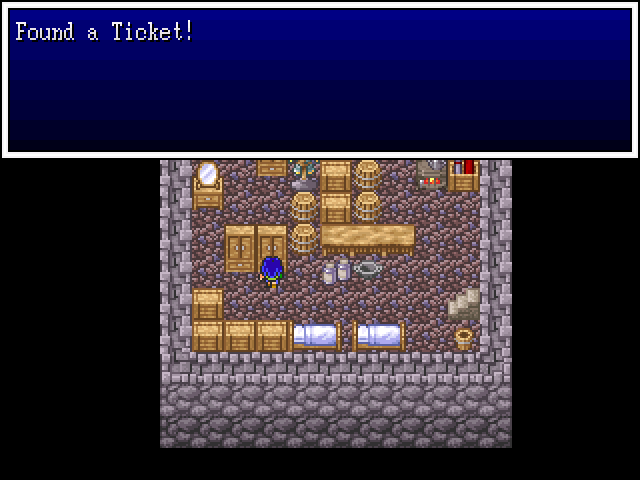
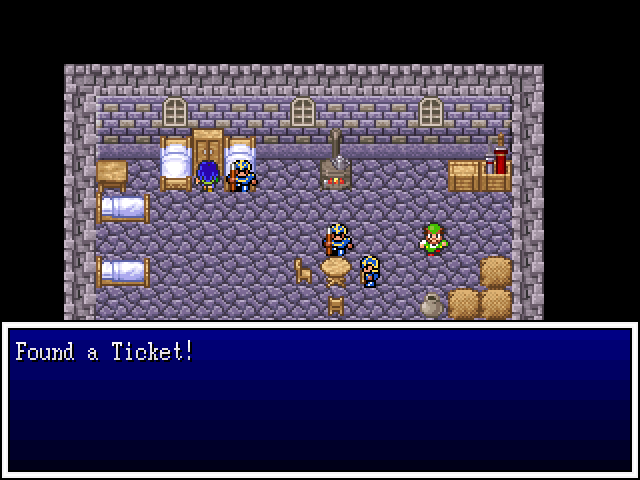
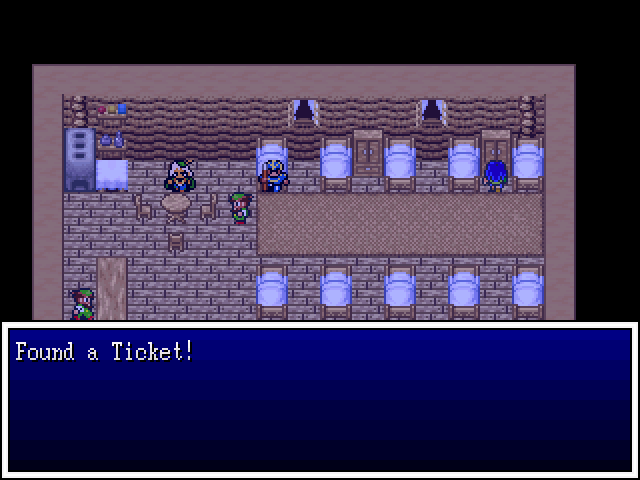
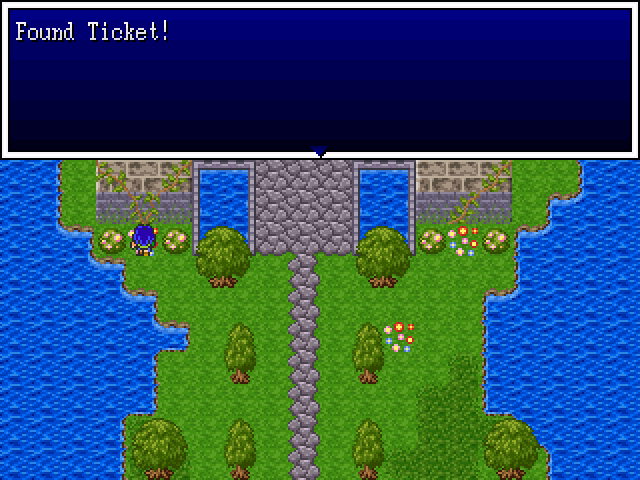
Loot now! We grab a Ticket here, which will be explained in the next episode.
We also find an Antidote Herb in one of the barrels and a Cloth Tunic in one of the other cupboards.
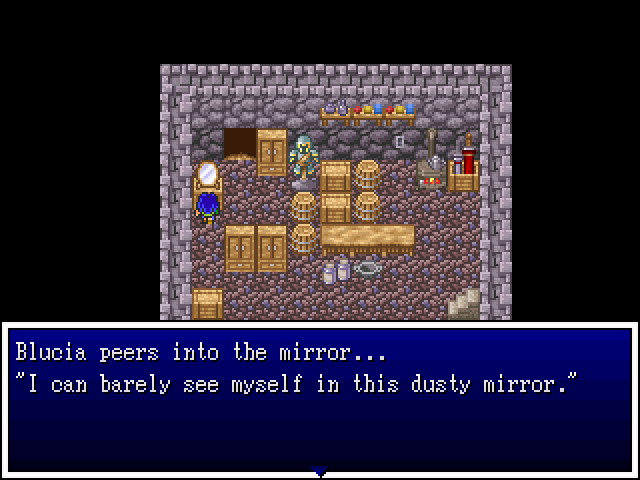
We also check out the mirror for more epic flex time. Sadly, it's too dirty be be of use. Oh well, maybe next time, Blucia.
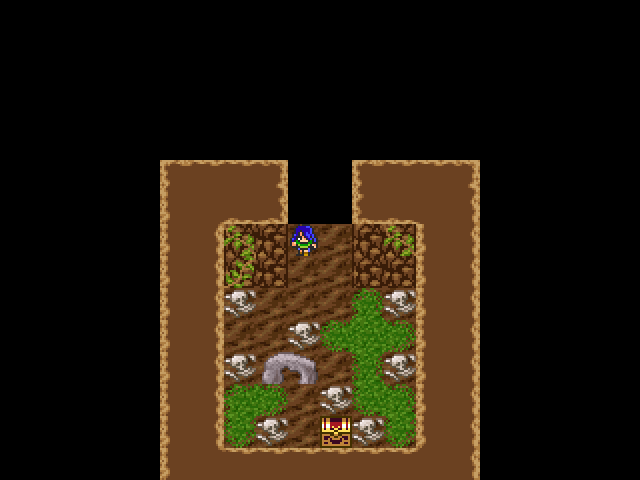
Aw, our first dungeon!
Granted, it's a small dungeon, but a dungeon non-the-less! So... let's go!

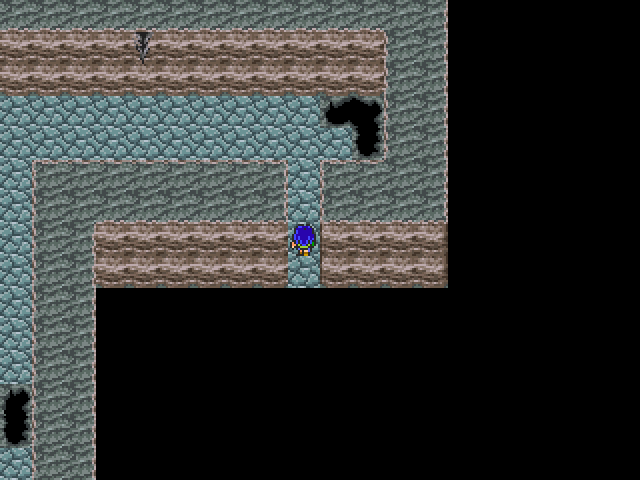
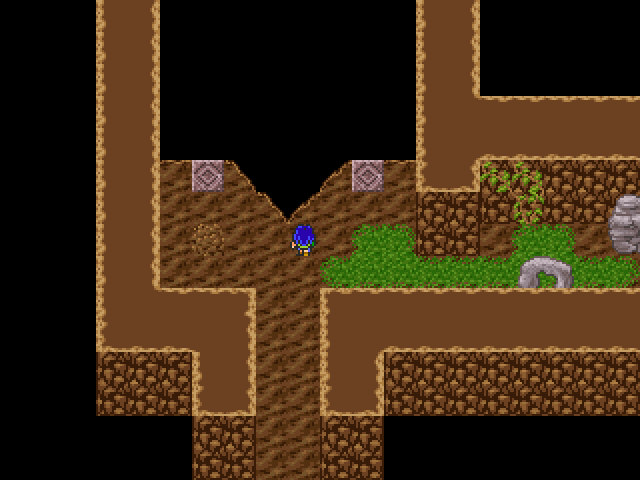
Most dungeons will have branching paths. It's easy to get lost if you're not good at directions (not something I have an issue with, thankfully) but shorter ones shouldn't pose a problem for people. That said, I'll just be showing off points of interest and giving general directions.
Let's go! There's a branch up and one down that leads both left and right. We're going to head up first, because it doesn't seem to lead anywhere. Dead ends before progress~
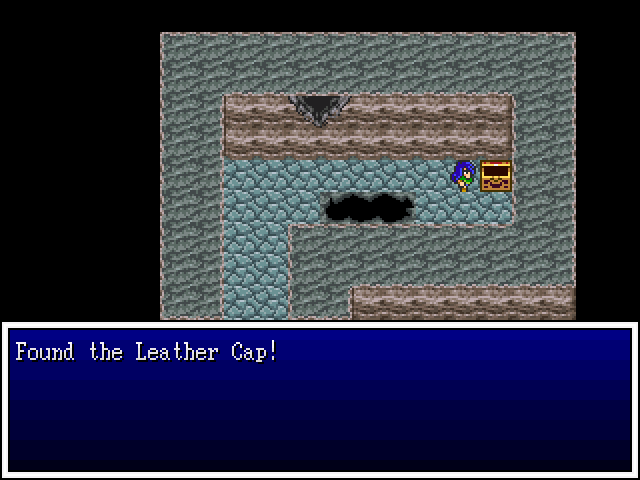
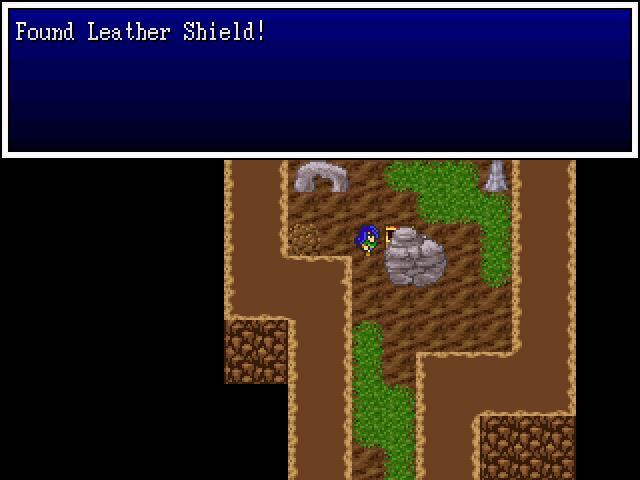
We find a dead end and a treasure chest with a Leather Cap (2 DEF). I hand it to Velka, since she has the lowest DEF so far and we'd like to keep our healer alive.
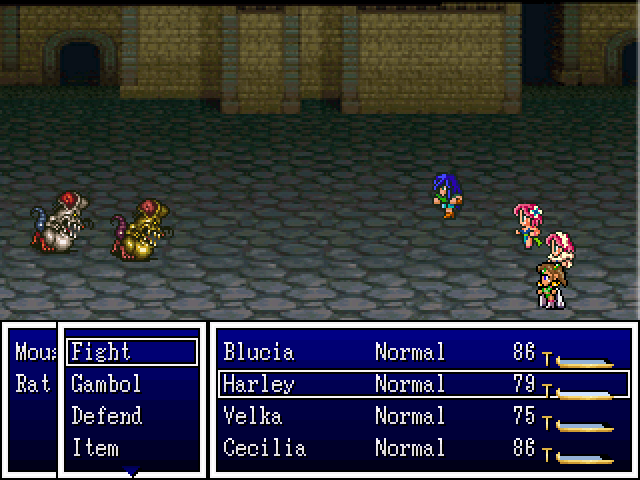
Rats!
...and a Mouse. These are the only enemies we'll find in this dungeon. They can do a bit of damage when you run into larger groups, but for the most part they're pretty tame, though the Rats do have Plague Bite, which can poison an ally.
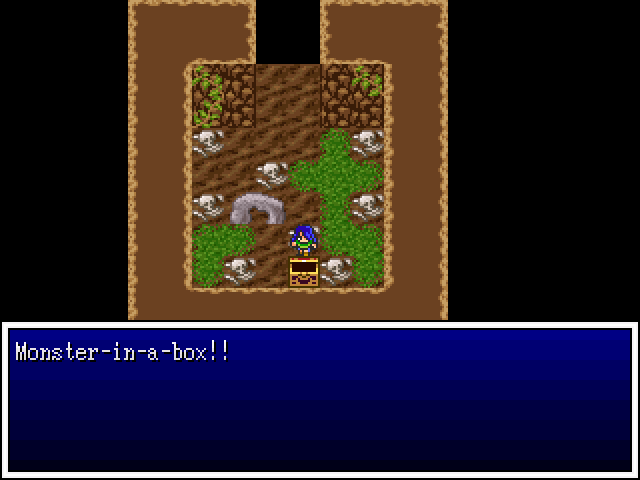
Heading back to the central area, we go down and to the left.
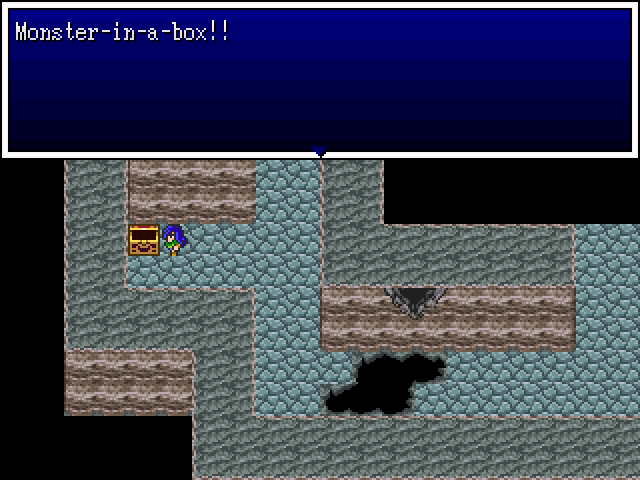
Where we find another throwback to classic jRPGs, in the form of a monster chest.

Crud.
Blucia is poisoned by one of the rats, while Cecilia heals up. White numbers indicate damage, blue indicate healing.
We're still on level 1 in this fight, so it can be easy to get overwhelmed, especially if you don't have a good party. The Firebal scroll that we picked up earlier can help take this battle down.
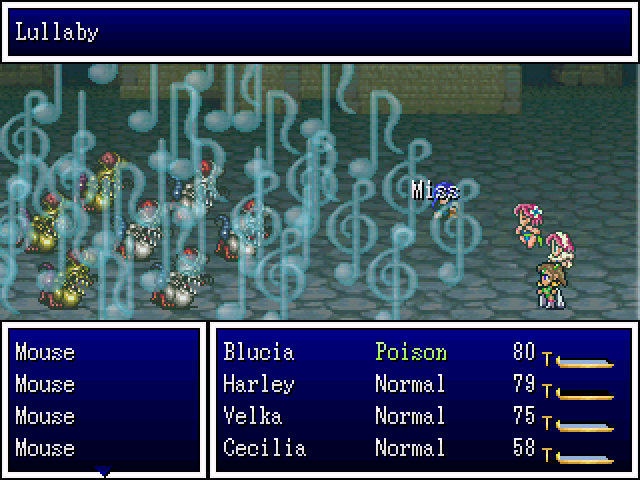
Thankfully we have Harley and her great singing voice. She busts out a Lullaby (consequentially sending all bar one Mouse to sleep. I love this spell! :allears: ) while one of the enemies attack Blucia and miss.

From there we pick them off one by one. Some of the rats woke up and dealt some poison to us while we wailed on them, but they went down pretty fast.
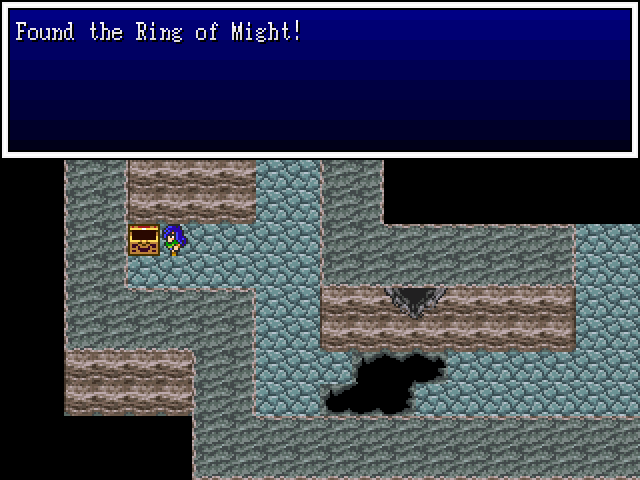
For our trouble we nab this pretty little lovely - a +10 STR when equipped.
It was at this point I realised I'd not gotten Cecilia a weapon and that she was punching enemies. I figured, "Hey, kung-fu Paladin, why not?" and gave her the ring to bolster her attack a bit more, in lieu of a weapon.
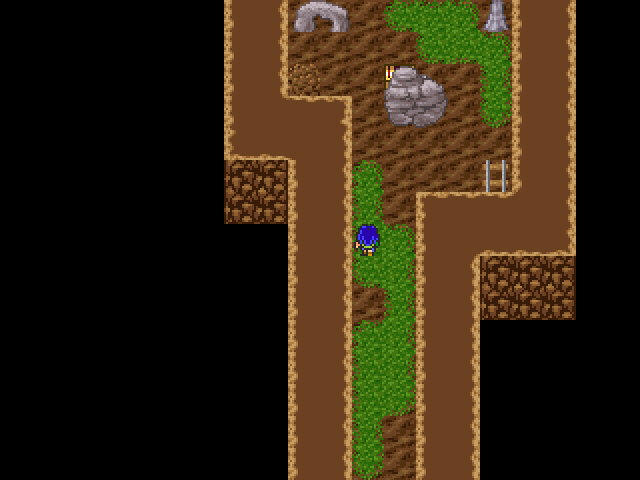
The way forward in this area is blocked by a hole, so we go back to the initial fork and follow it down and to the right.
Aha! Following the path leads us here and those stairs will lead us...
...out here.
We are free! Take that, walls! Blucia laughs in the face of your boundaries!
Nothing else out here but a guard, chilling instead of working. Touching the edge of the screen in any direction will teleport us to the world map.
It is what it is.
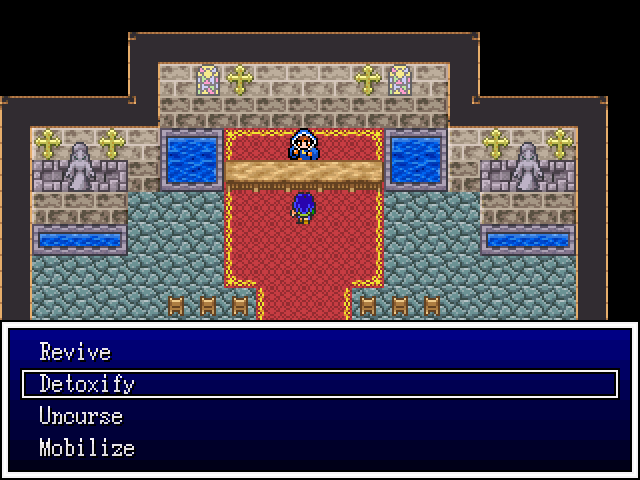
O Holy of Holies, O great goddess, Kristin! Please remove the foul venom inhabiting our heroes!
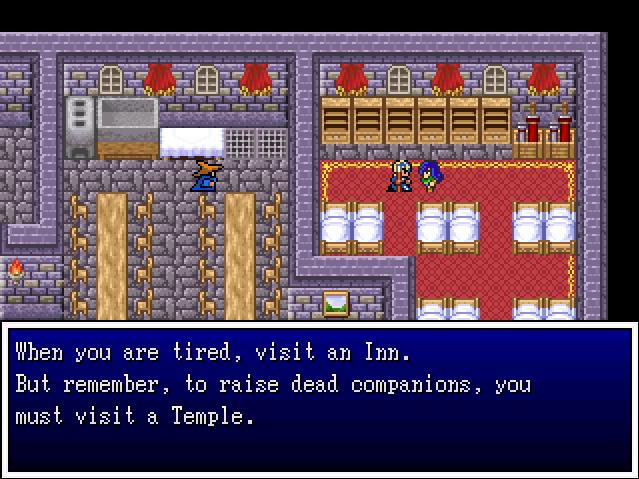
Poison will deplete your HP little by little each turn in battle, but also every couple of steps outside of it. Sleeping at an Inn will not remove afflictions, so only items and the church will rid them.

We head out to the world map to grind a bit and get surprised. Our rows get reversed and we're weaker to damage. This group will kill us if we're not careful.
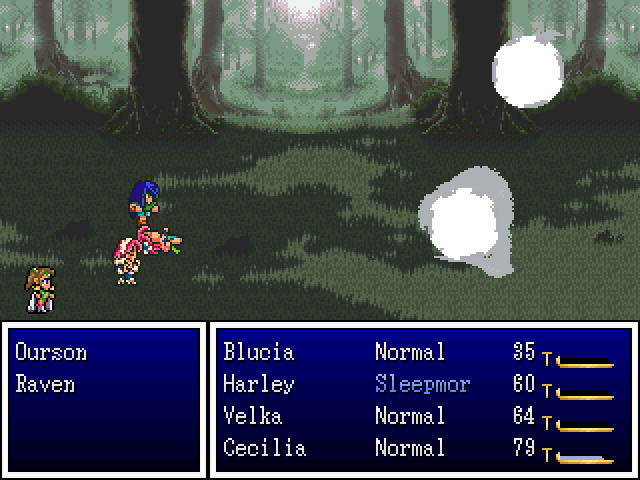
Fortunately, we have a Harley and she hits them with a Lullaby.
While they're sleeping, I decide to show off the Tarot skill, using the Eurayle Tarot.
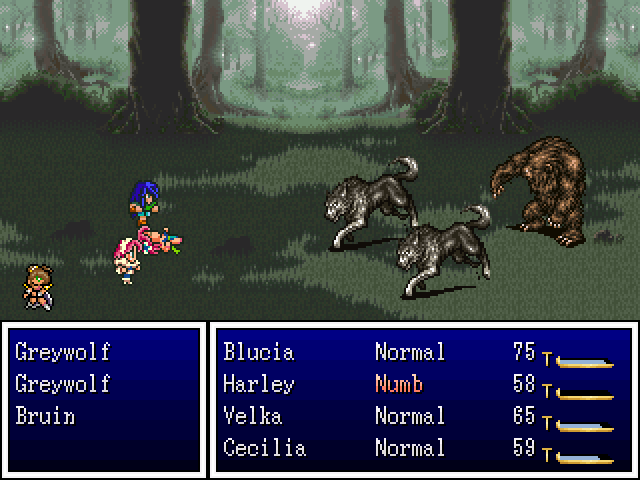
Unfortunately, we have a Harley and she is clumsy.
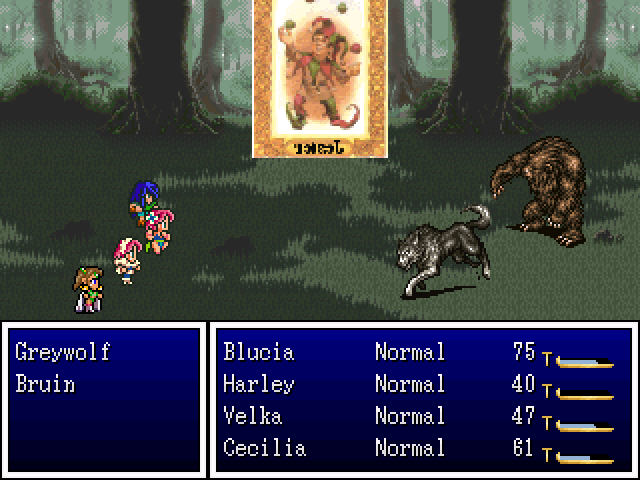
Okay, let's try the Jester card instead.
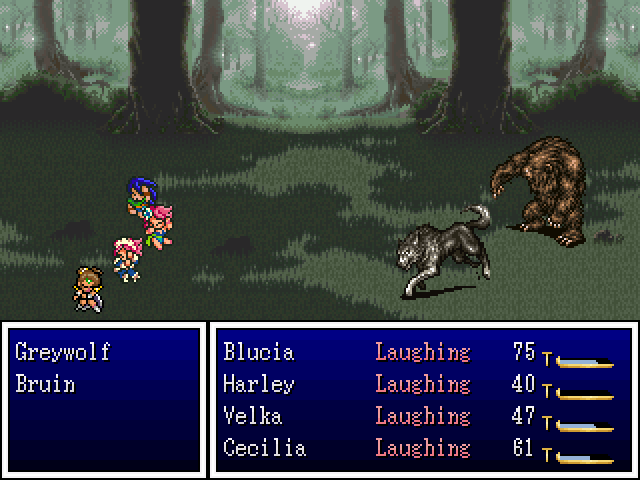
Goddamn it, Harley...
That must have been some joke. :/
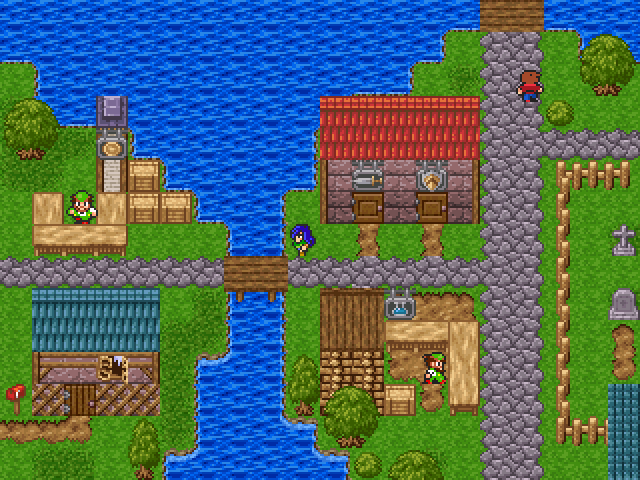
To the east of the city we can find this small place. It's the border guard. Let's check it out!

Seems peaceful enough.
Under this tree we can find a hidden spot. Doing an underfoot search, we find our first Chest item!
Hitting 0 opens all chest items in our pack.
BONZAI!
Let's check what we got~
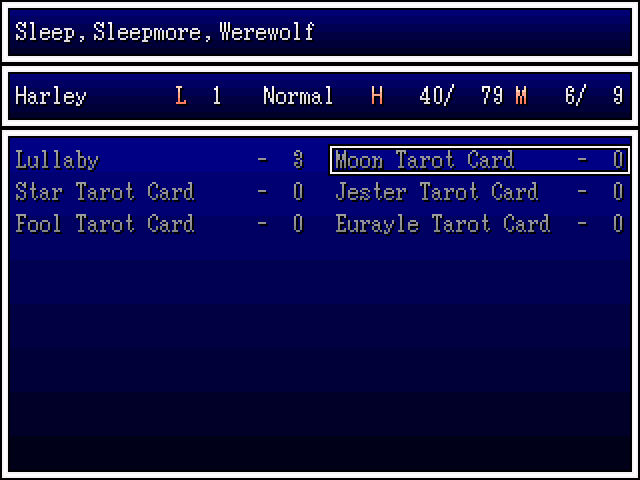
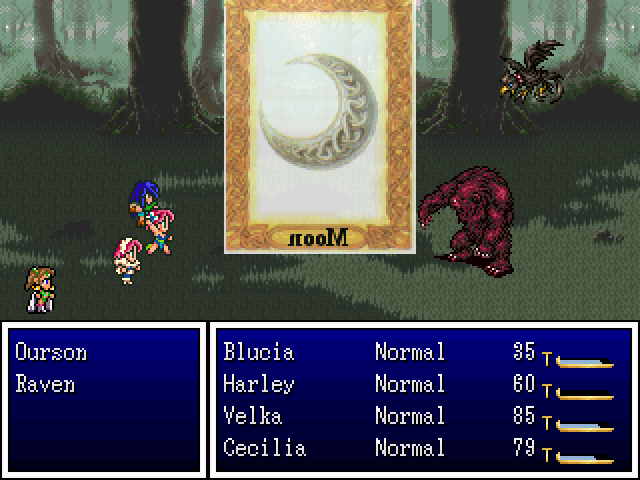
Ah, the Moon Tarot - Randomly applies Sleep, Sleepmore or Werewolf status to a random target.
Sleepmore is an amped up version of Sleep with higher chances of not waking up over time or after being hit.
Let's explore the area and see if we can't find some goodies.
Guard-man knows his business.
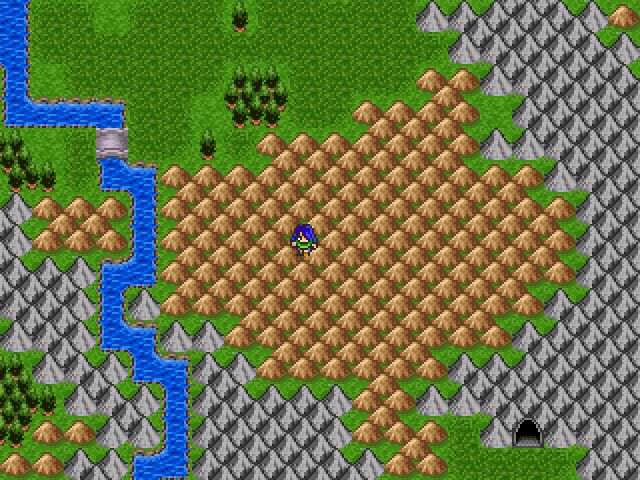
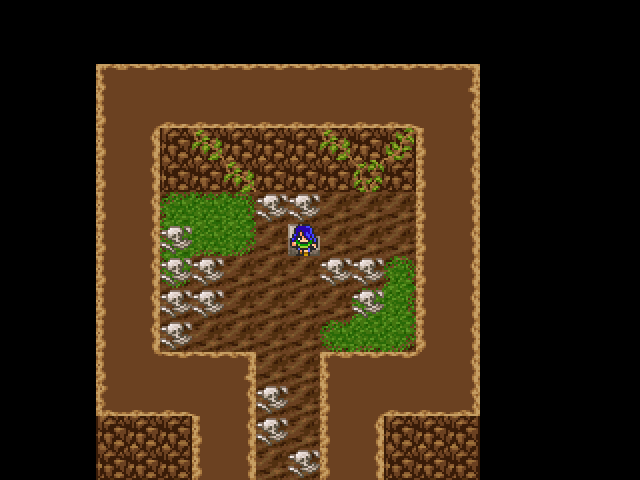
When in hills on the world map, enemies will come more often. This can be a curse and sometimes it's better to take the long way around than to cut through hilly areas.
For the record, we are currently in the country known as Norsland. You may notice a little theme when it comes to country and town names. This will become a lot more apparent over time...
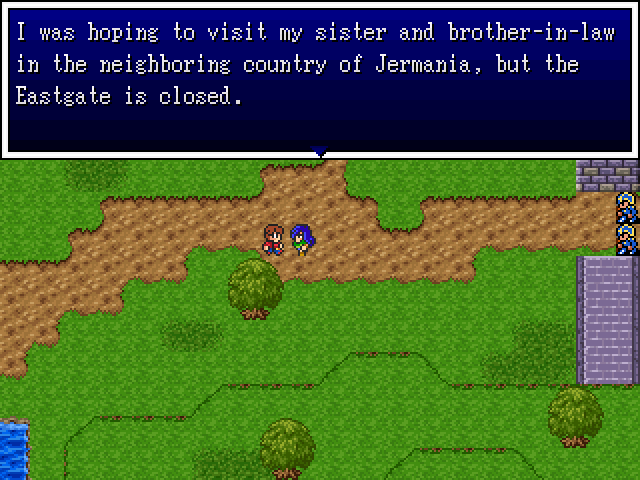
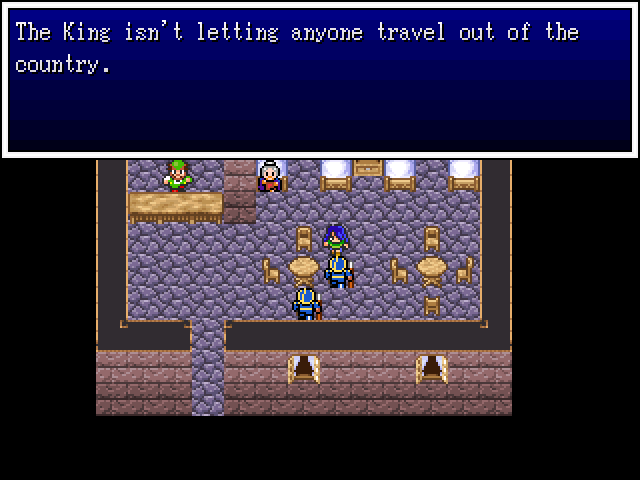
And the king has the country on lock-down. Amber alert in full effect, I suppose. the dirtbags who took the kids won't be leaving the country easily, that's for sure.
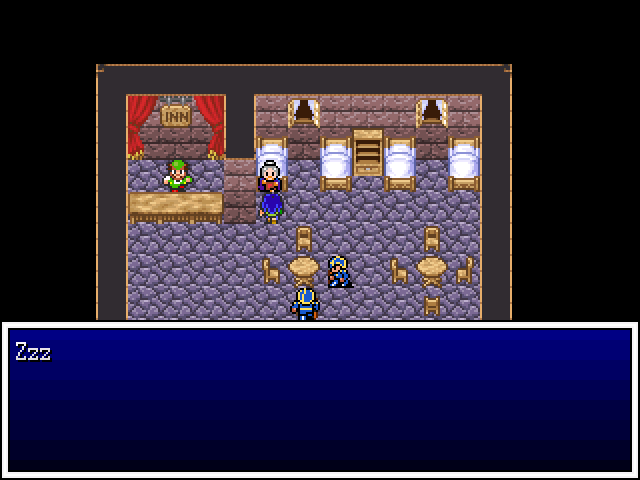
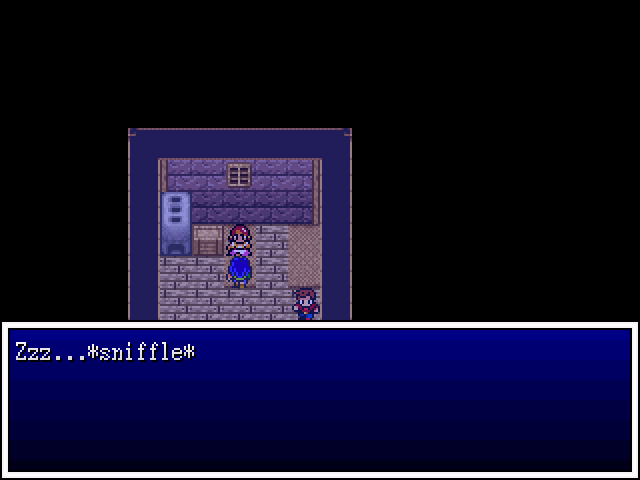
Inside the house we find a small inn. Grandma is resting her eyes here. I think she's sleeping even if we come back at night. In fact, she might be laying comatose for all we know.
Tell us something we don't know.
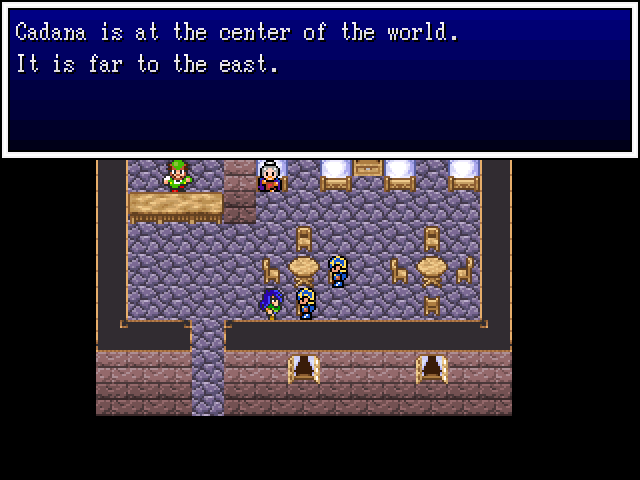
Cadana is to the south-east of Norsland. It's a pretty big country and we'll visit it later.
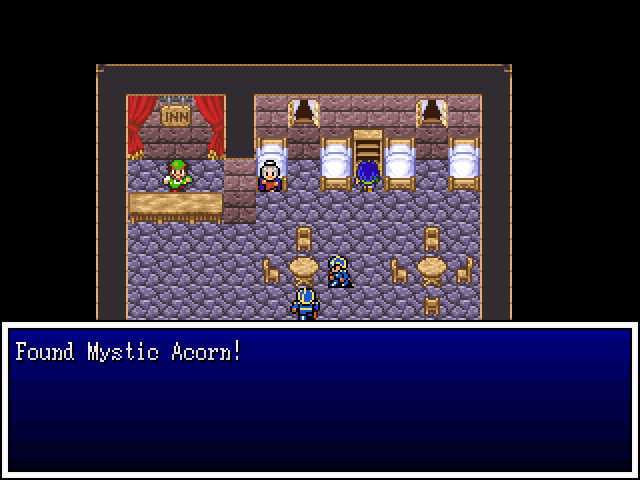
Noice!
Mystic Acorns will increase your Max MP by 5.
Speaking of... I gave Velka the Life Acorn we had on hand and passed the Stamina Acorn to Cecilia. Sure, we could have given it to one of the flimsier characters, but a tank needs to have defence to be a tank. We can bolster the others' DEF with armour if needed, and they're in the back row, so they should be okay.
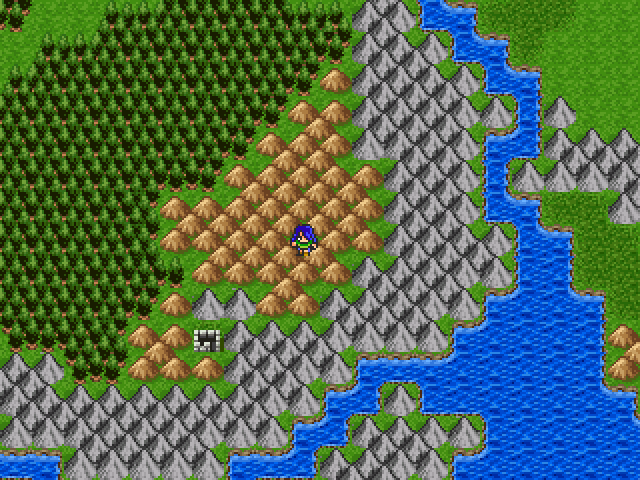
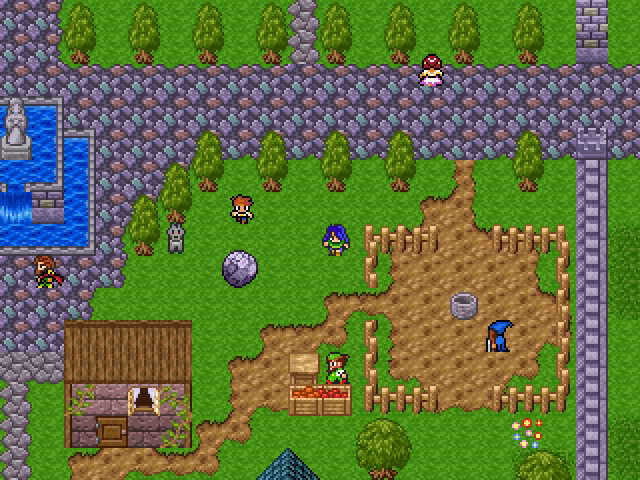
To the south of the border we find another small area.
I think I hear loot calling me.
As per jRPG rules, we leave no optional areas unmolested!
To the right we find this guy. There's a cave entrance just off screen but we won't go there yet. This information is handy, though, and will come in useful some time next update.
Gimme that! It'll come in handy later.
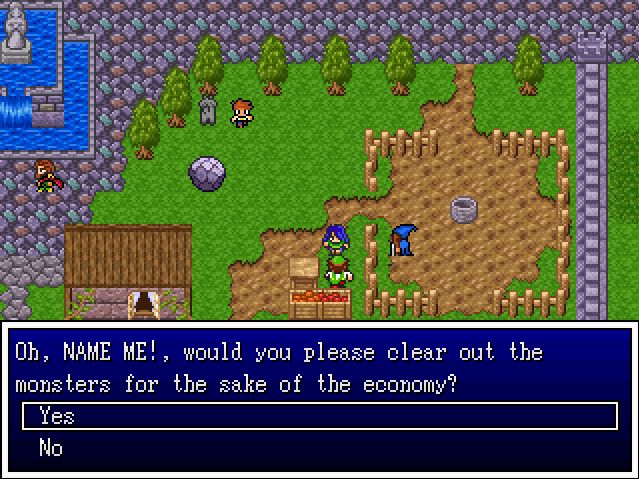
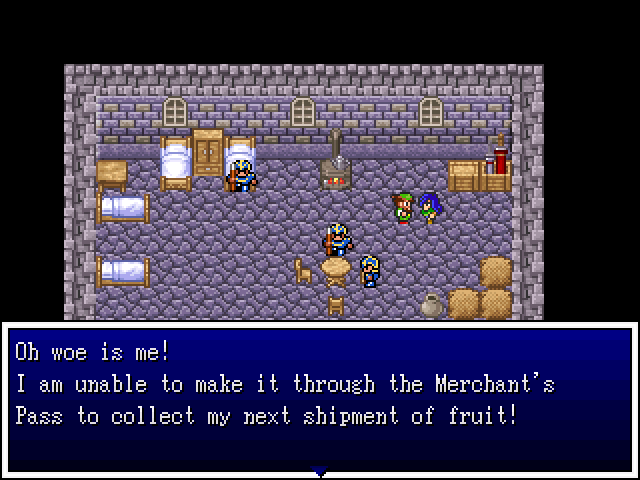
Something smells a bit... side questy...
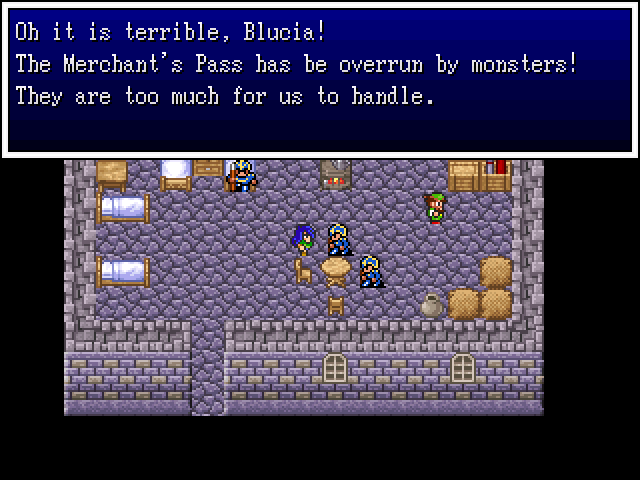
Definitely getting that side questy vibe...
It's almost as though this would be a job for some sort of group of travelling heroes... or something like that.
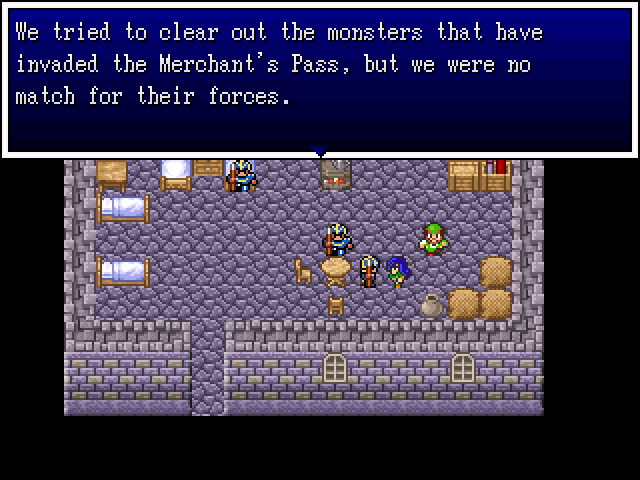
You look strong, why don't you try to clear out the monsters?
>Yes
I can only hope you succeed.
>No
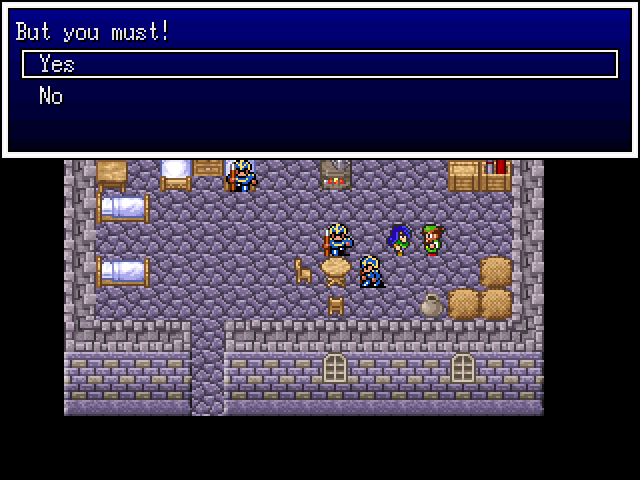
Saying no here will present you with that most classic of dick moves - the eternal 'But Thou Must!' choice. Picking yes will just repeat the previous Yes line.
Now, this is a little bit of a dick move because you can come here at relatively low levels, jump on in and get slaughtered very easily. This sidequest is for when we beef up a bit more, I'm afraid.
So, let the beefing commence!
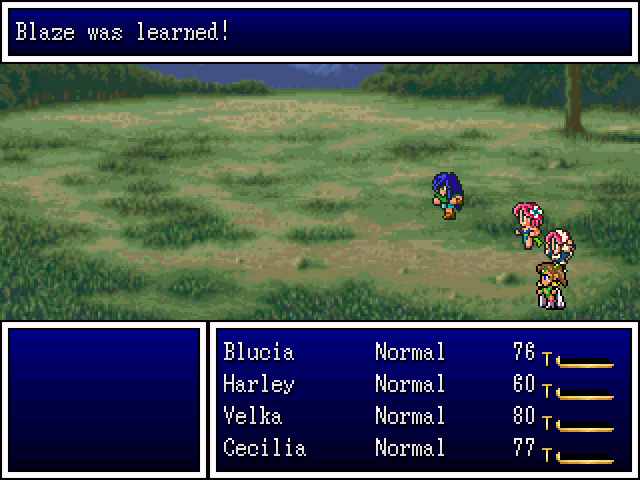
On level 2 Blucia learns Blaze, the fire element spell. It does small damage to one target. Not a bad spell by any means.
That's one thing about this game - kentona made sure that spells were useful, even status effecting ones. We'll see more of that as the game goes on, but for the most part there won't be many spells that don't have their uses.
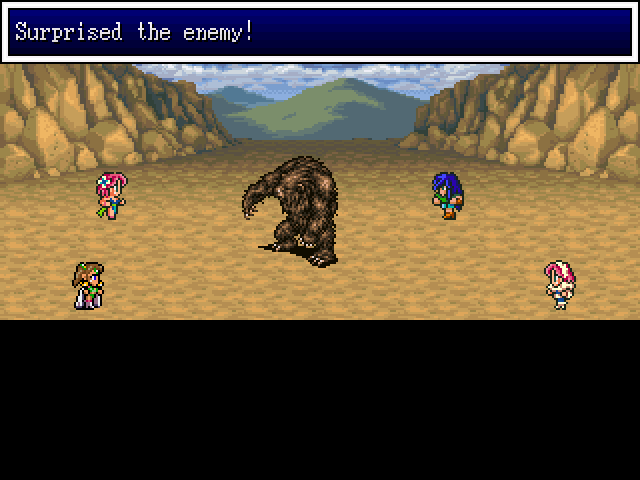
Here we have the opposite of a surprise attack. This time we get the upper hand.
Oddly enough, our accuracy takes a hit when this happens, though by all rights it shouldn't. It's an engine issue, though, so it can't be helped.
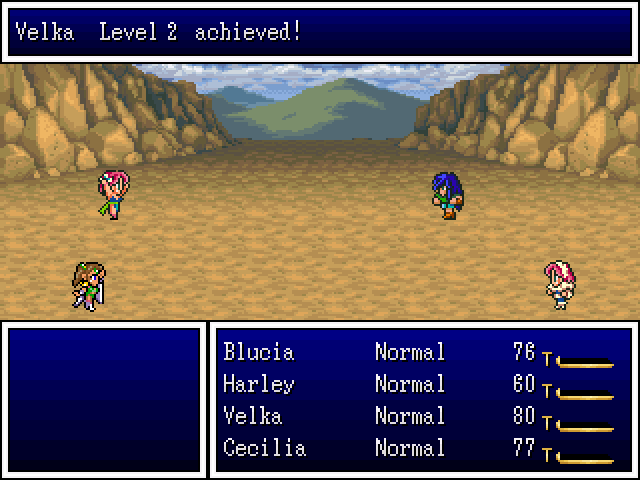
We managed to best the enemy, though. Our allies gained a level this fight. The party tend to level up together until a few deaths have occurred.
Velka became more useful by learning the Puff spell - an all-enemy earth elemental spell. It's pretty good and can help out in desperate situations.
Cecilia also learned the Heal spell, which we'll put to good use.
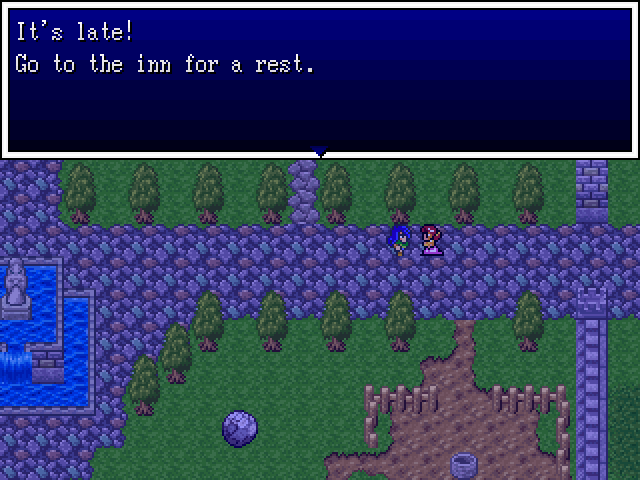
Night falls, so we head back to town and check out the different NPCs.

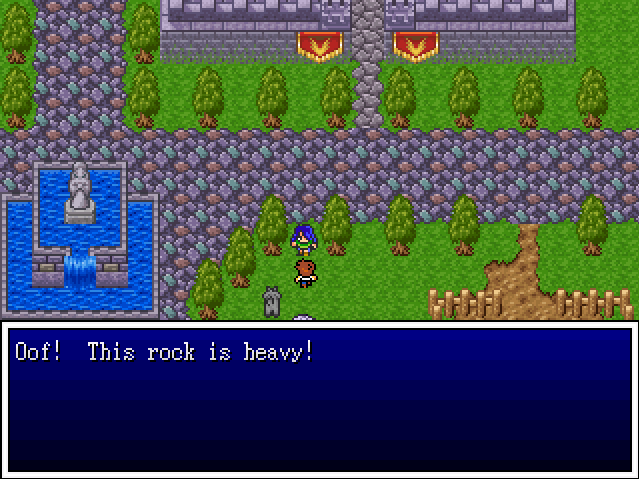
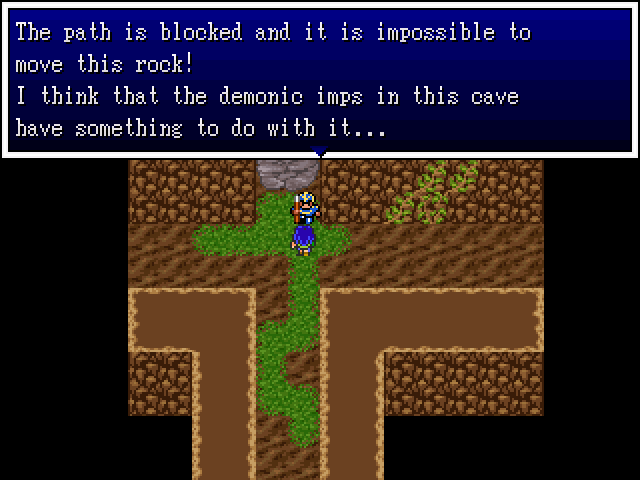
Heh, sorry kid, but we took that already. This is the kid that was trying to push the rock in the last update.
:3
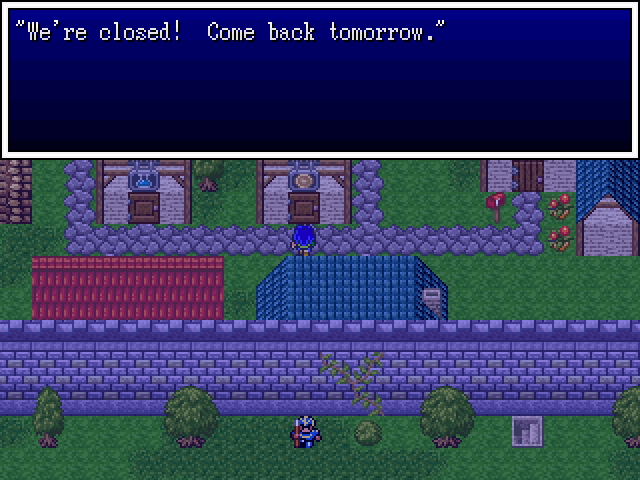
Most shops are closed at night.
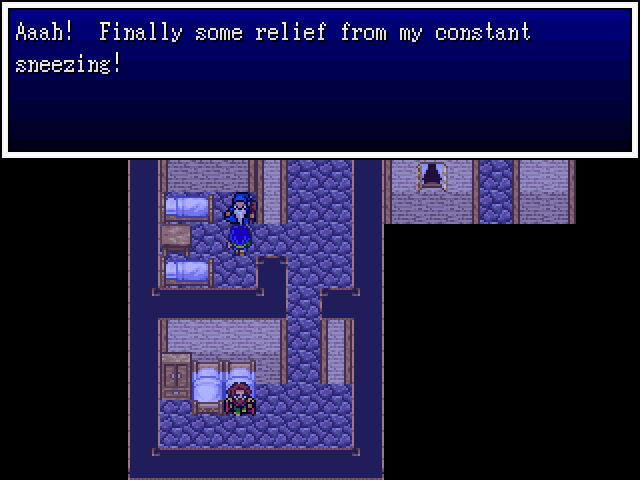
Mr Snuffles finally gets some much needed rest from his allergic reaction to being talked about. The other guy is snoozing in the room above.
...that reminds me...
You bastard! I knew it!
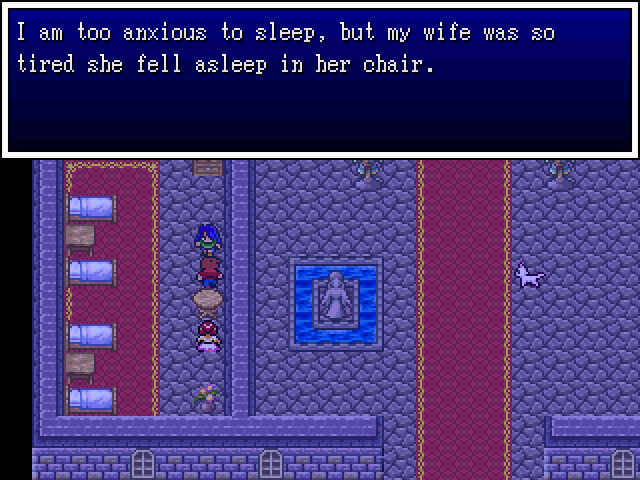
This is mine~ :yoink:
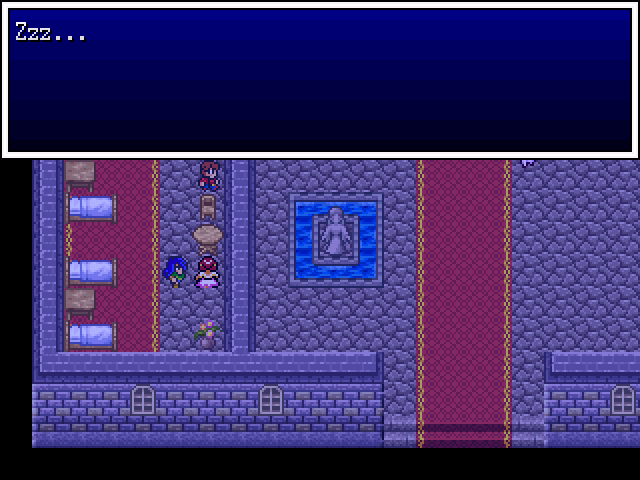
Uh... Ma'am? Are you... sleeping? In a chair?
;.;
This guy says something new. It would have been helpful if he'd told us that beforehand but whatever. We've got a good party so far - accident-prone Harlequin and kung-fu Paladin aside.
This guy's awake, but he doesn't say much.
Really? Hm...
I wonder...
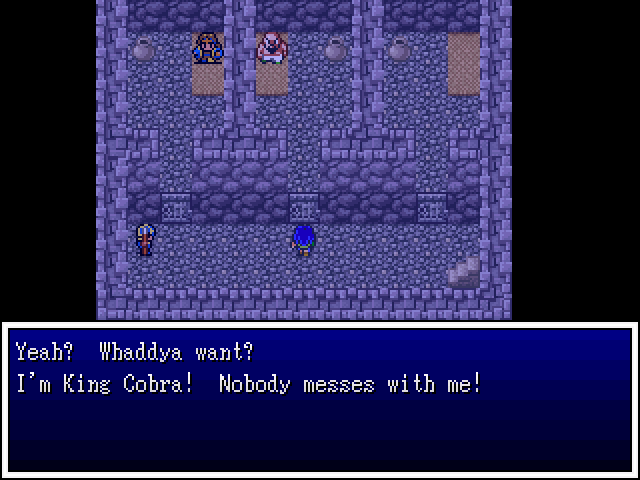
The fuck is this?
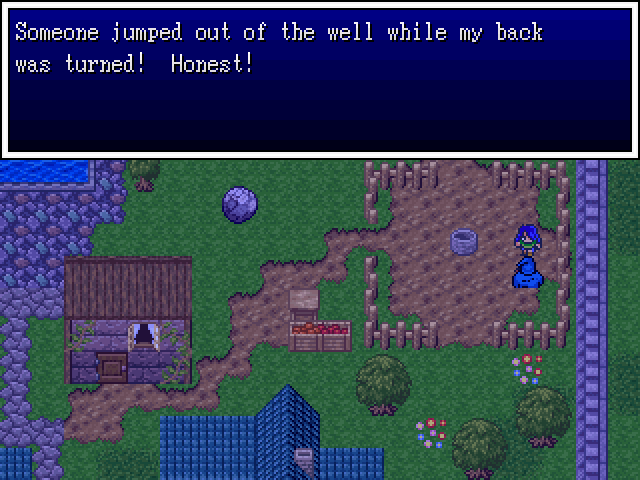
Um, hello? Sir? Do you have a permit to live in a fucking well?
Uh...

Yeah, I did. And they're mine.

Wait, what? Hey! Gimme back my shinies, you ass!
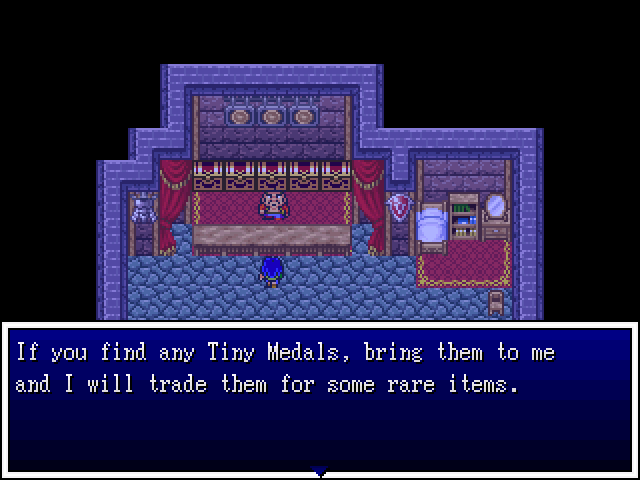
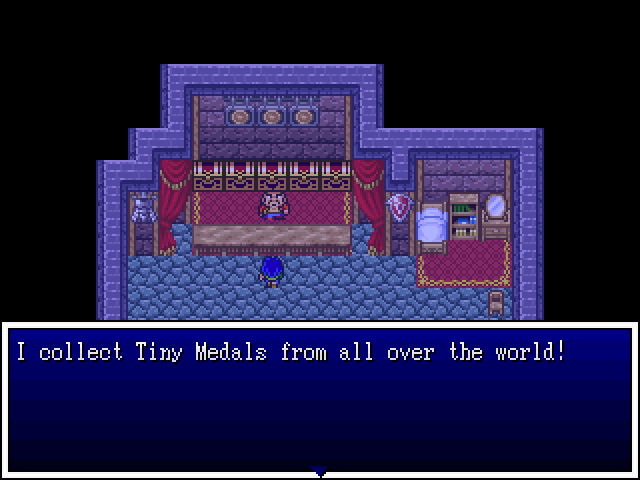
Did you say... RARE ITEMS?
Deal.
I will bring you ALL the shinies!
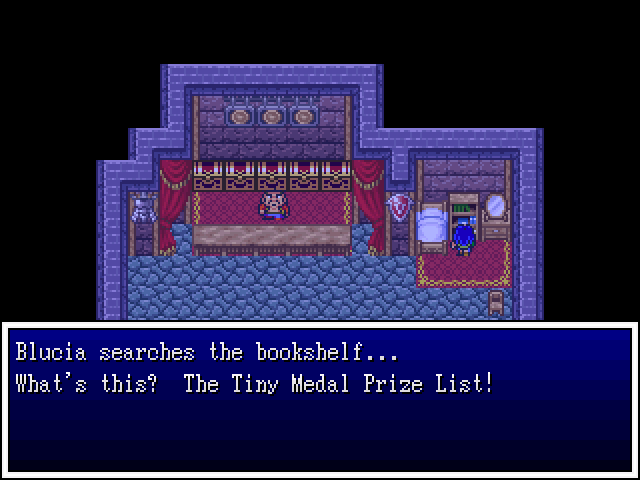
Ah, nice. Let's see what we can get, shall we?
5 Medals - Boomerang
10 Medals - Bladerang
40 Medals - Staff of Jubilation
50 Medals - Shield of Wisdom
55 Medals - Crosserang
60 Medals - Immunity Idol
70 Medals - Fixed Dice
80 Medals - Chakram
95 Medals - Hero Ring
100 Medals - Lightsabre
Ah, Tiny Medals~ I do so love them.
^.^
A staple of the Dragon Warrior/Quest series, you find the hidden medals, redeem them to the Tiny Medal King/person/thing and get you some nice loot. Thankfully, this game will give you all the items on the list as your raise your medal amount, instead of making you save up for them over and over again.
Not tonight, Blucia. We've got training to do! :DDD

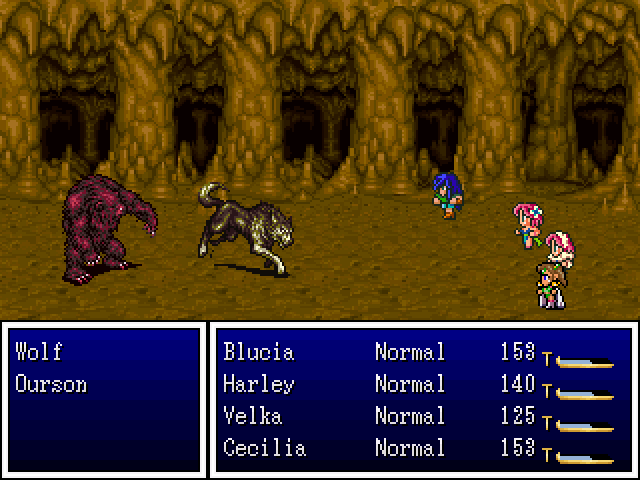
RedCabbage are cousins to the Leafers and area a bit more hardy. They've more HP and will heal when needed. They will also use Surround.
Surround is effectively a renamed Blind that will hit the whole party. They're not a problem, and even if you do get Surrounded, spells aren't affected by the miss rate so you can kill them easily enough that way. Or wait for the ailment to wear off.
Let's try out our new Tarot!

...goddamnitHardisonHarley... orz
Thank God Velka's on the job. That Puff spell isn't powerful, but it can come in useful for whittling down a group's HP.
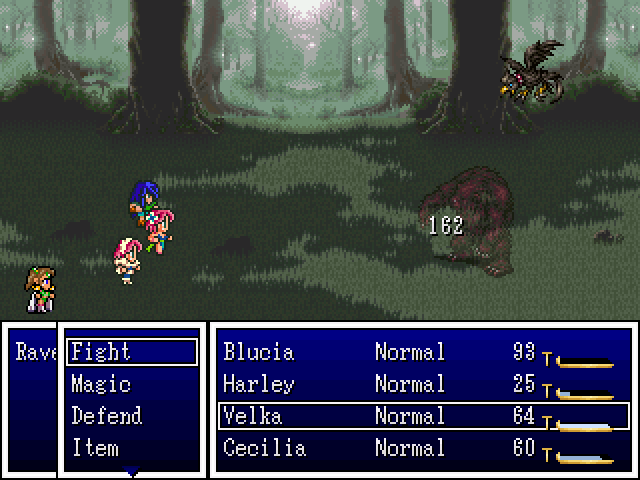
Ourson's (our son???) have a lot of HP. Most enemies will take two hits and die, maybe three. Oursons take a whole round of beating and then some, but they are quite slow so by the time they get a turn you can get them out - which is a good idea because they can hit for decent damage.
That was a critical hit from Harley there, by the way. Yes, our frail little Harley can lay down the hurt with a knife.
Harlequins. ~<3
Ravens are fast and can do some fair damage with their Double attack. Otherwise, they're pretty bland.
Blucia is supposed to be the main hero and she's getting a bit upset at how much screen time the other girls are getting, so she shows off her muscle. Her mind muscle, that is.
She's flexing that brain of hers and damn, can she flex! Someone's been hitting the books because that Blaze spell hit for triple digits.
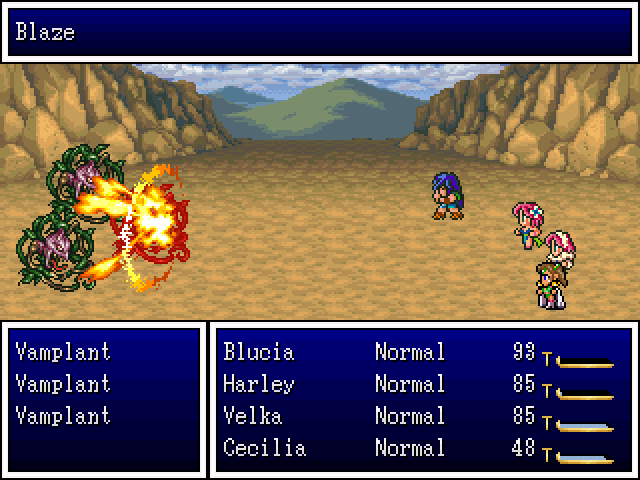
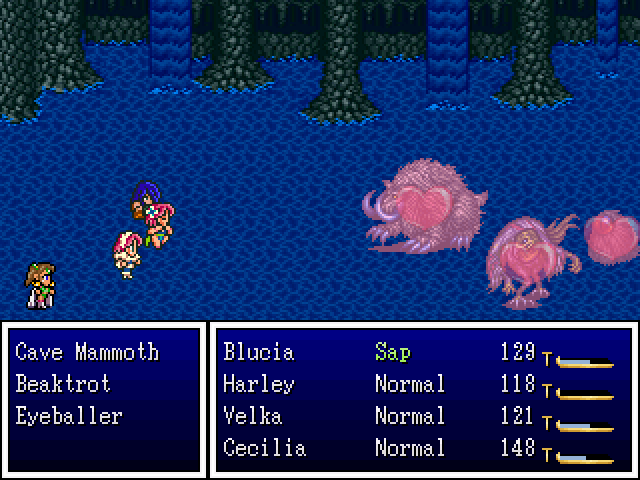
Vamplants are weak to fire and come in large parties. They can wipe an unlucky party, mainly because they have a numbing (basically paralysis) attack. When all four members are paralysed, it's game over. Luckily, they don't break out Numbing Thorns too often.
They also have a poison attack but that's not much of an issue for a well-prepared party.
You do want to fight these, though because...
That.
That is why.
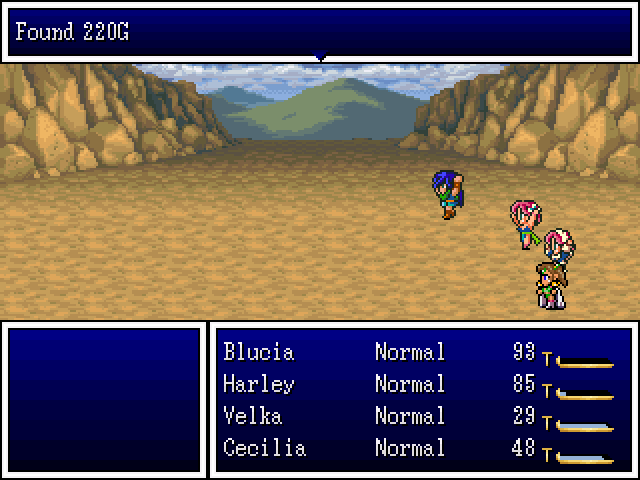
That also makes a convincing argument.
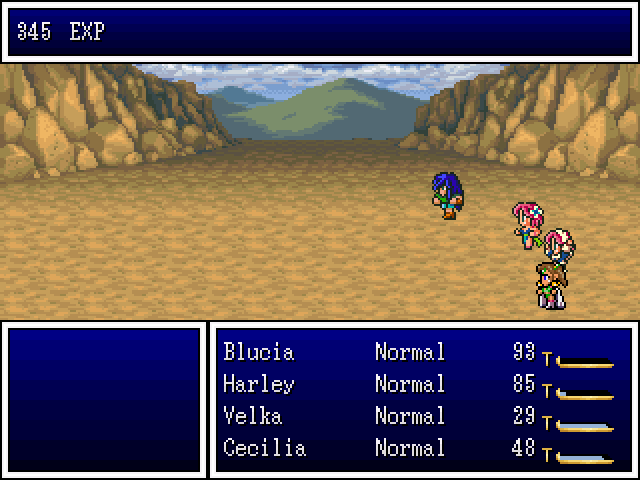
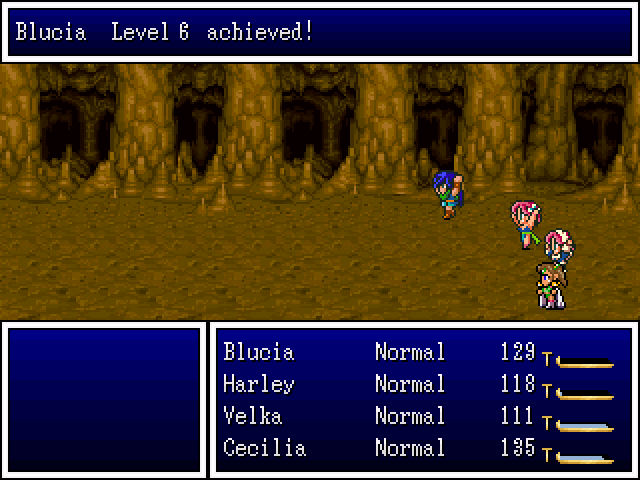
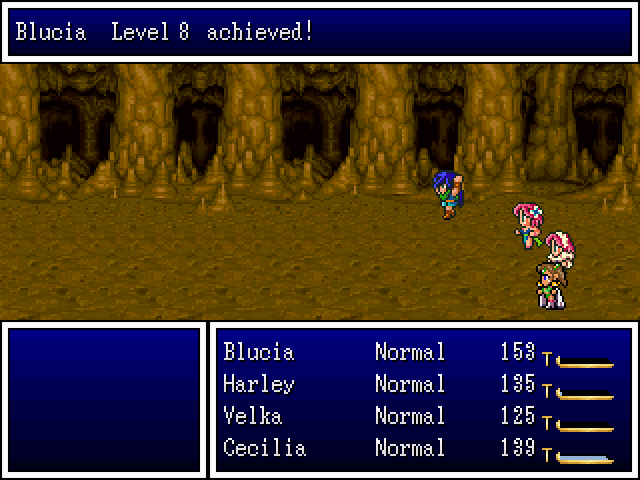
With that experience boost came new levels!
The girls each go up to level 3. Booyah! >.<)b
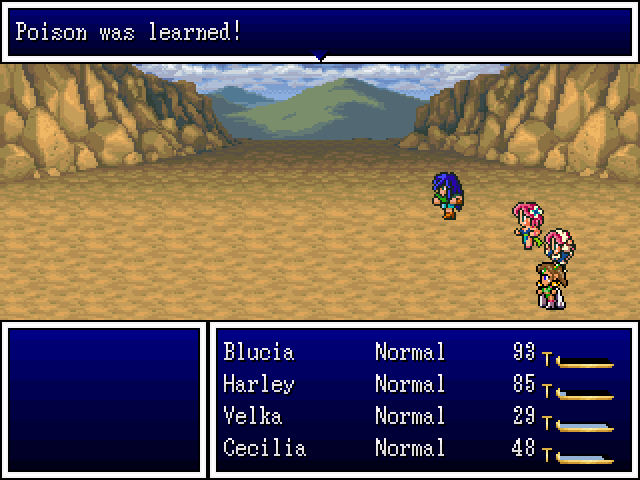
Blucia learns herself how to poison foes. Now she can deal even more damage with her mind!
The other ladies are content with their stat increases. They are independent ladies who don't need no skills!
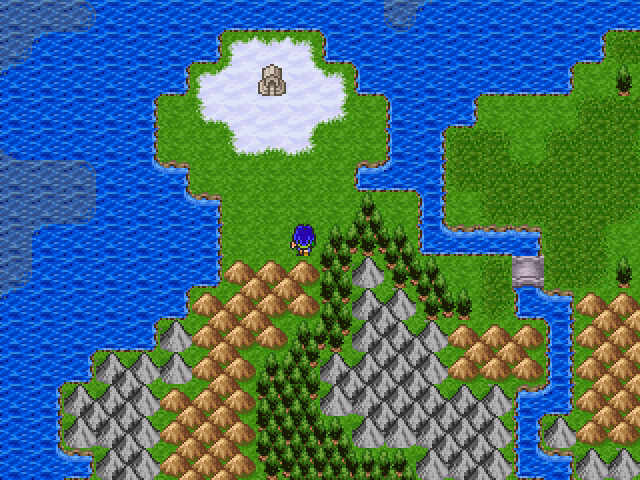
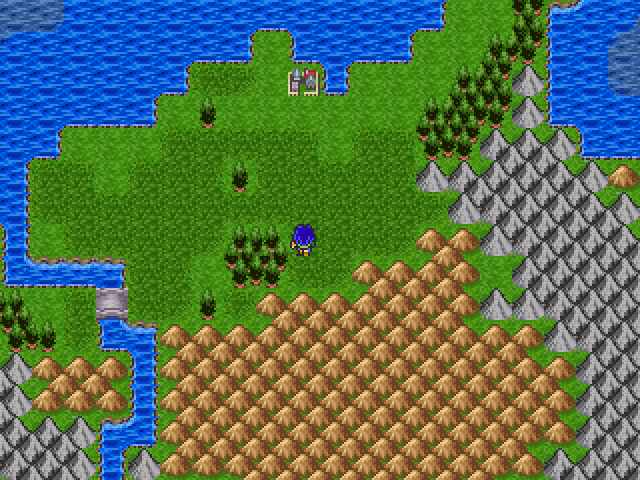
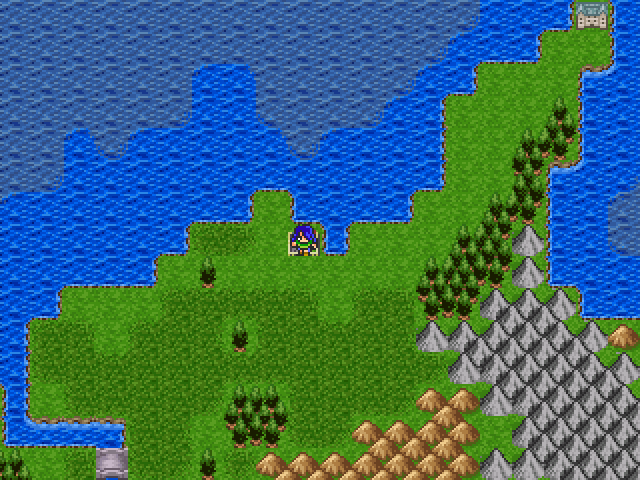
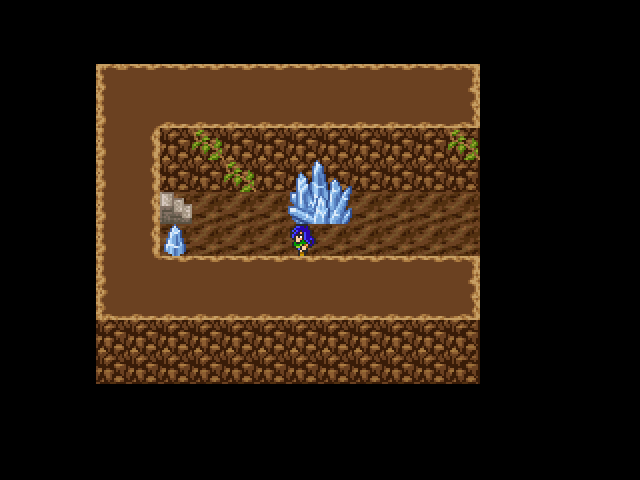
Heading north, through the mountains and hills, we find this small area. Let's get our explore on!
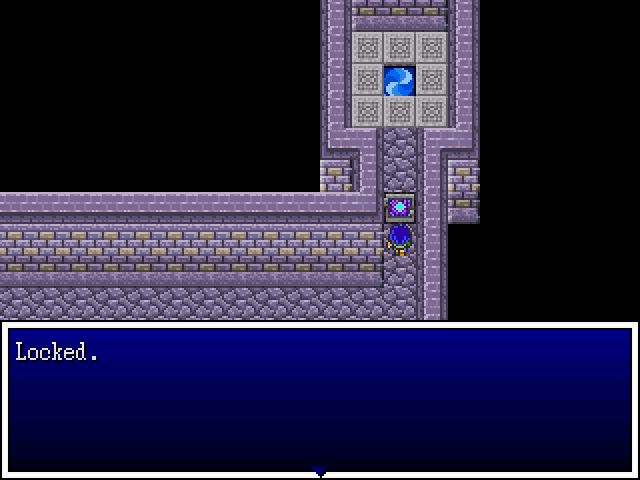
I will need a new Dilithium crystal to recharge the portal.
Good luck with that. We've got other business to attend to.
Namely stealing from nuns.
Just checking!
Why you...! >:\
Door count: 3
We will be back and we will be bringing the hurt, Mssr Door!
Across the bridge and to the south we can see a cave.
A little north and we find the small village of Helminsk.
Next time:
Things do not look good for our heroes! >.<;
Discussion time: Should we keep Cecilia as a kung-fu Paladin?
Now, our party is pretty decent for this chapter. In fact, probably one of the best parties we could have for it. Cecilia, without a weapon, is dealing half the damage that even Velka is doing. That's... about 30-40 damage a pop.
We could keep her off weapons and just use her as the heal-tank she's shaping up to be (her healing is on par with Velka and she will get Bless eventually. Velka is using a lot of her magic on Puff and deals a goodly amount of damage just by whacking things on the head, even in the back row.)
It'd give the chapter a bit of a challenge and make things interesting, that's for sure. Besides, kung-fu Paladin. What's not to love?
Update 03 - Puff Puff Destruction
Last time, on Hero's Realm:
Yup.
Helminsk is just ahead. Let's loot the place before we start progressing any plot, shall we~?
Yeah, we rock in as night falls.
This game has a very simple day/night system. Time will progress while you're on the world map and different things will happen in towns depending on the time of day (of which there are two - day and night). While in town and dungeons time will stop, so you don't have to worry about racking up the clock.
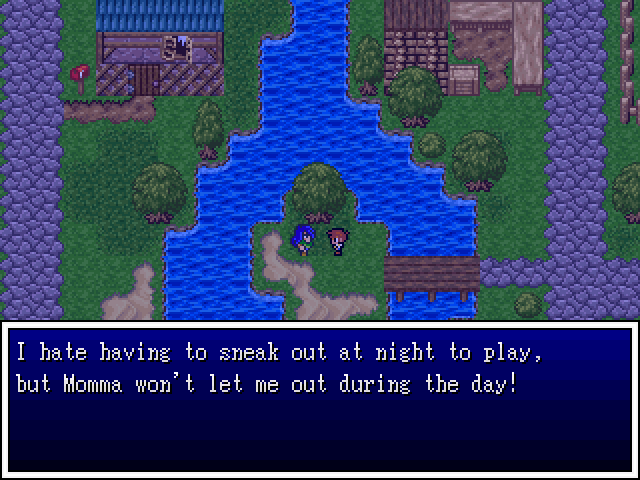
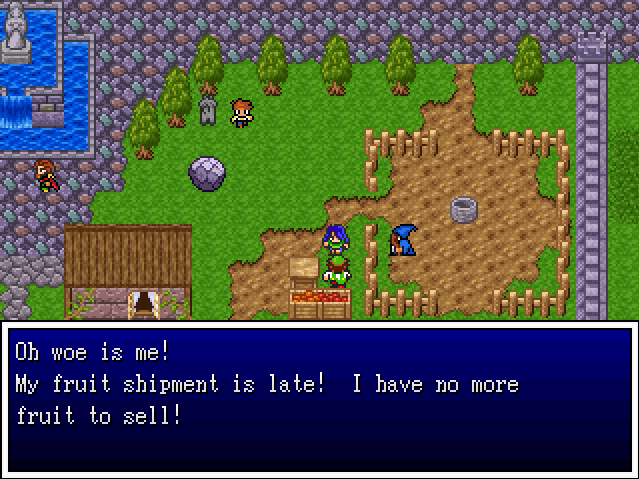
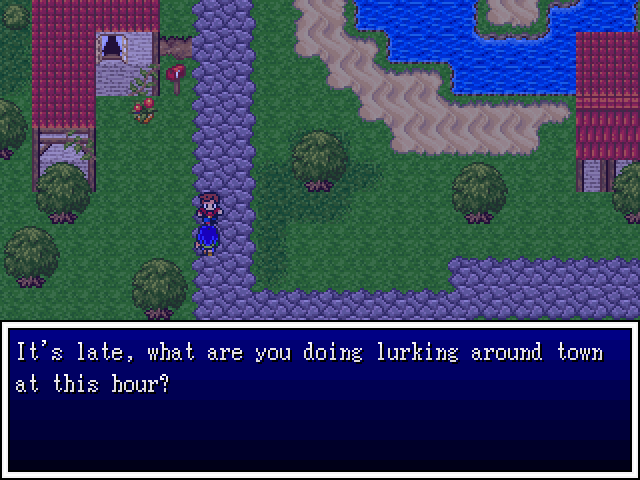
I tried to tell her, "But Momma, only 12-year-olds have gone missing!", but she won't listen!
Kid, you are just begging to be kidnapped. Seriously. You're talking to complete strangers in the middle of the night about how your mother doesn't know you're not in your bed... :/
Wait... What the?! o.O
We'd better check this out!
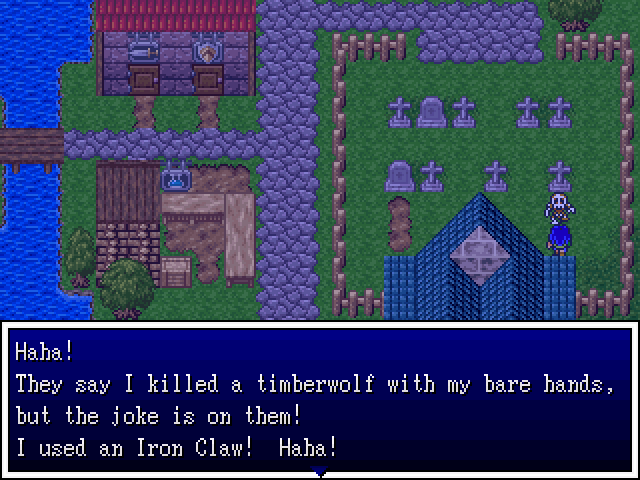
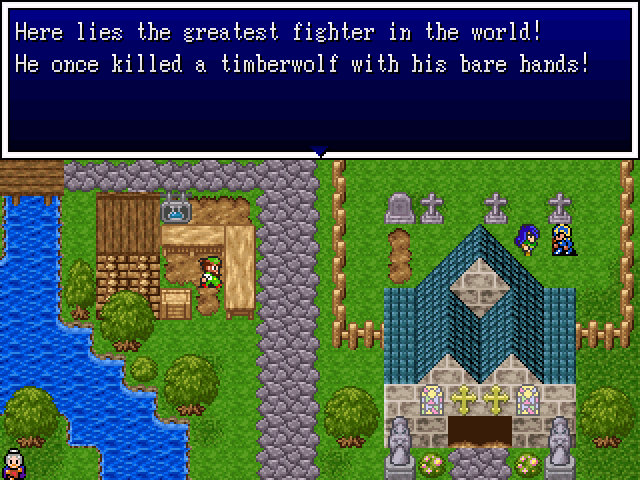
Okay then... good to know the Apocalypse won't be starting tonight. Still, that's no mean feat - Timberwolves can be dangerous for lone travellers! (We've yet to meet one.)
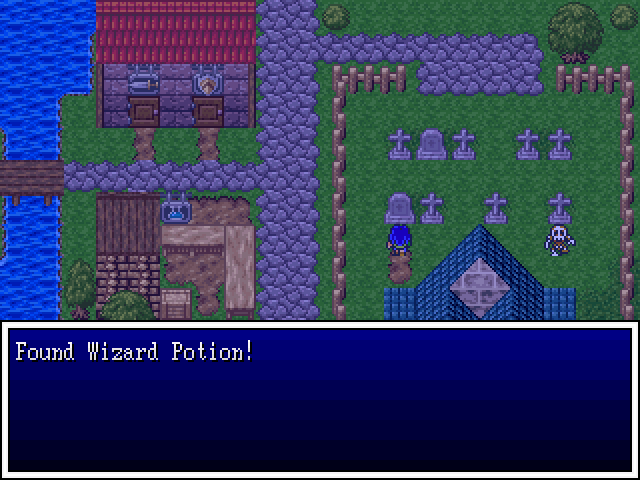
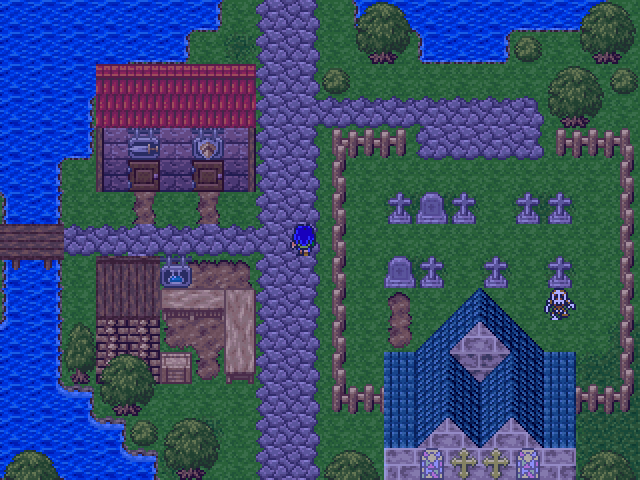
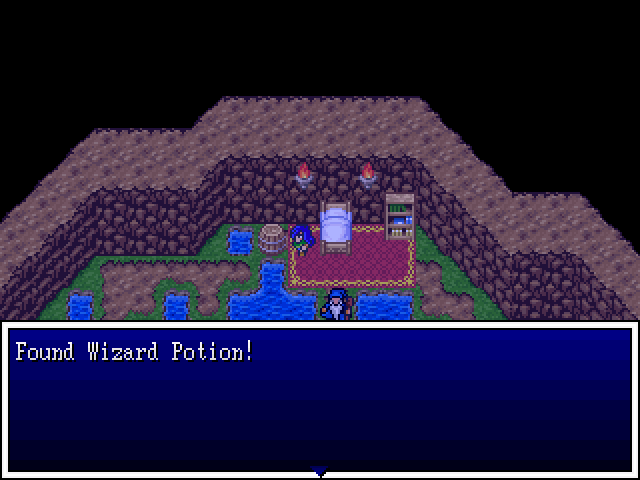
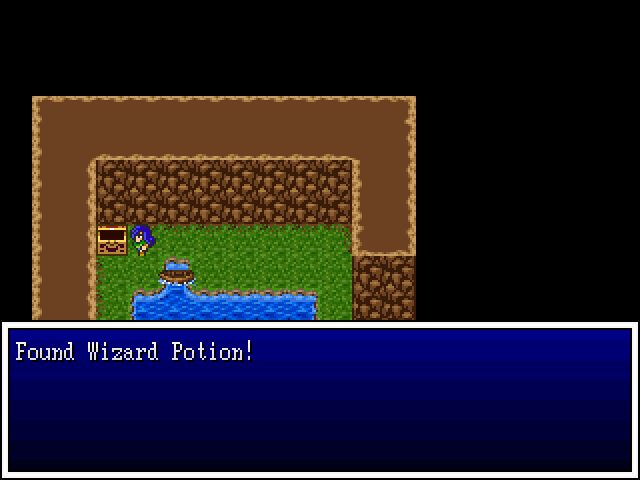
If we indulge in a little grave-robbery, we find some nice loot.
Wizard Potions will restore 60 MP. This will be the only item this group will have that can heal MP. Thankfully, Wizard Potions will do fine for MP healing for quite a long time.

Probably a town or something, mate. I wouldn't worry about it.
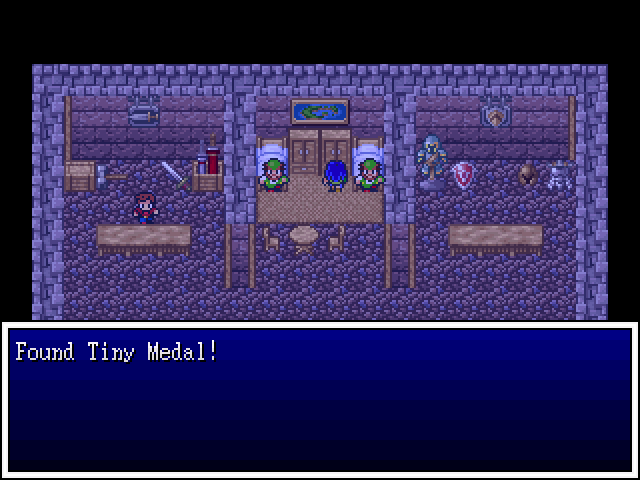
Oh, hey, the armour and weapon shop is open at night. Inside we find another Tiny Medal, and a few sleepers. They just ZZZ the night away.
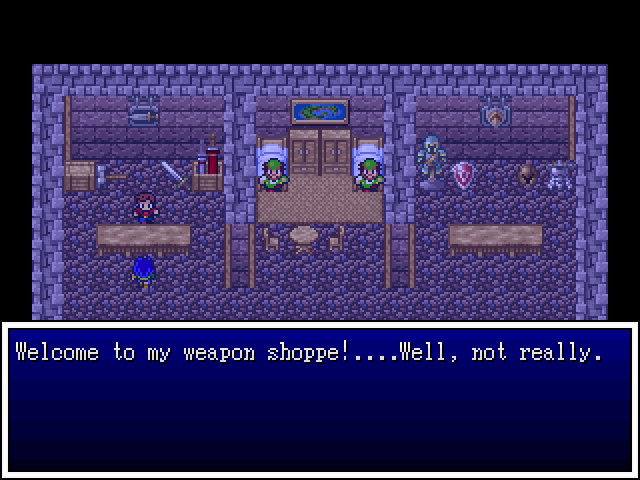
This guy, though...
He sells shit! It's decent stuff, nothing awesome but they can come in handy if you don't mind the RNG (random number generator) too much.
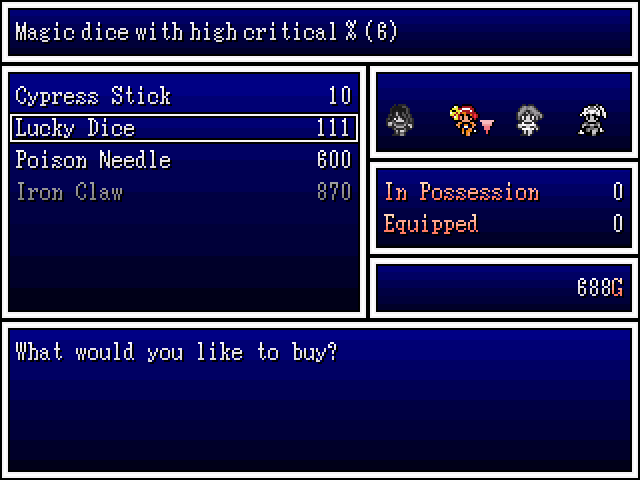
I'm gonna start just detailing the items that our group can use instead of all of them. I'm sure we'll get to see the others later on, though.
Cypress Stick (3 STR)
Lucky Dice (6 STR; +50% Crit)
Poison Needle (20 STR; 10% Crit; 15% Death)
I nab a Poison Needle for Velka and head back to the search for epic loots.
You don't say...?
I like this guy. ^.^
Yoink! Can never have enough Blaze Scrolls. I promise, they will come in handy later.
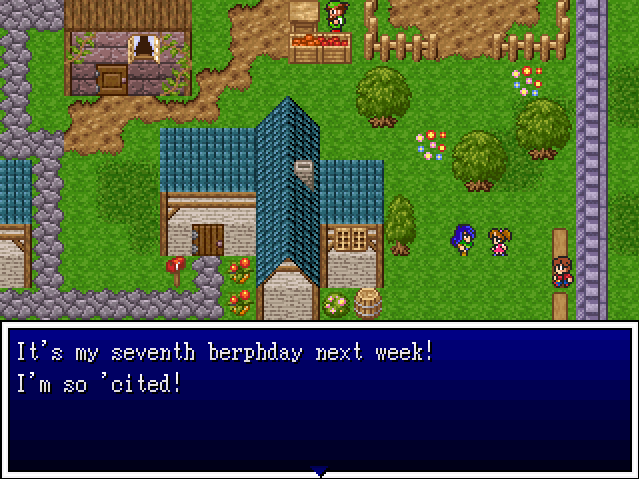
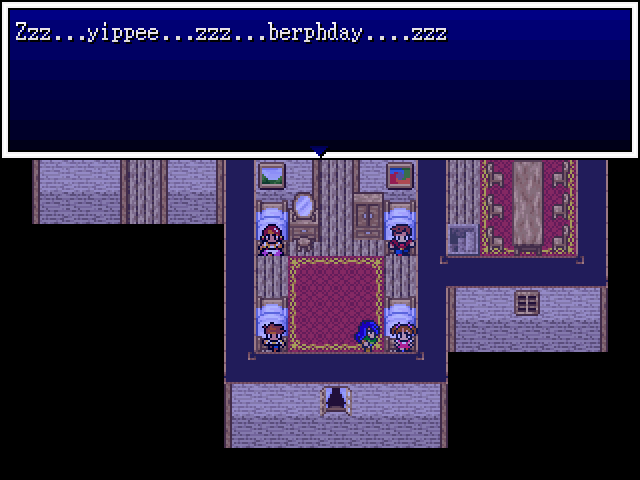
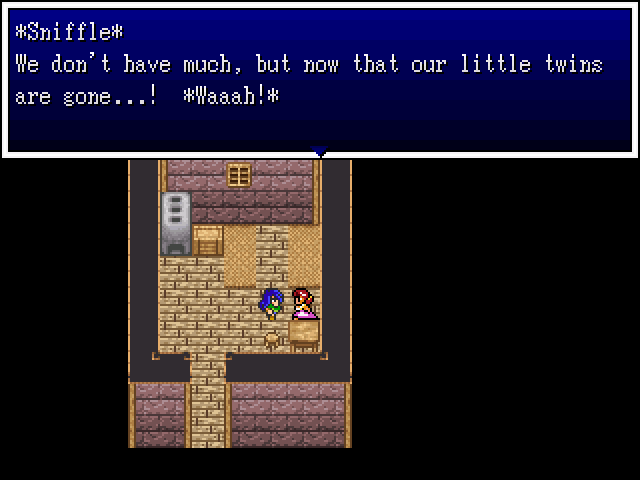
They just celebrated their 12th birthday, too. *sniffle*
:'<
Let's leave these two to their grief and check out the Inn.
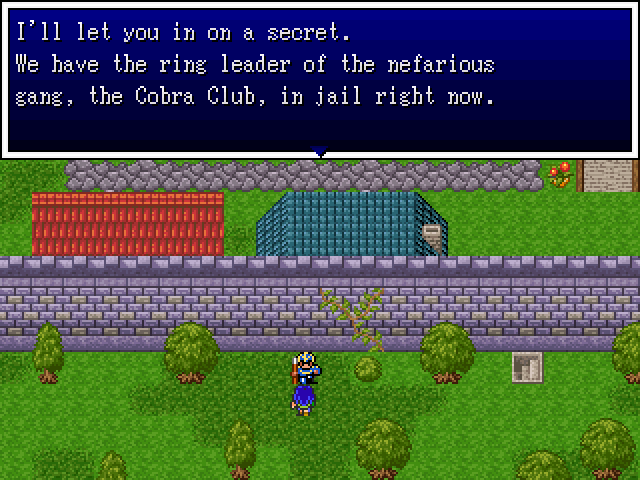
There was a raid on them a while back - their leader was taken prisoner!
Sounds interesting. I'm sure this won't come into play at any point in the future.
Thieves have started to run amok in a cave south of here, to boot! It's sad times, my friends, sad times...
I feel like I need a drink or something. This place is downright depressing.
Loot should help us feel better!
You can miss this if you don't do a bit of night burglary, since the way to the back of the shop is blocked during the day.
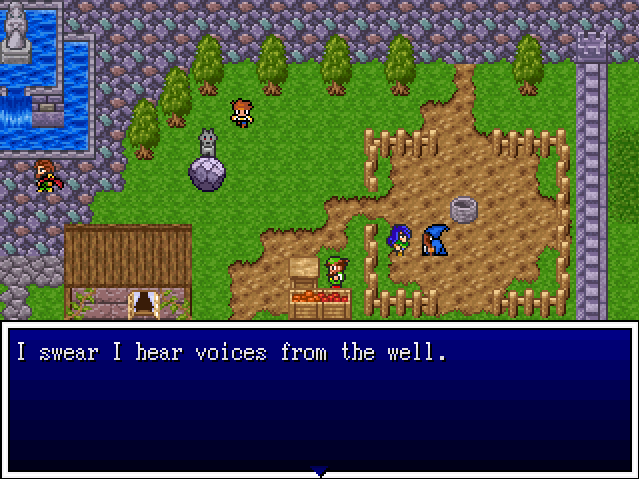
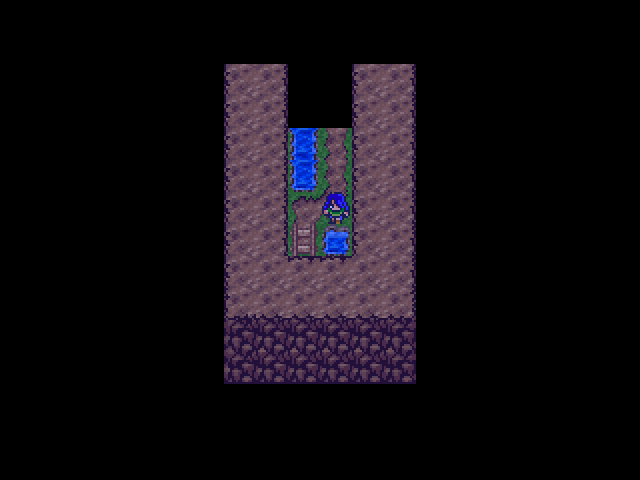
We'll check those stairs a bit later. Let's see what the well has to offer.
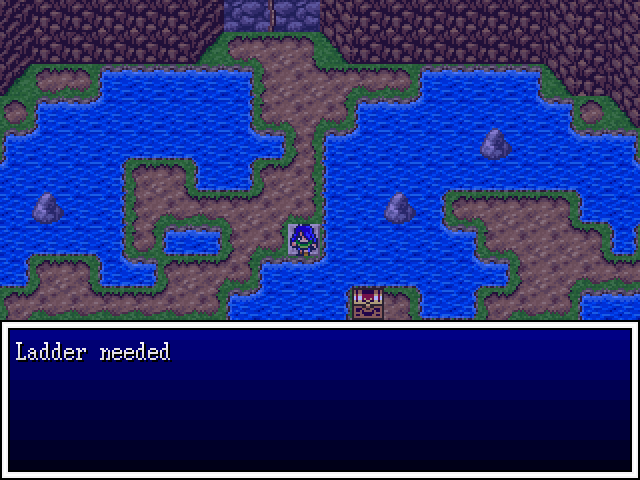
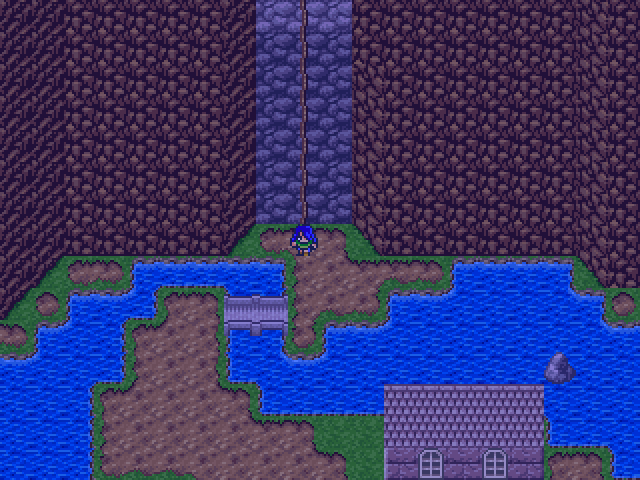
WANT!
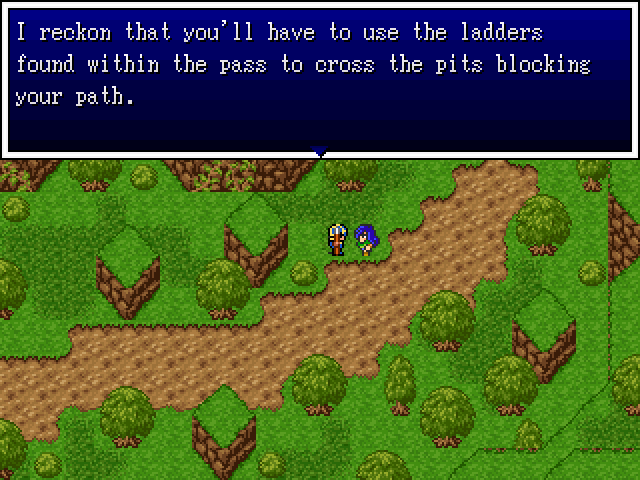
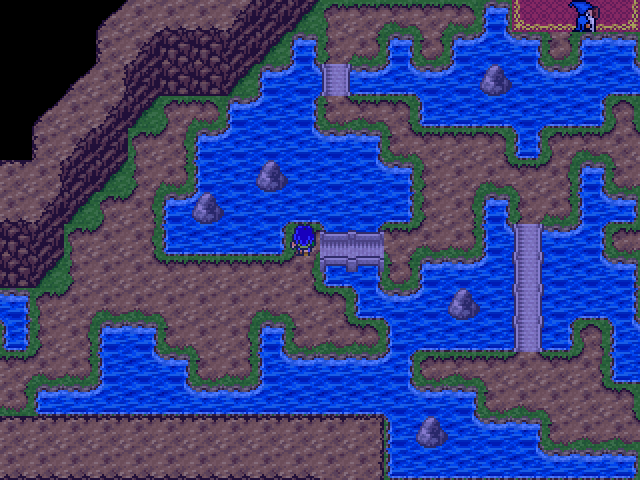
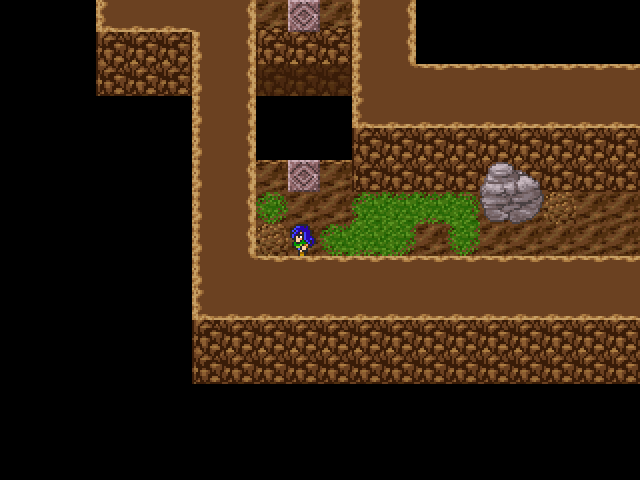
Remember that guy in the last update who talked about ladders being placed across gaps? This is the first instance of it coming in useful.
Certain areas have gimmicks - usually dungeons. This gimmick is comprised of finding ladders and placing them down so you can reach other areas that are blocked off. The stone we're standing on shows where a ladder can be placed and there's another on the other side of the gap that shows how far the ladder will go.
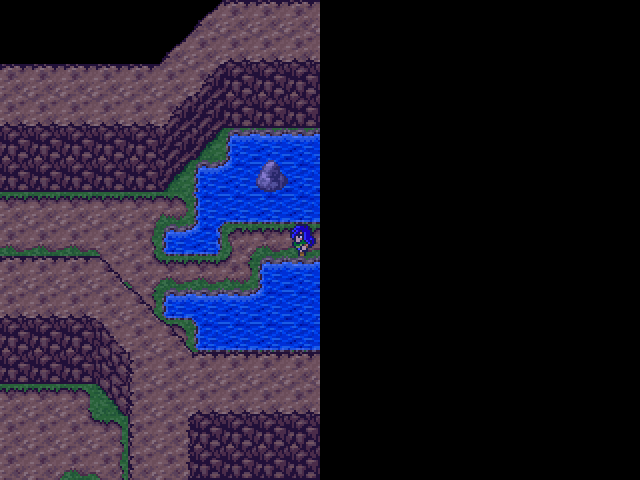
Just off screen you can see a path leading to the left. Let's follow it and see if we can't get to that chest by another route (or find a ladder).
We are now in a real dungeon. This means...
Monsters! >.<;
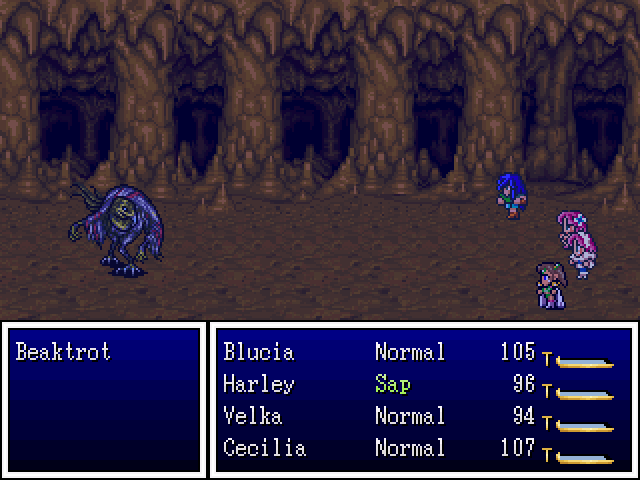
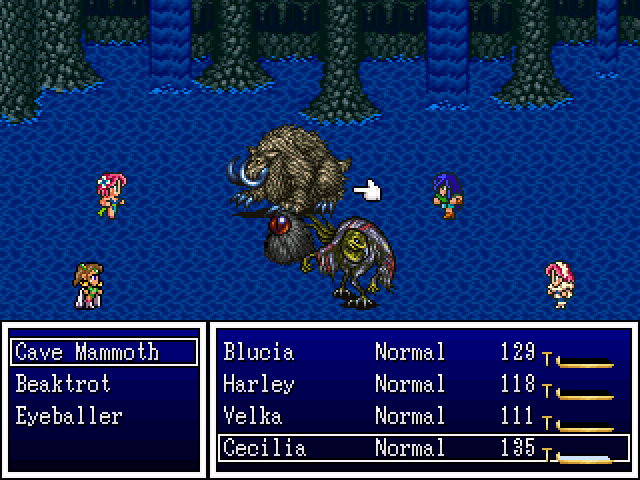
Beaktrots are fairly tame. They can cast Sap (defence down) on a single ally or Upper (strength up) a target on their side. They're easy enough to deal with by themselves, though they can cause a little hassle when in groups with other enemies. They also drop Chests at a rather low rate.
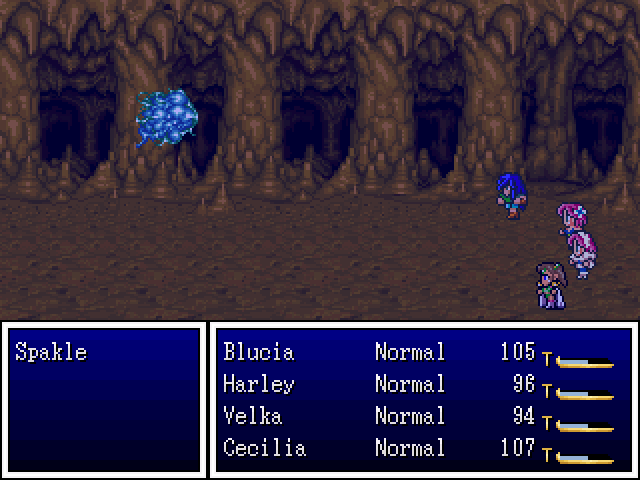
Spakles are lightning-elemental spirits. They're pretty fragile and aren't much of an issue. They have a lightning-all attack which is pretty weak, and a sleep spell that hits one target.
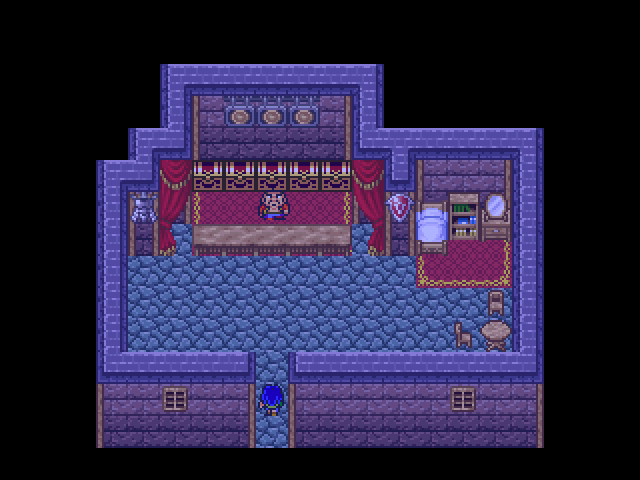
Is that...? o.O;
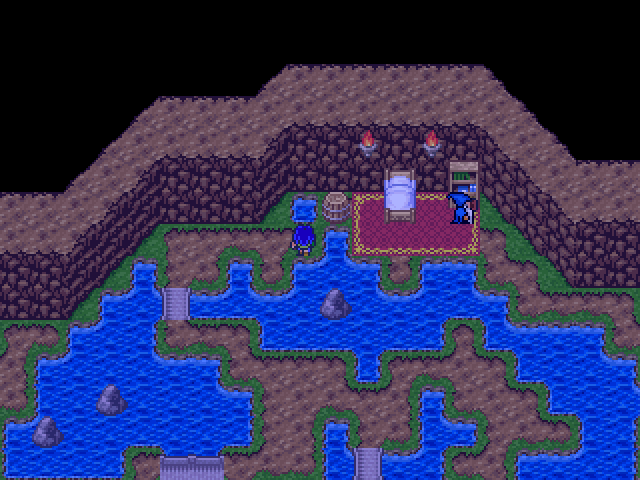
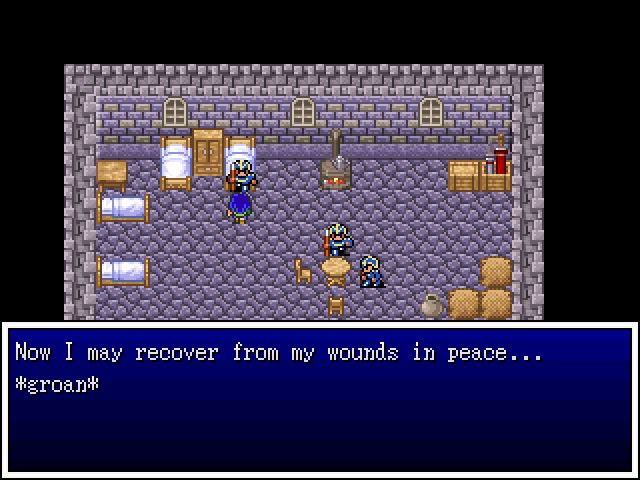
Someone is living here in the bottom of the well? I mean, that shouldn't surprise us considering that this is not the first well-dweller we've seen but at least the other guy had a house! This guy doesn't even have walls to keep the monsters out!
I actually feel a bit guilty taking this - the poor guy probably needs it since he lives with monsters all around him and all.
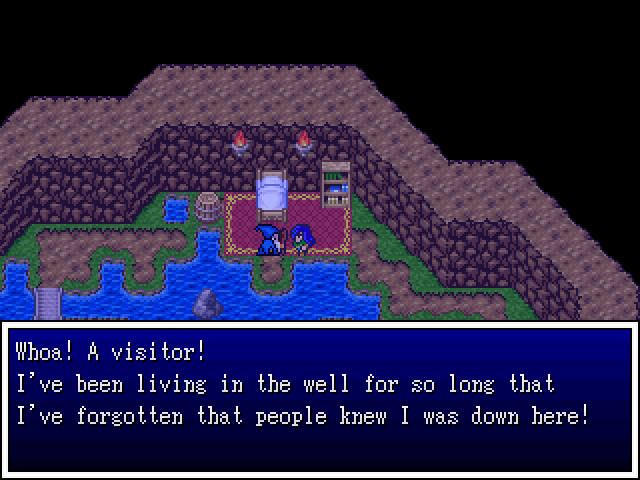
Wait. They know you're down here? Who lets their grandpa live in a fucking well?!
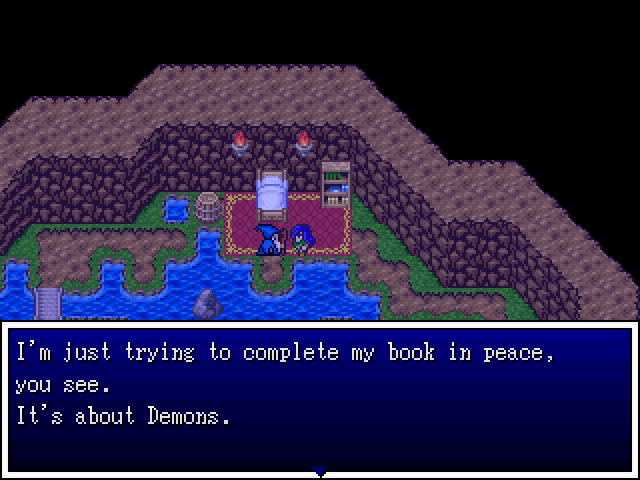
...I see? And you couldn't write it in the comfort of a real house? Dude...

Yeah, okay, sure. Tell me about the Big Bads of the game, Mr Well-Dweller.
Mephistocles
Ah, Mephistocles, the Lord of Demons...
He is a fearsome demon, that one. He rules the Shadowlands from his Throne of Skulls. He and his demonic ilk were caged in ages long past within the Void of the World, separating his Shadowlands and Shadowspawn from our world.
He struggles to break free from his prison, and will do so for all of eternity.
Balthalas
Balthalas, the Undead Mage.
He is a pompous fool, that one, though that does not make him any less dangerous. Balthalas fancies himself as being Mephistocles' second-in-command, but it is unclear if this is so.
Like all other demons, he was locked away behind the Void of the World in ages past. Which is fortunate for us, for his undead army would ravage the world...
Murzhor
Murzhor, the charismatic manipulator.
This crafty and vile demon is a master of deceit, illusion and magic. He is brilliant in his own evil way. Though shrewed (shrewd*) and conniving, he was no more able to escape from the Void of the World than the other demons.
Urok
The fierce demon Urok is a force in and of himself.
Massively strong, and massive in size, this Goliath is truly frightening. He leads the Demonlord's armies mercilessly and with a cool conviction. Despite his ferocity, he is utterly loyal to Mephistocles.
If you tell him you don't want to read his book he says:
Ah well, waiting for the final draft, are you? I don't blame you. Who'd want to read a half-finished book anyways, ho ho ho?
:DDD
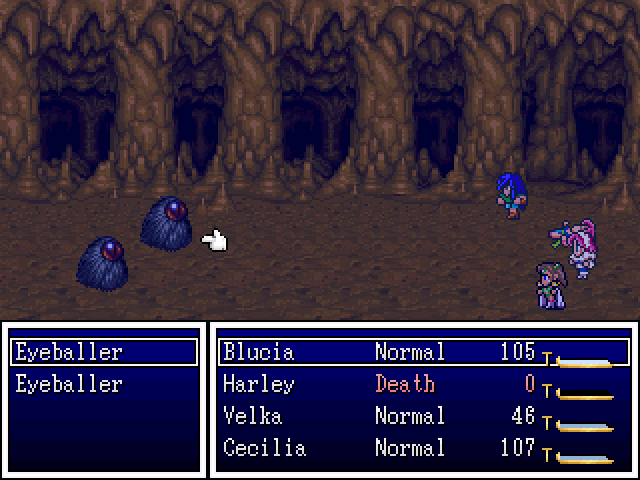
Eyeballers can be a pain. As you can see, they are perfectly capable of destroying your team if you're not careful. They used Blaze on poor Harley and it destroyed her. They also have a pretty long list of skills they can hurt you with - Poison, Surround, Heal and Shadow Flame. The others are pretty self-explanatory, bar Shadow Flame, which removes all buffs from a target.
Thankfully they aren't too buff, so they go down fast. They usually show up together or in a group with other, stronger monsters. They drop Demon Tokens and decent EXP.
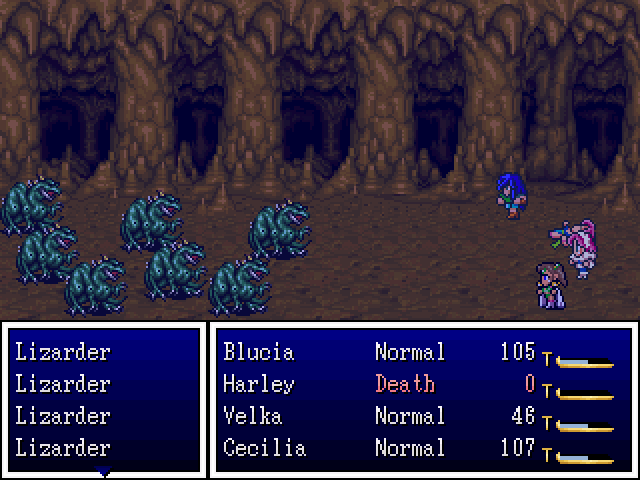
Lizarders come in a group. They can call for back-up and hit hard. They also have a draining attack, though it doesn't do much in the way of damage. They have middling health, too, and drop Dragon Tokens.
They can be a hassle since they're often found in large groups.
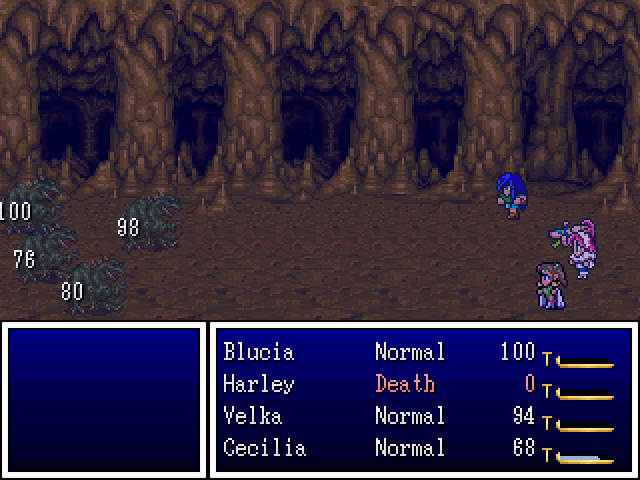
I was worried until dear, sweet Velka pulled out Puff and destroyed them all. This is why Puff is a great spell.
Heading to the right of gramps' study nook is a small passage that heads up and to the left, transitioning back out on the other side of the initial room.
Inside we get this. It can't be used, sadly, but it will come in handy very soon.
To the south we find a room with a Ladder...
...and use it immediately. Let's get out of here.
Harley is dead, so we need to get that seen to. The price required is levelx10 for each dead character. It's a pittance to pay most of the time, though if you forget and spend your money on something else, it can be a pain.
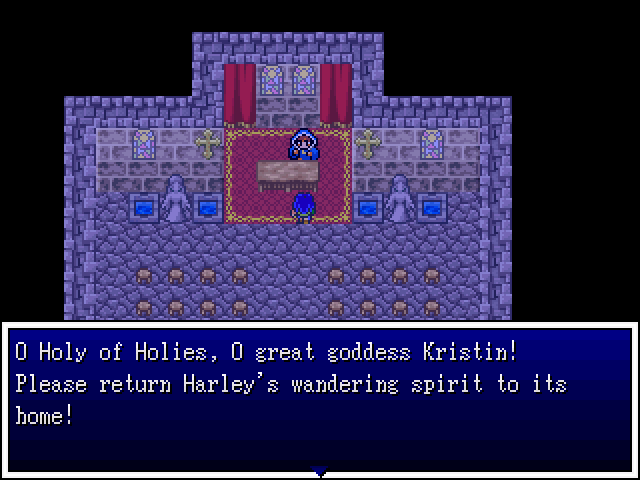
Yes, please come home, Harley. We need our resident Harlequin to keep spirits high!
She may mess things up when it comes to the cards sometimes, but she's quite good at stabbing things.
Nice and sunny out. (Yes, I slept at the Inn.) First things first...

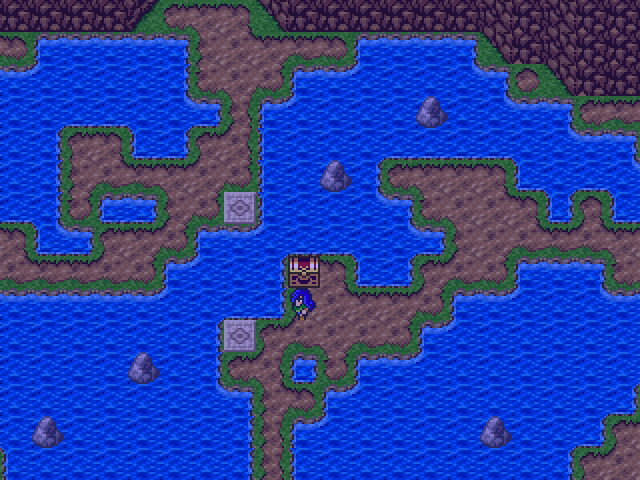
...we have a lady to talk to. Bet you guys can't guess where it is!
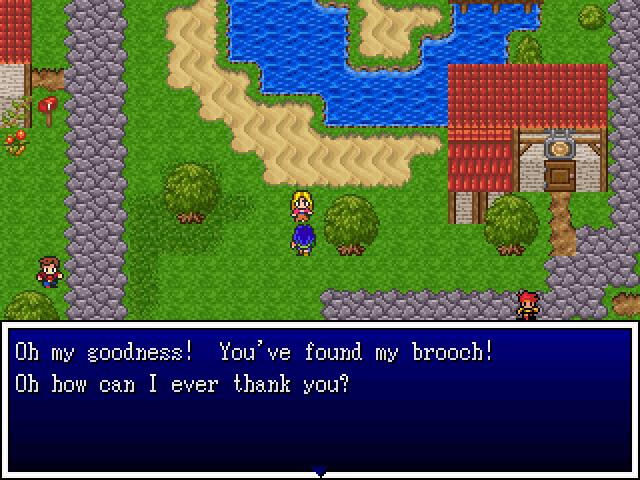
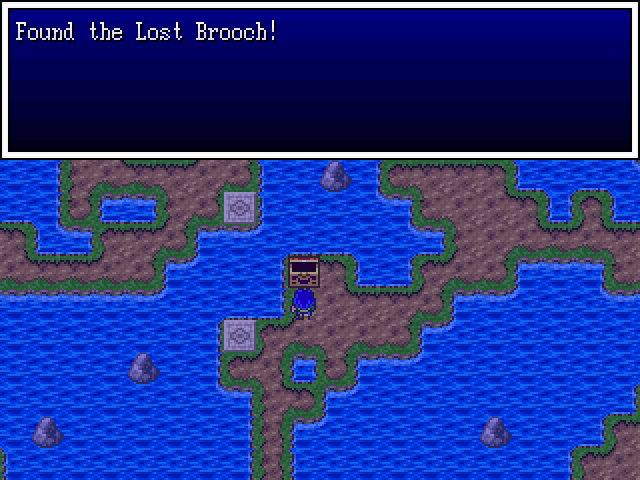
If you guessed in our pack, congrats! You were right! The brooch we picked up earlier is hers.
For our troubles we get...
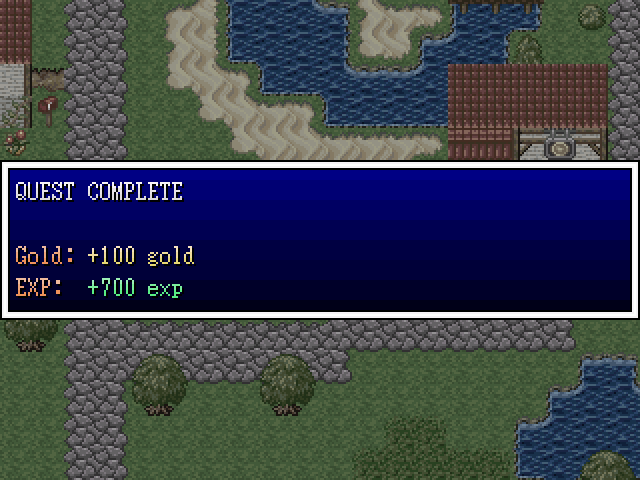
Booyah!
That experience shoots us up a level each.
Blucia learns Heal. It's the same spell that our girls Cecilia and Velka have. She'll only use it when the others can't. She's better off using Pummel. A correction about that skill - it does cause the bug in question, but it also inflicts Blucia with double-attack. For the rest of the battle she will attack twice each turn. It's a great skill to use, especially when she's got a good weapon.
Velka also learns Antidote - a spell that removes Poison from an ally.
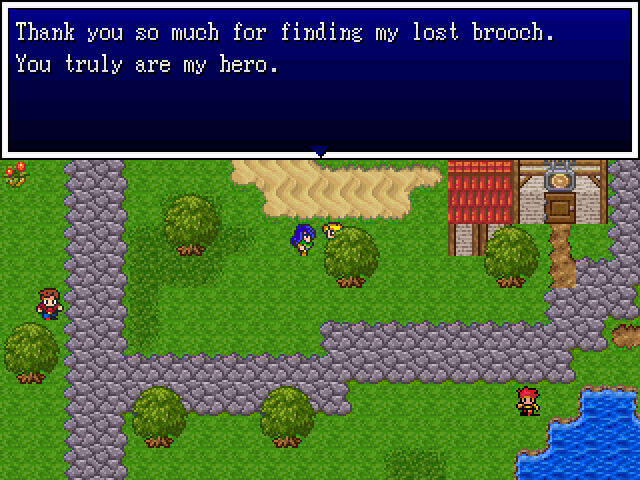
Happy to be of help, Ma'am! :salute:
Let's do the rounds now that shops are open and people are awake.
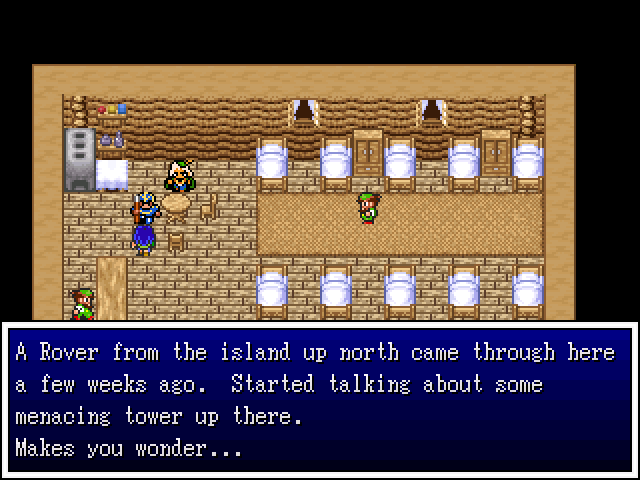
Hm... Sounds like we got Rovers up north. That could be interesting to check out later.
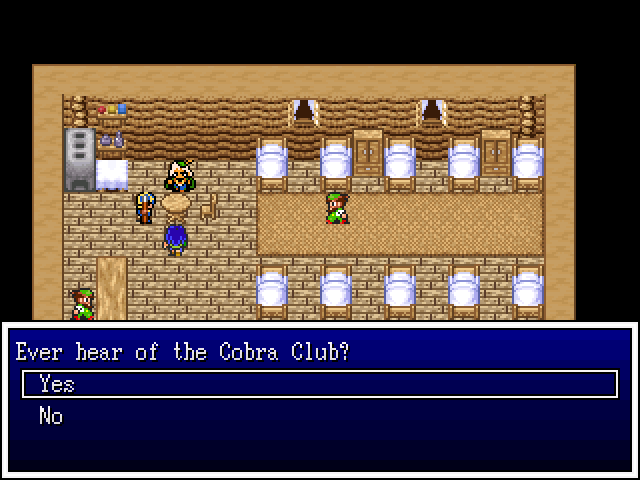
>Yes
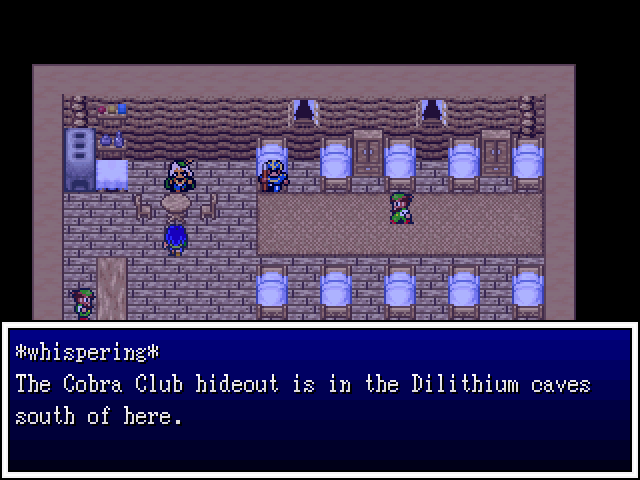
*whispering*
It's not safe to talk about them now. Come back at night.
>No
You haven't? But they are the most notorious gang this side of the Alberich mountains!
(More like the only gang on either side of the Alberich mountains...)
Sorry, kid, but I think you're going to be a bit upset when next you check there.

Remember the stairs near the well? Here's where they lead.
DOOOOOR! >:O
Soon.
Thanks! Nice doing business with you.
Wow, this will come in handy when we head to the southern caves.
Oh, please, like we weren't going to go there at some point.
Oh. Uh. Damn.
Shopping time!

We can find some of these in treasure chests. I tend not to buy them, myself, but I can see that they'd be useful if you're wanting to boost your characters a bit more.
We already have a Ring of Might.
Ring of Warding (+10 DEF)
Ring of Readiness (+10 AGL)
Ring of Energy (+15 INT)
Ring of the Sky (+3 STR/DEF/AGL/INT) This is a downgrade to the Ring of the Stars that we found in Stromholm's rat nest.
Goggles (Immune to Surround)
Hm, I'm not so sure, but I guess we'll have to check it out eventually anyway.
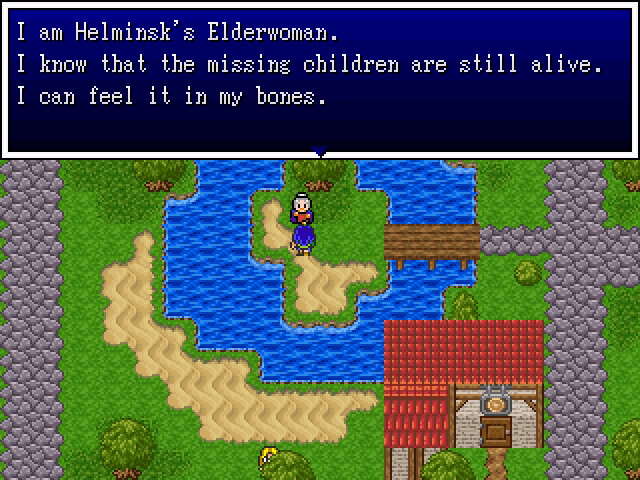
Oh, well, if your bones say so I'm sure it's true.

>Yes
Isn't it a blast? I can't wait until I get my hands on another Ticket so I can go again!
>No
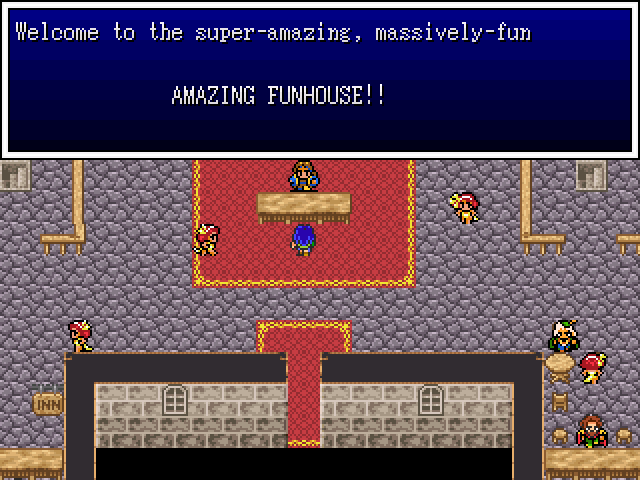
The Amazing Funhouse has just opened, down the coast from here. If you have the time and the tickets, you should go.
Hm... should I tell him or let him keep thinking the best of his idol?
Armour shop~ Let's kit up!
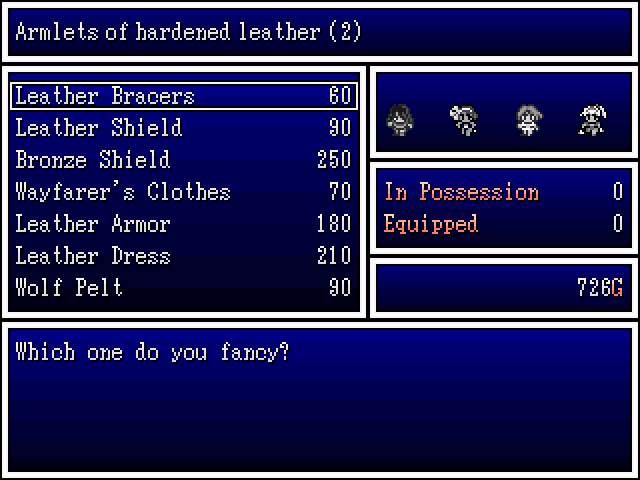
Leather Shield (9 DEF)
Bronze Shield (18 DEF)
Leather Armour (12 DEF)
Leather Dress (15 DEF) This is the first of the extra armour that women get. It's female only and thus, our whole party can equip it... if we had enough money to purchase them.
Wooden Helm (10 DEF)
I grab a Dress for one of the girls (probably Velka who is still low on defence), and a few Leather Shields.
Oh, hey, it's that dude from the night before. So, he sneaks in while these guys are sleeping and show off his (more interesting) items to... burglars? His clientele is a bit suspect, methinks.
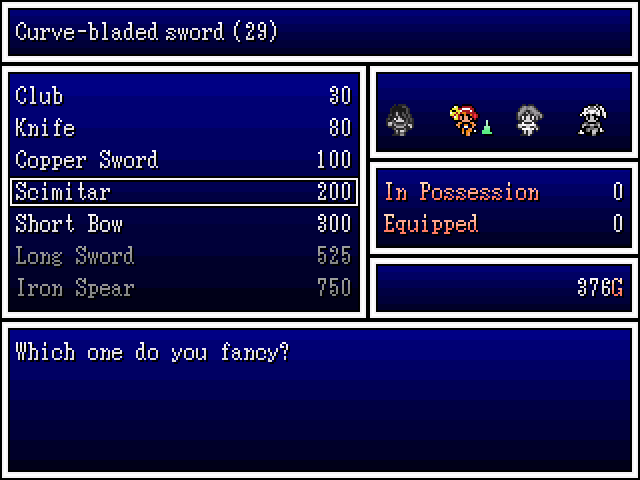
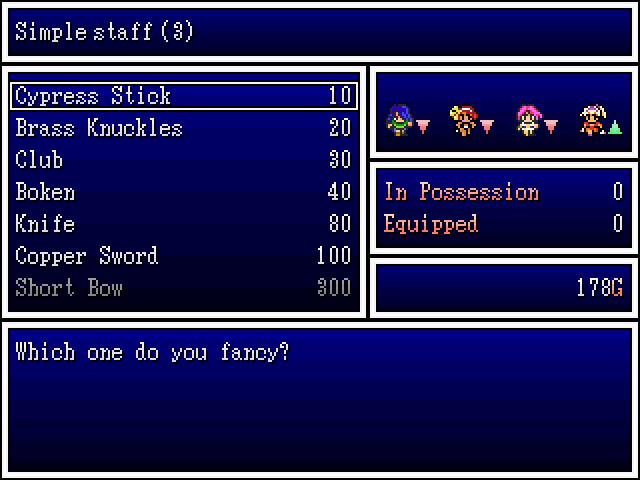
Weapon store has a few new stuff to offer us.
Scimitar (29 STR)
Short Bow (32 STR) This bow is nice since it always hits.
Long Sword (43 STR)
Iron Spear (51 STR)
Blucia picks up a Short Bow for herself, upping her damage output.
There's a secondary Accessory shop here. And just down from where we stand is the item store - no new items.
I'm just showing this off to say I did. We can't get anything here so...
Oh, you again. Yeah, troubles, doom and gloom. Got it.
;.;
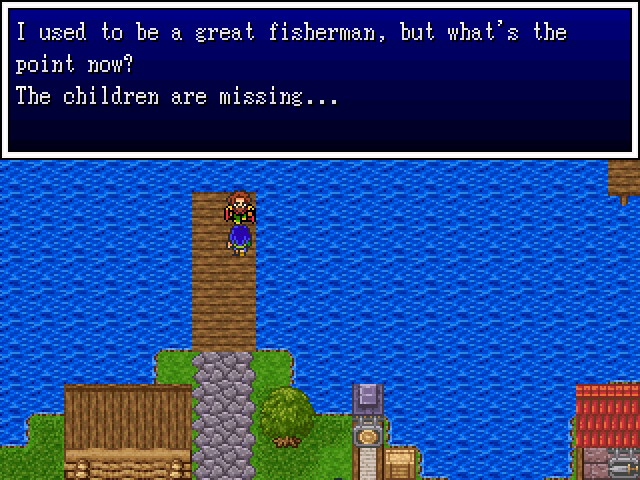
So... I take it the fish aren't biting then.
To the north-east we can see the Funhouse. It's an interesting place. We'll be visiting there next time.
Here's the group as they currently stand:
Blucia is our best physical damage dealer at the moment. Using her high strength and the Pummel skill, she can destroy enemies quite easily. Her Blaze spell is good for times when her physical attack won't work - ghost-type enemies, for example, so she's a great all-rounder at the moment.
Harley has been getting crits pretty often - I'm not fast enough to capture them but she did get 400 down in that minidungeon which made my jaw drop a little.
I'll be getting her some better defensive items soon, too. Her Slumber spell continues to be an asset.
As you saw in this update, that Puff spell can be very helpful. Combine it with Harley's Slumber spell and trash mobs aren't much of a challenge. I gave her that Poison Needle because, while she doesn't attack much, if she does I won't mind if there's a chance of instant death in the mix. I'm sure it'll pay for itself in the long run. Maybe.
Cecilia is still weaponless. That's fine. Her spells are what will matter most when it comes to battles, so we'll let her keep her kung-fu for now. If need be, I'll keep a weapon on hand just in case we need her attacks, but for this chapter it shouldn't be an issue.
Next Time on Hero's Realm:

<3<3<3
Update 04 - Happy, Happy Fun Times
Last time on Hero's Realm...

The Undead apocalypse was averted~
It's about time we headed back to the plot now that we've got a sidequest or two under out belts. We'll get back to the optional stuff after this, though, promise.
Remember this place? It's just to the south of Heminsk. We're not going there yet.
Instead, we're going to happy fun land!
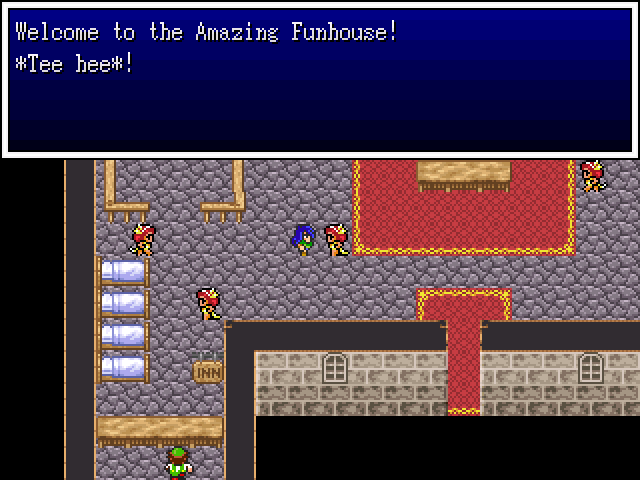
To the north-east of Helminsk is a happy little place called the Happy Funhouse. It's a catchy title, I know.
Prettyful~
Hm, this will come in handy around about now-ish.
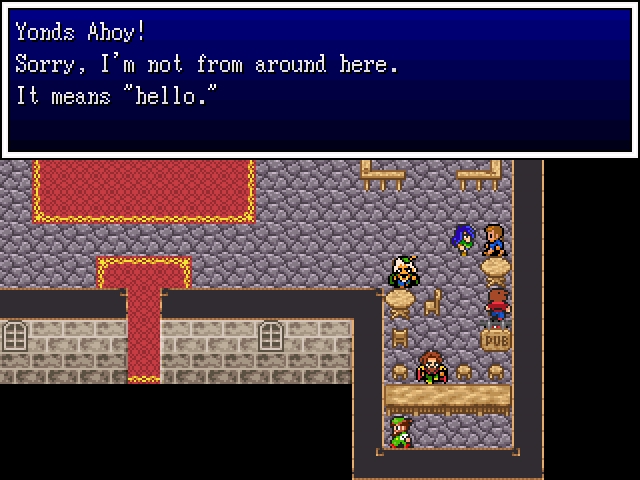
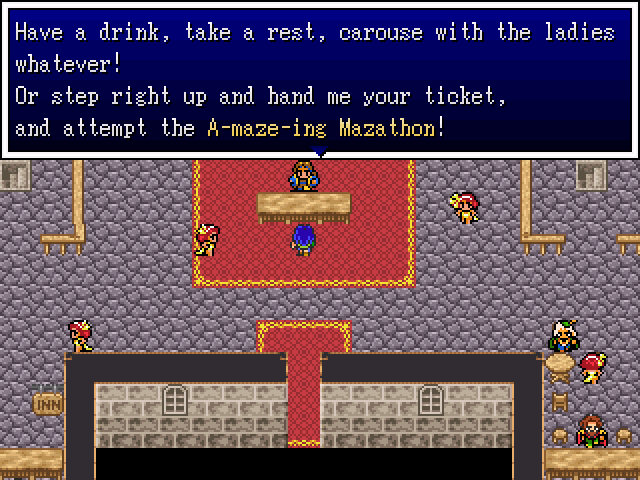
This be my kinda place!
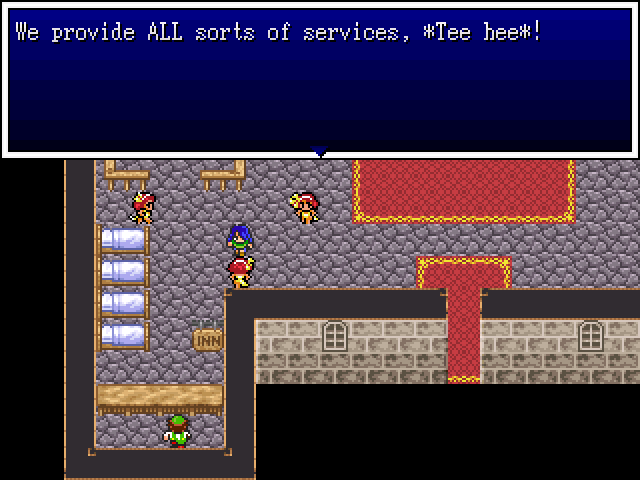
HellooOOOOooonursedancing girl!
Do tell!
I am certainly feeling welcome!

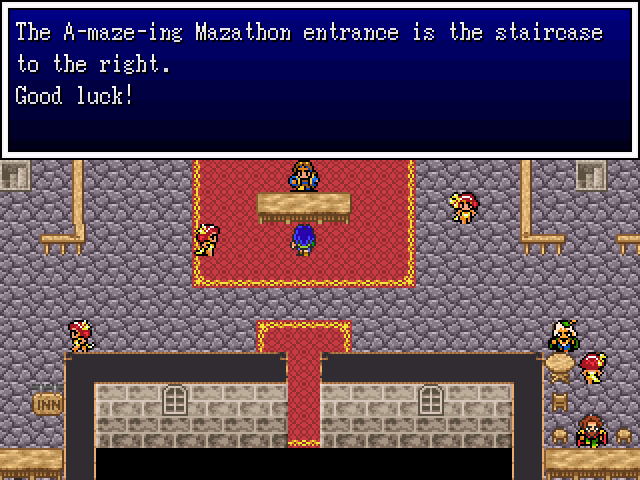
:Yoink!:
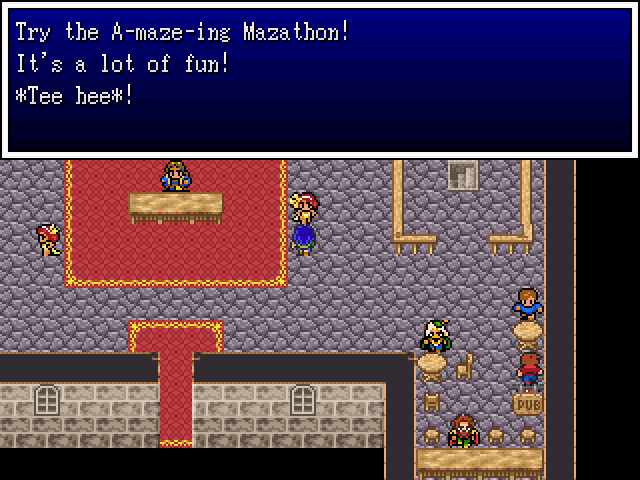
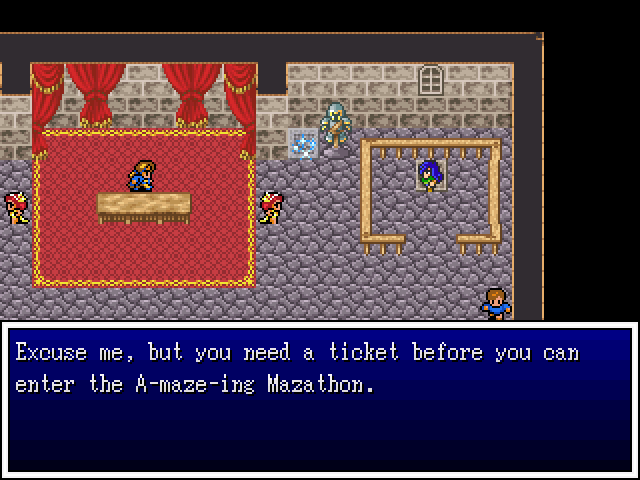
It sounds A-maze-ing!
^.^
OH HELL YAS!
~<3
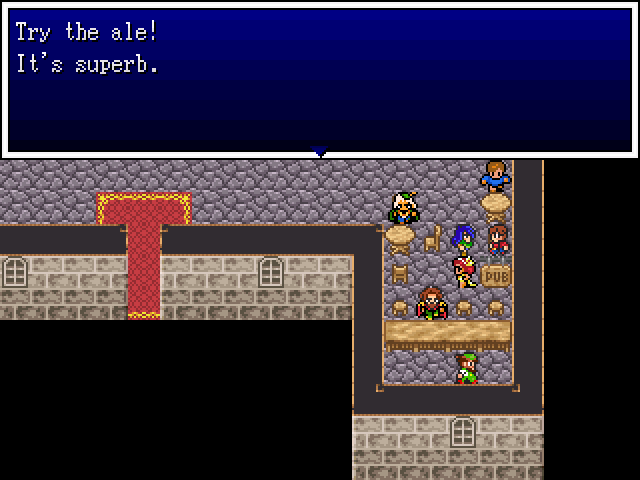
And you don't half look it, either!

Fill me up, barman!
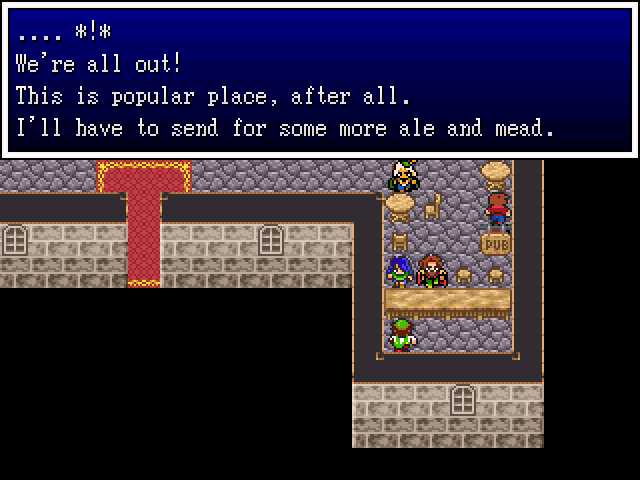
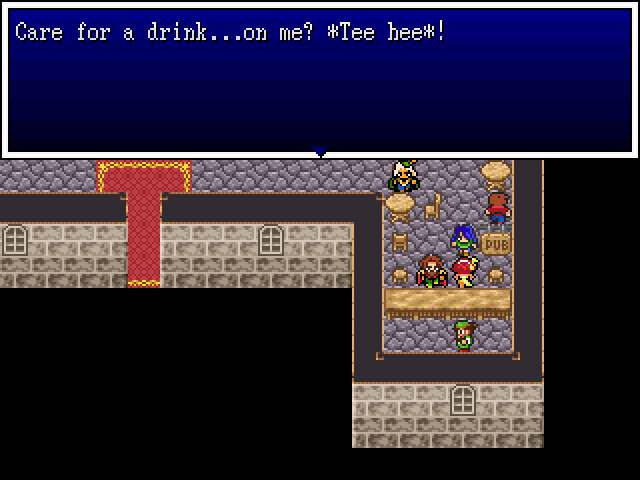
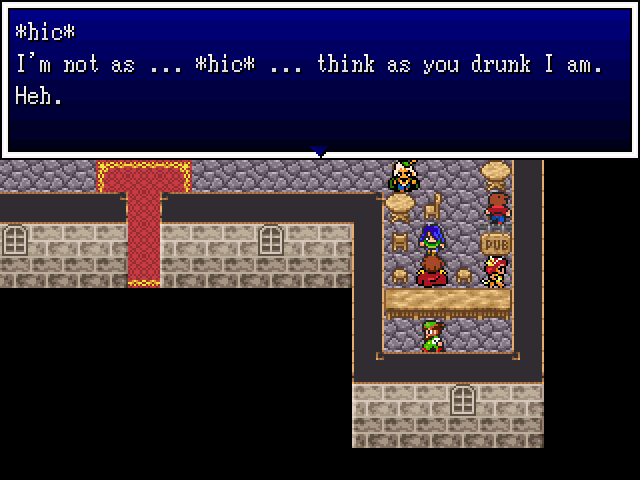
NOT THE RUM!!!
D:
Now that we can't get wasted, I guess we'll have to look elsewhere for some entertainment. (And I was so looking forward to seeing Harley and alcohol combined too. Who knows what kinds of crazy fun we would have gotten into?)

Well, I'm glad someone is. >:/
Who, me? Alright, keep your pants on mate. Before I talk to him, let's take the stairs to the left instead.
'Ello!
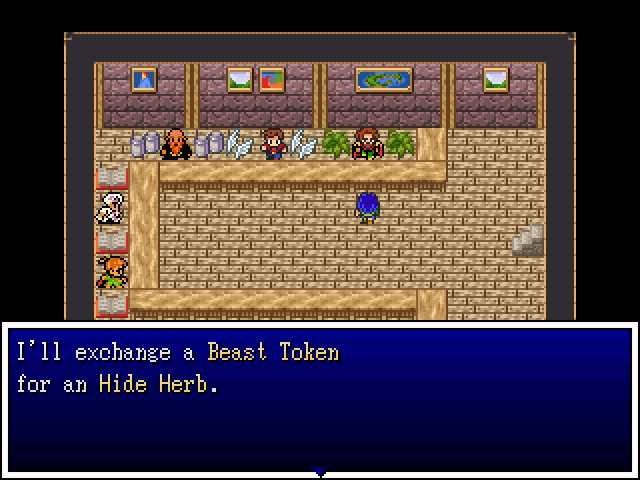
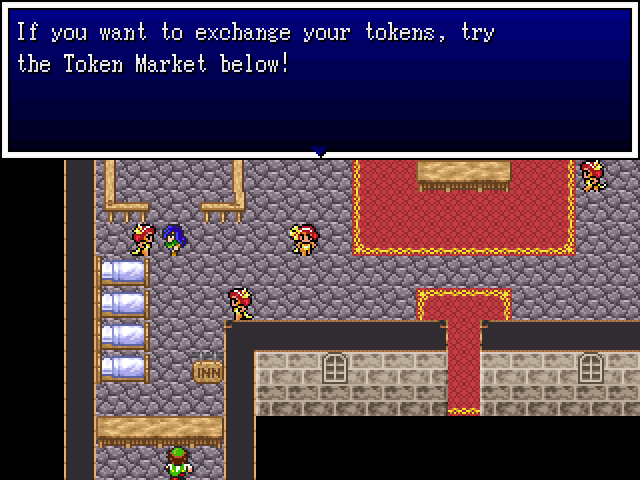
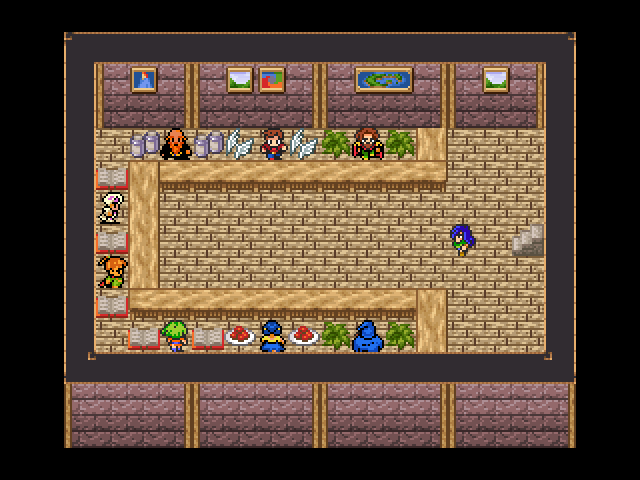
This is the Token market - the place our mother was talking about way back in the first update. It's a simple process - you collect tokens by killing monsters of different types, then come here and trade said tokens for items to help you on your journey.
Exchanging a Beast Token will get you a Hide Herb.
Beast Token + Avian Token will get you a Warp Wing.
Undead Token + Demon Token + Insectoid Token will get you a Wizard Potion.
Beast Token + Beast Token will get you a Blaze Scroll.
Hominid Token + Hominid Token will get you a Firebal Scroll.
Mandrake Token + Mandrake Token will get you a Heal Scroll.
Dragon Token + Demon Token + Mandrake Token will get you a random seed.
Mandrake Token will get you a Medicinal Herb Pack.
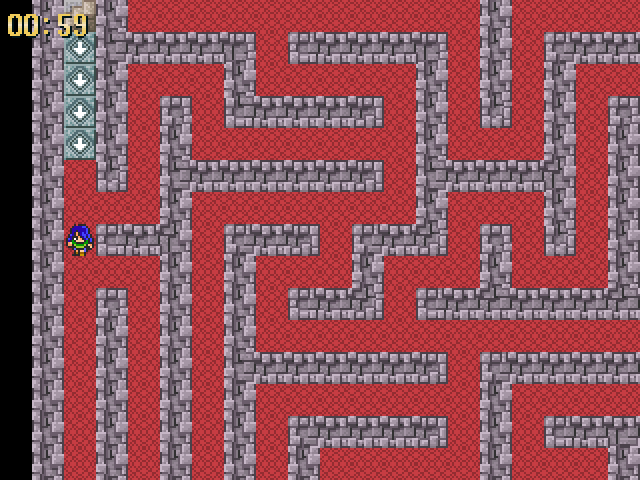
One thing left to check out here. TO THE MAZE! :black101:
{x} Drink
{x} Rest
[x} Carouse
{_} Try Maze
We know what we have to do.
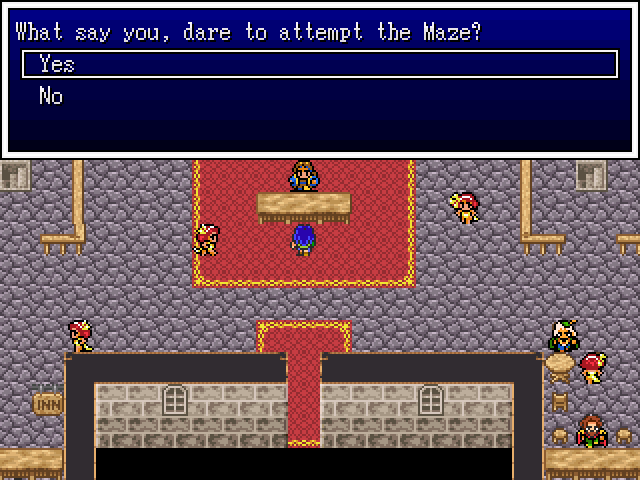
Hells to the yes!

Give me your adoration!
Pfft! We're tried and tested adventurers! How hard could this possibly be?
Aight. Lemme at this!
Aaaaand we're off!
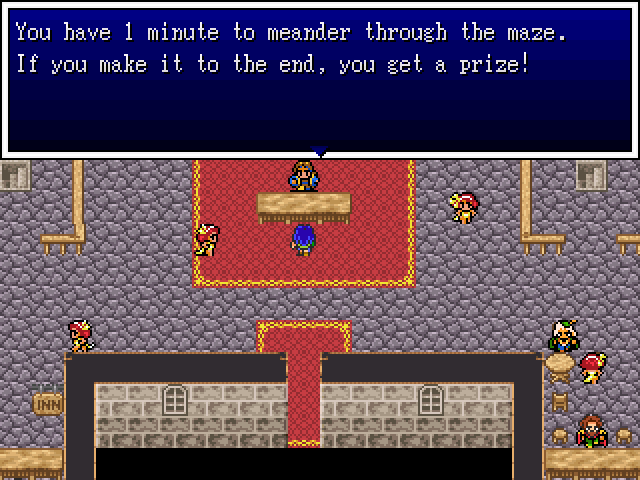
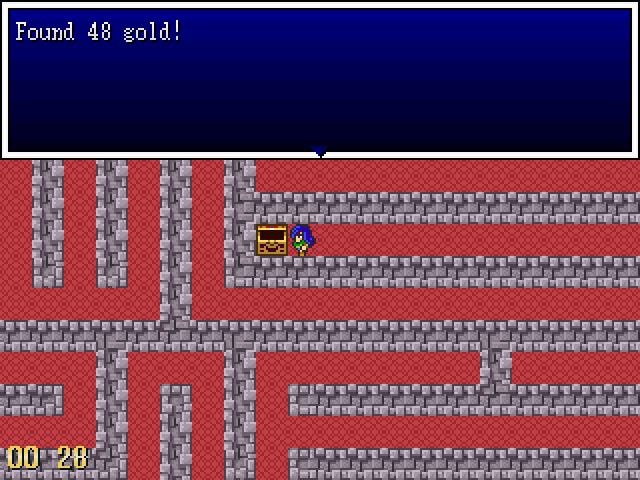
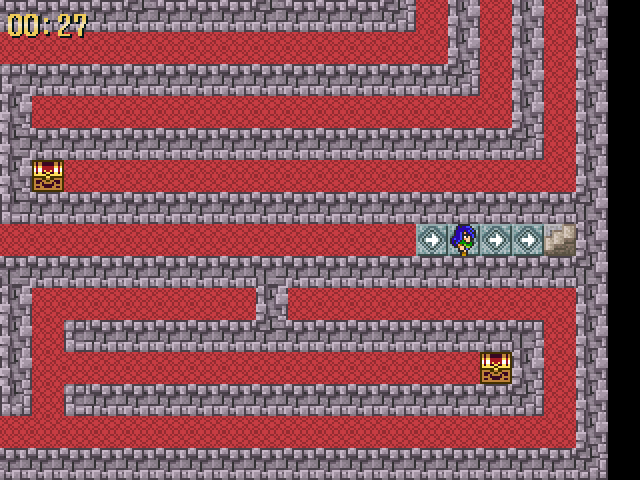
We do literally have only one minute of time in here to find our way through the maze. It's not terribly difficult, but there are a few bits here and there worthy of notice.

Treasure, for example.

And !Treasure, too.
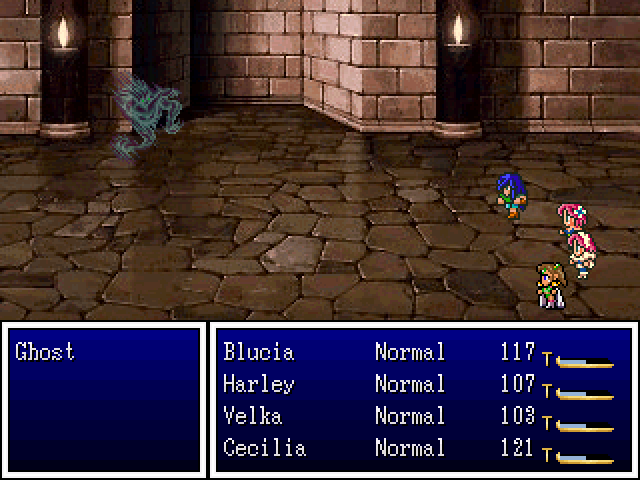
The ghost isn't a difficult fight as long as you have either some scrolls at hand or a magician or two. They are immune to physical attacks, so if you made a party of beefcakes you might want to go grind up some Blaze scrolls just for this battle.
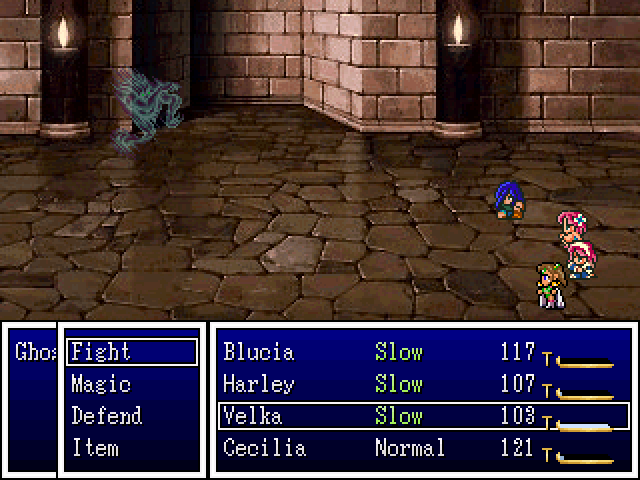
That said, it is an entirely optional battle, and aside from the no-hitting thing, not very hard. Ghosts don't do much in the way of damage, but they will slow you with a whole-party target skill.
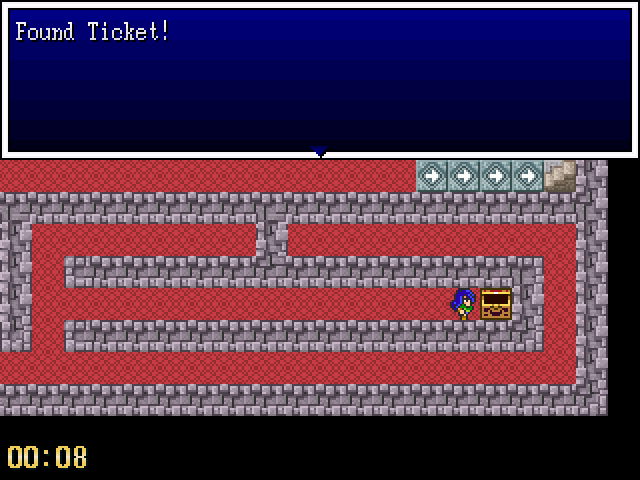
For our efforts we get a Ticket and run out of time. Yes, time will count down in battles.
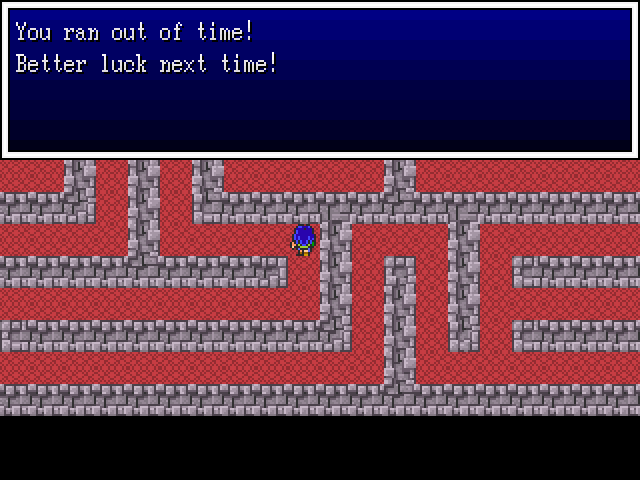
Bugger.
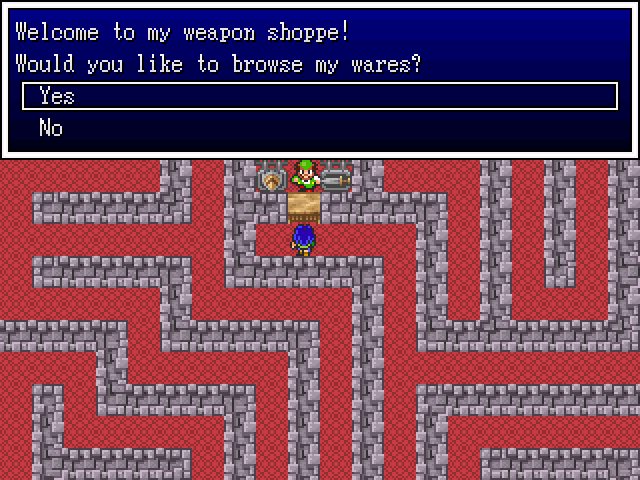
In the maze is usually a shop of some kind. In this chapter it's a pretty nice weapon store.
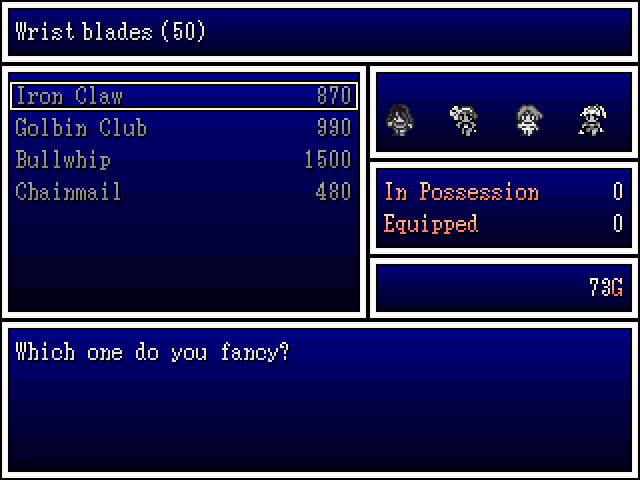
The Iron Claws were what that one zombie/skeleton in Helminsk used to kill a Timberwolf.
Harley can use the Bullwhip (35 STR). It's a big boost to what she had equipped (a Sabre I think) and allows for two attacks a turn.
Chainmail (20 DEF) is a decent upgrade that everyone bar Harley can equip.
I sell off some of the items we have on hand and get me some of that double-whip action. Harley is now one of our physical attackers - combined with Healing Aria and Slumber, she's the current MVP.
:DDD
Don't mind if I do~
That's my fastest time yet! I breezed through it in this run, but then, I'd already grabbed all the prizes. Each time you restart the maze, the treasure chests will refill, but since they're small prizes (a handful of money and healing item) they're not worth wasting your Tickets on.
Onward to the main prize!
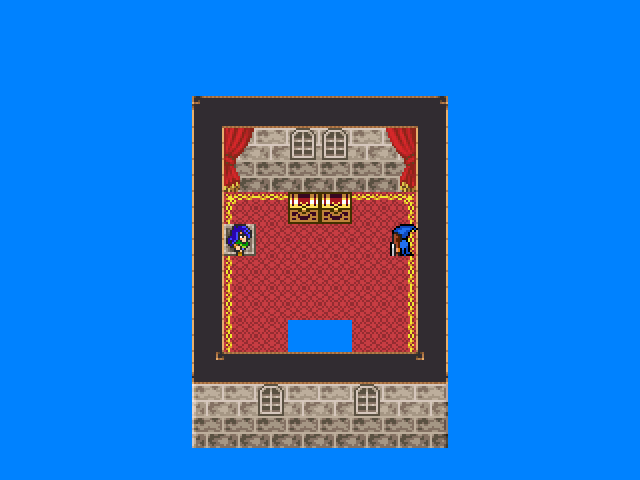
^.^~<3
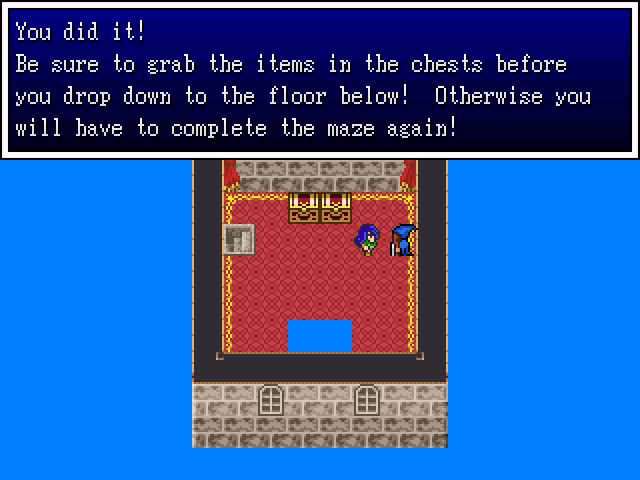
Oh, don't you worry. There's no way in hell I'd forget about them!
(I say, but my first time playing, I was so happy, I walked straight on to the blue tiles and fell back to the Funhouse below. Meaning I had to do the maze all over again. Joy.)
GIMME!
OM NOM NOM
Harley is criminally under-protected at the moment. We'll get her some stuff eventually, but for now, this should beef her up a little.
And yes, I've yet to equip the new weapon because I am a dingus. Don't worry, I remember for the next area.
Speaking of, let's head to that cave now that we've done all we can here, shall we?

There's a few people hanging around. Let's see what they have to say.

I hear you, bro.

Oh yeah, I remember hearing about that. I met the guy. Seems like a top bloke. You know, bar the whole 'being a criminal' thing and all.

We'll be using this shortly~

Oh yeah? Good thing we managed to procure one of those back in Helminsk, eh? Check this puppy out, Mr Guard!
...bugger.
Right. I know how to fix this. TO STROMHOLM!
Warp Wings will let you teleport to towns and certain places of interest that you've visited before. You can only warp if you are considered 'outside' - that is, if it has a roof you won't be able to warp.
When used, it will open up the list of places you can warp and when you choose where you want to go...

...you'll be teleported where you want to go. This is metaking a map from earlier in the thread because I forgot to screenshot my arrival killing time until the night sets in.
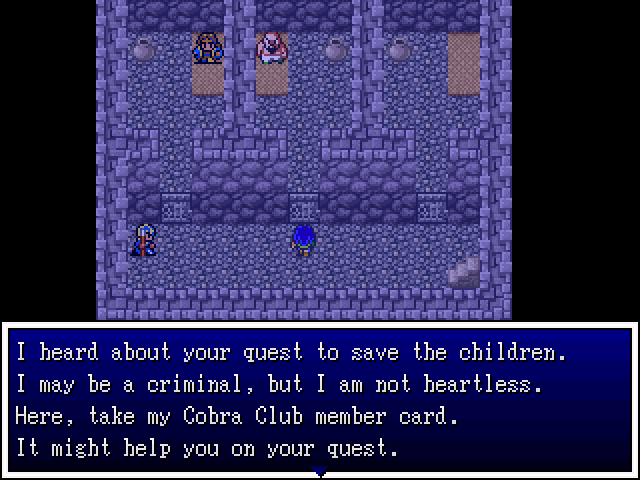
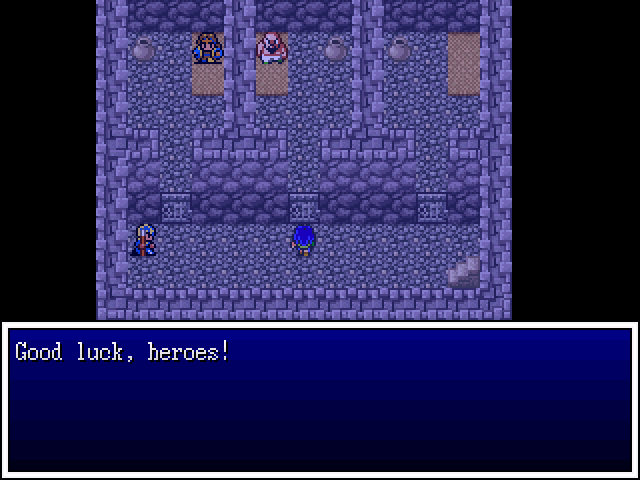
We want to talk to this guy again. For a criminal his heart is in the right place.
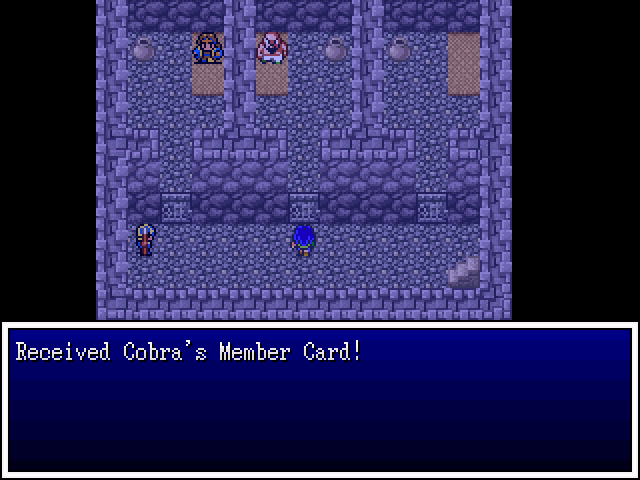
Item get~
We won't need it but thanks anyway!
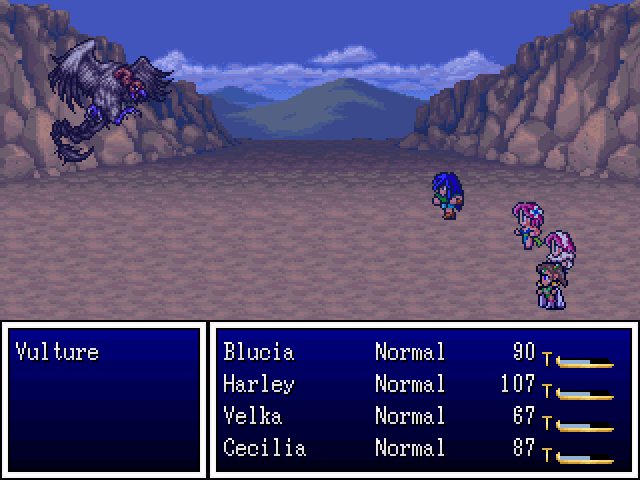
Vultures are pretty weak monsters. They usually turn up with another monster or two and have a swooping attack that just deals straight damage (though not much). They are fast, but fragile.

They also drop chests and give decent experience. Chests dropped in battle are chest items. Which means we have to open them with the 0 key or through the item menu.

Ni~ce! You can never have too many of those.
Right, let's get this party started, shall we? Time to follow the plot for a little while.
Uh, thanks?
For a cave it's surprisingly comfortable in here.

In fact, the legend says that the King himself was annointing a new mine tunnel with his Golden Pickaxe when the rift was formed! He barely escaped with his life.
The Golden Pickaxe lies there to this day.
*is
*cough*
Hells yes, we are!

Hm... talk to the seemingly important man in red or...?
Pffft, like there was a choice!

Warp Whistles are the cousins to Warp Wings. Instead of teleporting you from one place to the next, they will warp you out of a dungeon. Very useful for when you're running low on life and need an exit strategy.
Well... not really.

Oh... uh... hi there.

Uh... I have a bad feeling about this!

Of course you do.

Of course they haven't. >.<;
...suddenly I'm liking this idea a little more.

YES!
SIR! o7
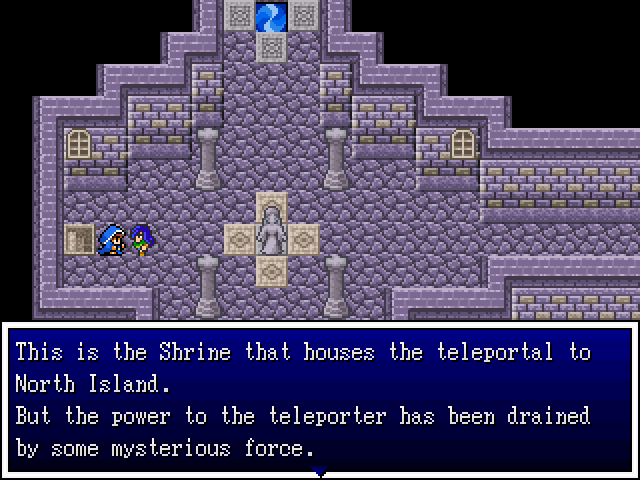
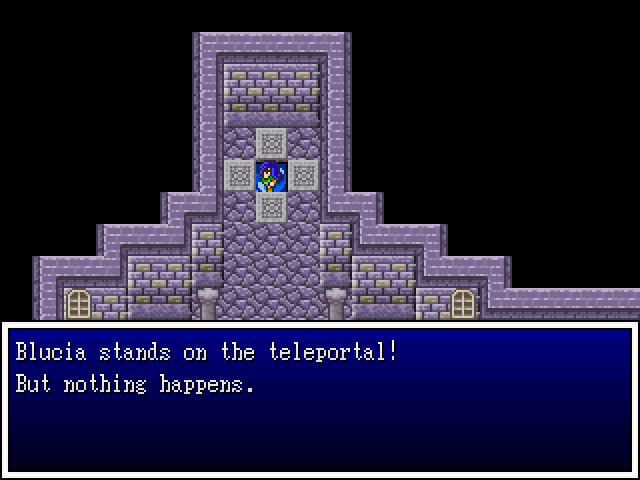
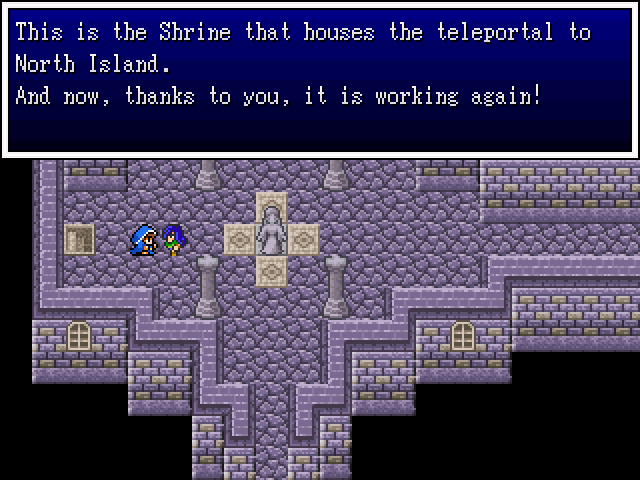
You can get there by the teleportal in the northwest.
Well, we could if the batteries weren't flat. Guess we're going to have to wait a while before we get to go north.
Guess who's going to find out?
Us.
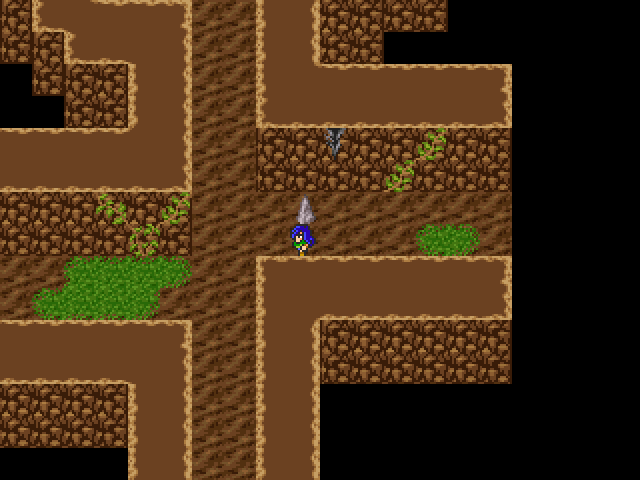
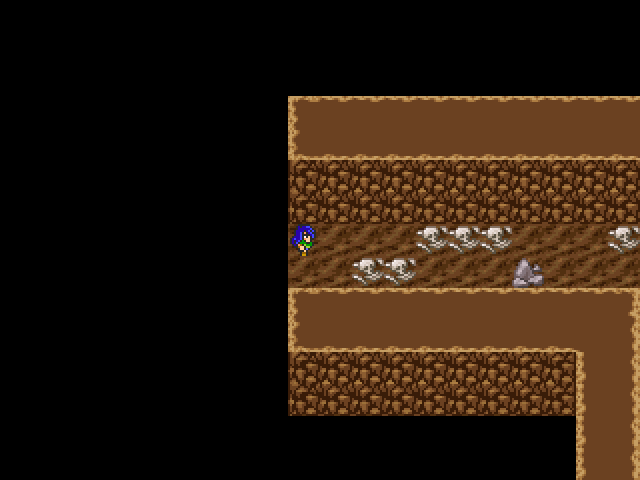
The dungeon here is a little more maze-like than the last two we went through, but still pretty simple. Heading north will lead to many different branches (about four or five). Most of them are dead ends.

Like so.
Follow the path and you'll find stairs leading down.
Yeah, I did a bad in taking images of this dungeon. Really, it's more simple than it seems.

Going to the east leads us to this water room. It's pretty~
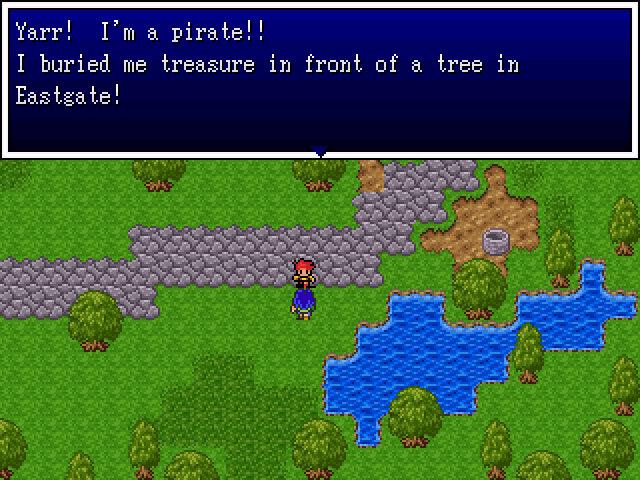
Oooh~ I've always fancied myself a pirate!
There's no way to get to it yet, though, but it shows off another dungeon gimmick that will return - boating in caves.

Head to the east and we get to a tunnel that leads south. Really, there's not many places to get lost in this dungeon.
Harley... ;.;
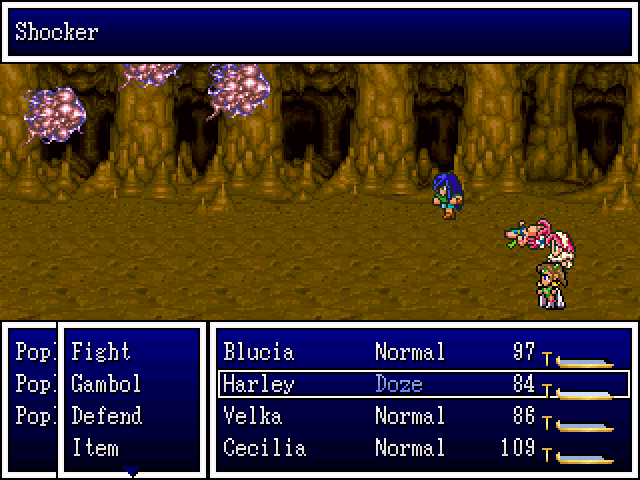
Popliums come in packs but you don't have to worry about them too much. They have a lightning-all skill that isn't too damaging and a slumber spell that hits one target. They aren't very dangerous, and they do have a chance to drop Demon Tokens, so it's worth it to fight them a few times.

The tunnel leads down and to the left.
Spitting out here, where there's a few ways to go.
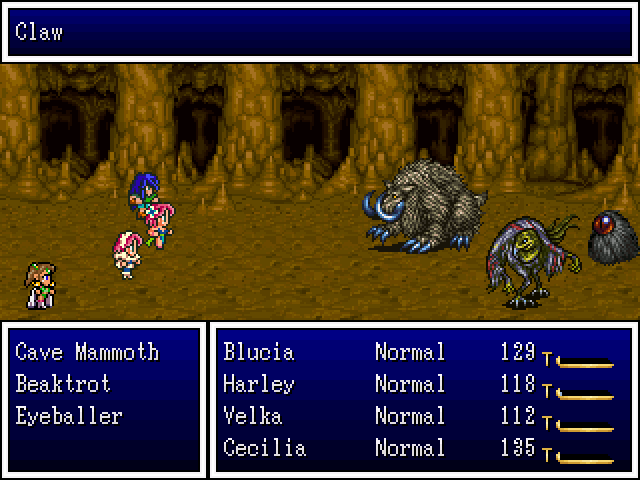
Hm, I think I forgot to talk about Cave Mammoths. They're tanks - high health, decent defence and an attack that will do some pretty decent damage. They drop Beast Tokens and are usually in a group.
Going all the way west we'll find this room. It looks kind of bland but-

- as you can see, it offers a sneak peek into the future~
We will have to get across that water to progress the plot.
If we head back down the tunnel and to the south, we'll find this charming room.
Looks safe enough.
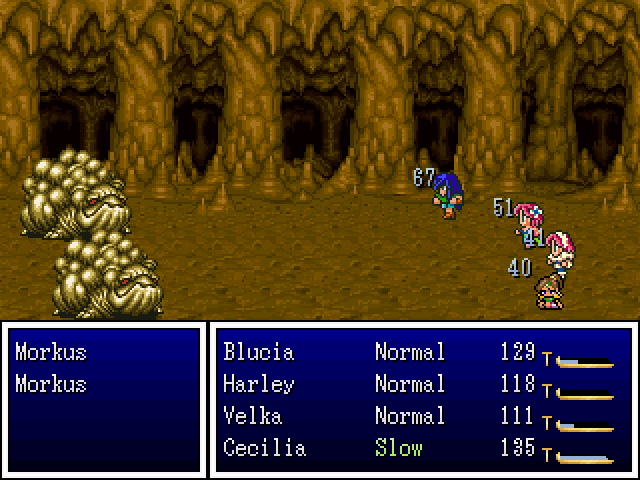
Drat. If only there were a clue that such a thing were going to happen! Damn game makers and their inability to foreshadow scary battles! :argh:

Oh joy. An army of Morkus. They have high health and decent attack power. They have two main attacks - Pus and Charge. Pus inflicts slow on a target. Charge is a low-damage attack. They can also waste a turn just watching the battle. Ideally you want them to use anything but the default attack skill.
They drop Beast Tokens and give a lot of EXP.
Shown here is a skill that I forgot to add. Harley gained Healing Aria at level five - a skill that restores a small amount of health to the whole party. It does pretty well for the early game and I tend to rely on it when two or more characters are missing a bit of health - especially since Harley hasn't the best Tarot cards at her disposal.
Also, at level five Cecilia learned Bless. It only ever does damage to the undead and is going to come in super useful.
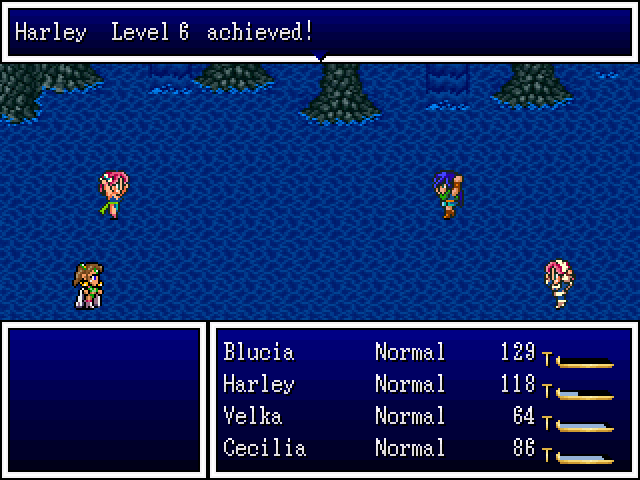
After this battle everyone goes up a level. Well, everyone but Harley - she's behind due to dying that one time. No skills gained for the girls, though.

Loot time!

As you can see, we didn't need to buy a Ring of Warding since we got one here. I hand it to our fragile Druid so she can keep us alive. I call her fragile but she's very well protected - more protected than some of the others.

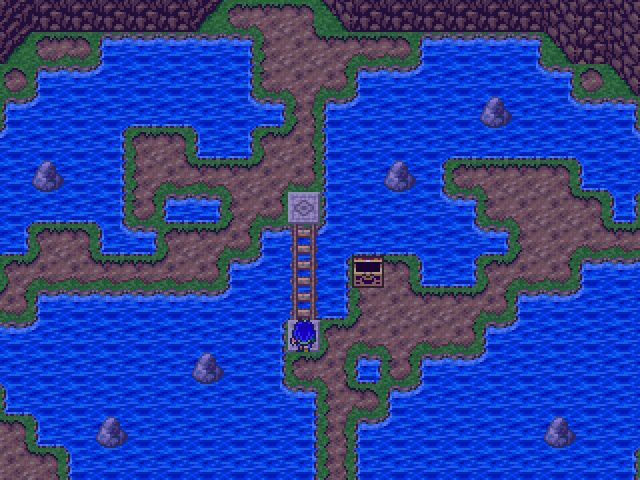
If we take the northern exit in the tunnel, we find our ship! Let's go~
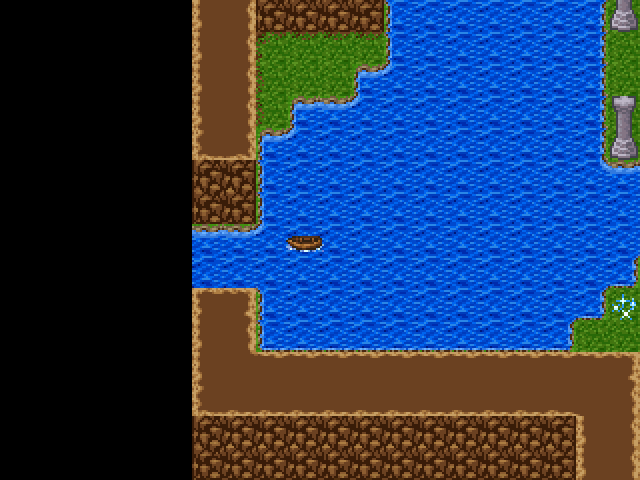
Sailing! Sailing! Sailing!
... :|
Harley levels up and learns a new skill - Faint Echo. It inflicts Weak on all enemies, with a hit rate of 80%. It's not the most useful spell, but it can come in handy when you're faced with a group of hard-hitters.
The only place we can go on our boat is to the left. I'd be sad, but hey, treasure.
Yoink!
Harley tries out her new skill. It's prettyful~

Oh, hey, found a Demon Token! Nice~
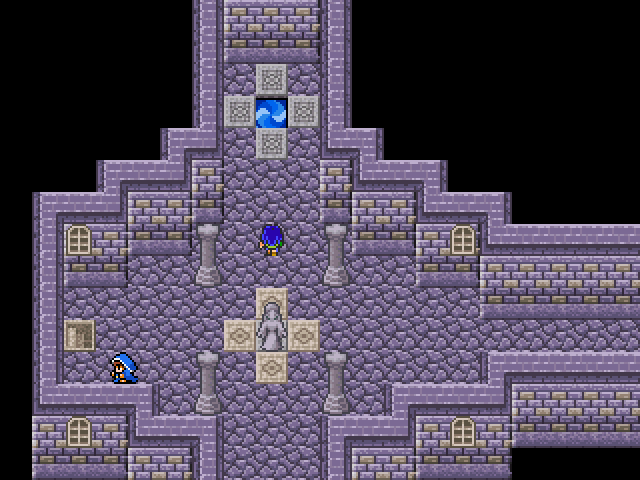
Go back to the island and down the stairs will lead to this wonderful room.

Very nice. Love what you've done with the place.
To the left is plot. To the right is optional. We're going plot-first this time - just in case we have to come all the way back through.
This is definitely a step-up from the previous room's decorations.

Gettin' lucky~

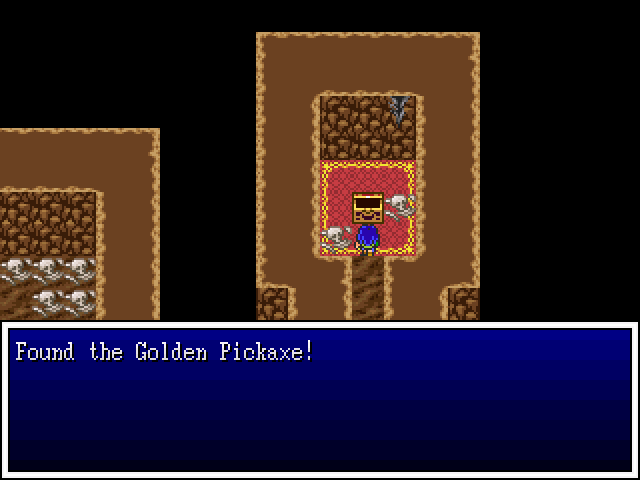
Up the stairs and, hello!
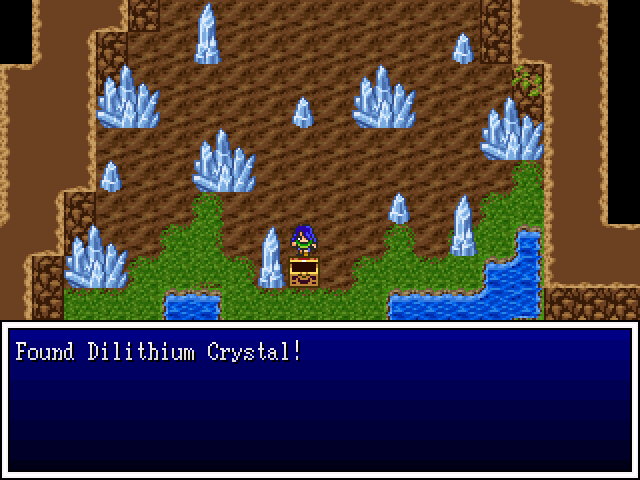
McGuffin acquired!
TO THE SIDEQUEST! :DDD

Hello there, beautiful. You and I are going to meet very, very soon.
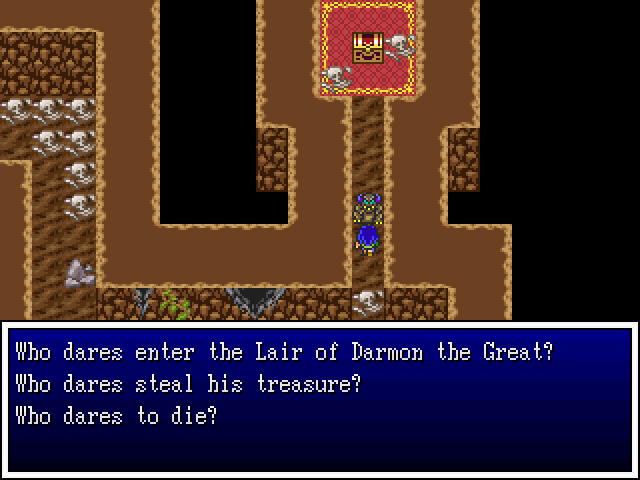
I, I, Not it!
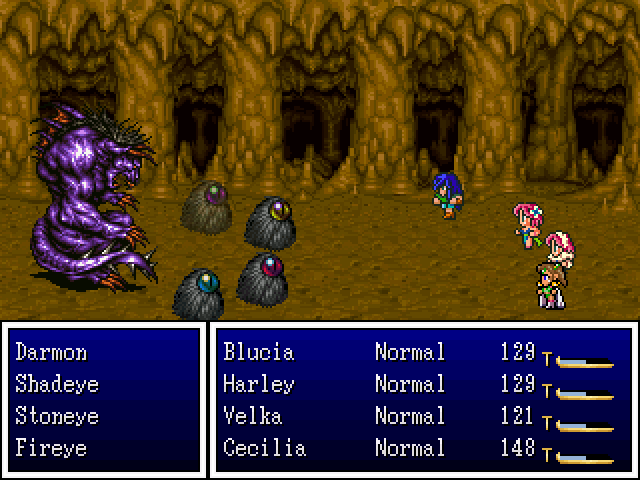
Hello first boss of the game!
Darmon and his eye friends are mean, especially if you're not up there in levels.
Darmon will change into an alternate form if given enough time. I didn't. Give him time, that is. The alternate form will just watch the battle and wait. It has higher defence and, if killed in this state, will drop a Tarot Card.
Yes, I am an idiot.
That said, normal Darmon will drop a Behemoth Token - which are hard to come by - so either/or is a good deal.

Darmon has a fair few attacks. Bash, Charge Up, Tail Smash and Firebreath. He has high health, attack and agility. By himself, he'd be a challenge. Add in his buddies and he can be hard.
Bash doesn't do much initial damage but it is influenced by the enemy's attack and since Darmon has triple digits in that stat, he can take a fair chunk out of you.
Couple it with Charge Up, which increases his damage output and it can lay the hurt on you something fierce.
Tail Smash is a high-damage attack, but thankfully it isn't influenced by attack, so while it does hurt, it won't change much when Darmon uses Charge Up.
Firebreath is a fire-elemental attack that hits the whole party. Thankfully, it's not too bad.
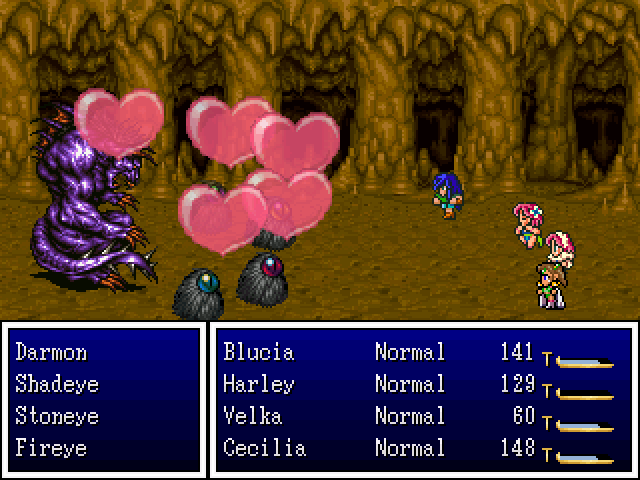
Good thing we got Faint Echo. It helps a lot with this battle, weakening Darmon if it hits.
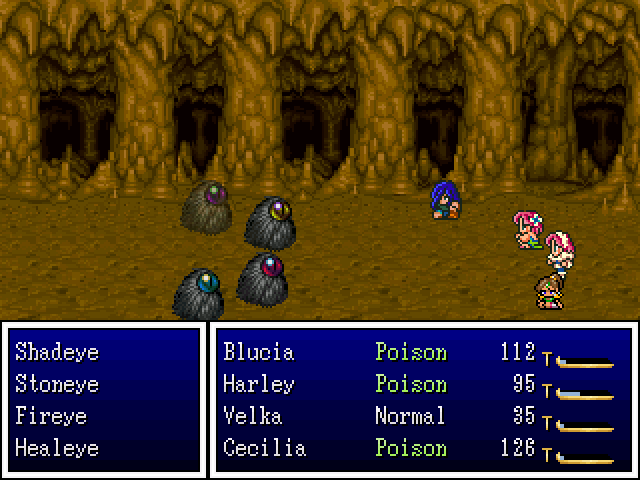
Taking out Darmon leaves us with his flunkies. From the top~
Shadeye is a spirit-type and physical damage won't hurt much. It will use Surround, Poisonbreath, Darkeye and Shadowflame.
Darkeye is a weak dark spell. It doesn't do much damage, thankfully.
Shadowflame is like the one we've seen before - removing good buffs - but does more damage. The other two spells are pretty self-explanatory.
Stoneye is earth-type and has the higher defence of the four. It can use Sap, Upperself and Stone. Stone will inflict petrify, which turns you into a statue over a few turns.
Fireye is fire-type and has the highest attack and speed of the four. It can use Speedup, Firebreath and Blaze. Of the four, it can be annoying and deal a bit of damage if you're not on the ball with healing.
Healeye is an asshole and should be the first one you destroy. It has a group heal spell, a single heal spell and Surround.

Everyone hits a level after this battle.
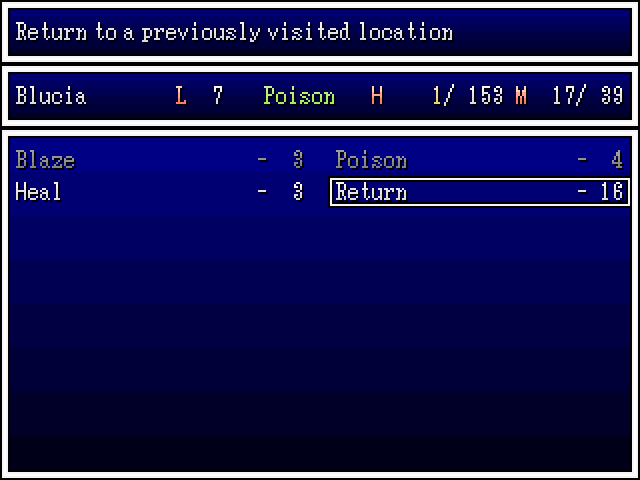
Blucia learns Return. It's the spell version of a Warp Wing, but it does cost a pretty MP amount - about half of what Blucia currently has.
Velka learns Bless, making her even more useful than she already was.
The other two didn't learn anything, sadly.
Oh-ho-ho! Hello, sweetheart. Come to Momma~
Let's get the hell out of here! Warp Whistle, ahoy!
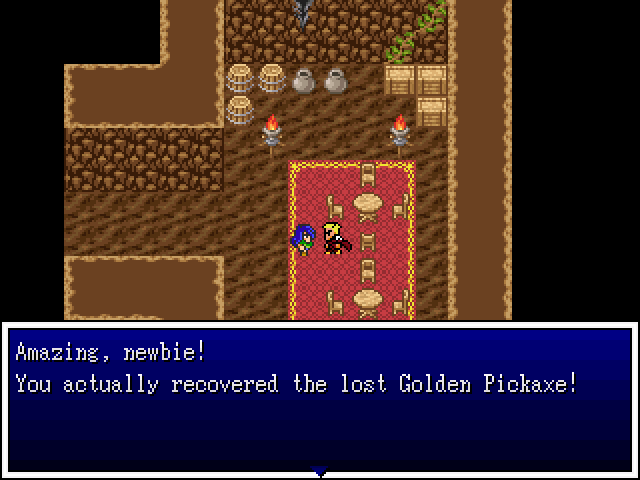
I wasn't expecting you to succeed. Well, here's that gift I promised in exchange...
Gimme!
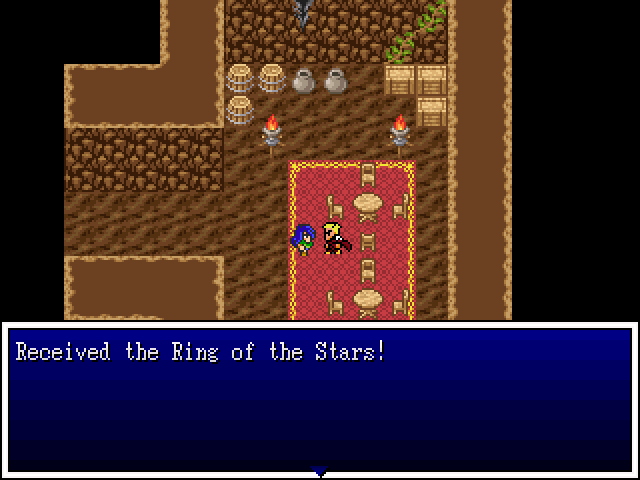
Mufufufu~
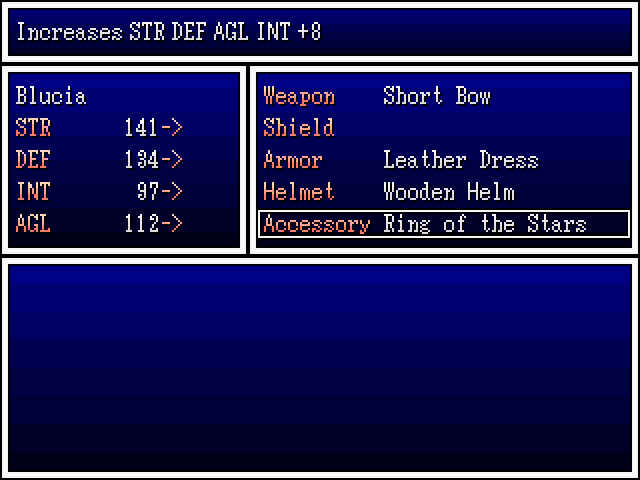
Ring of the Stars gives a +8 to every stat. It's quite nice. I give it to our leading lady since she hasn't got a pretty yet.
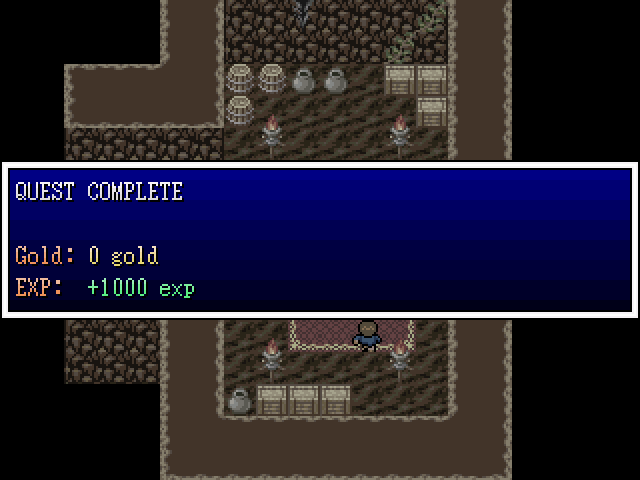
Aw yeah! Gotta love that extra EXP. We don't get levels from this but it'll help get us closer to the next one.

:(
Now there's a little injustice I need to see to...

'ello asshole.
Now that we have the McGuffin, it's time to break away from the storyline (heh) for a little while! Sidequest time!
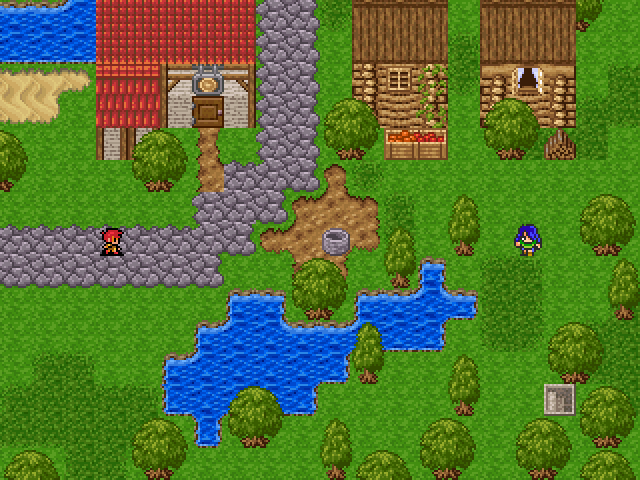
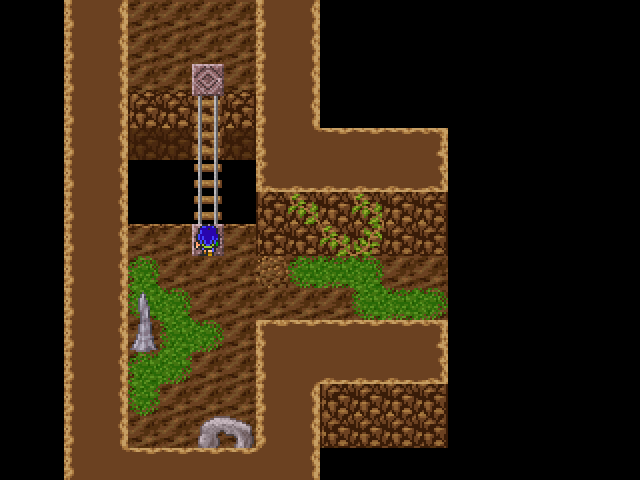
You all remember this place, right? I wanted to get up a few levels before coming back since it can be hard to do this quest if you're low on them.
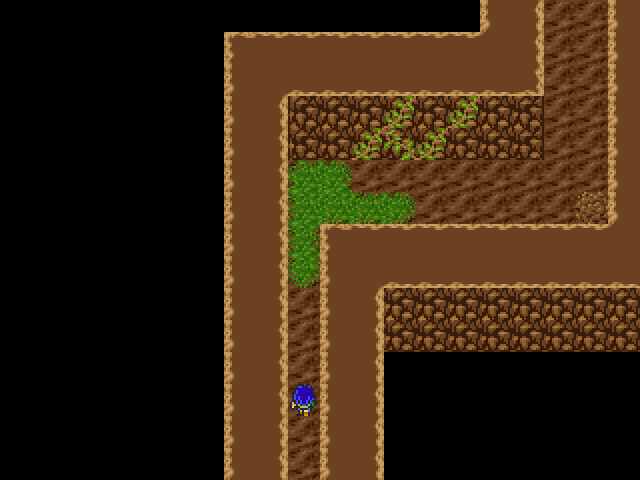
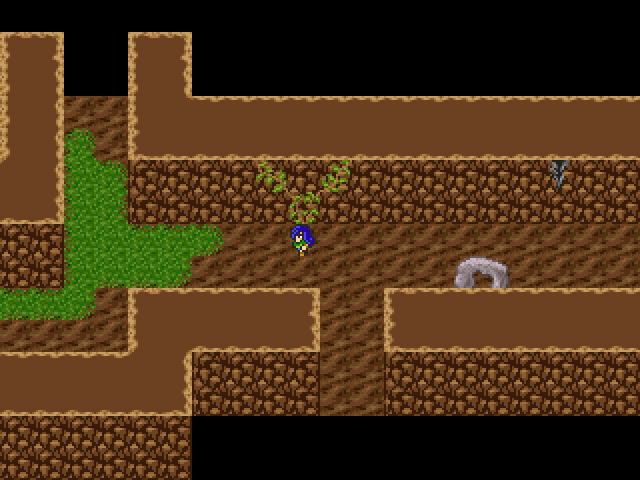
There's a cave that we didn't check out last time, behind the guy that told us about ladders being useful to get across gaps. It was hidden by a message box but it was there.
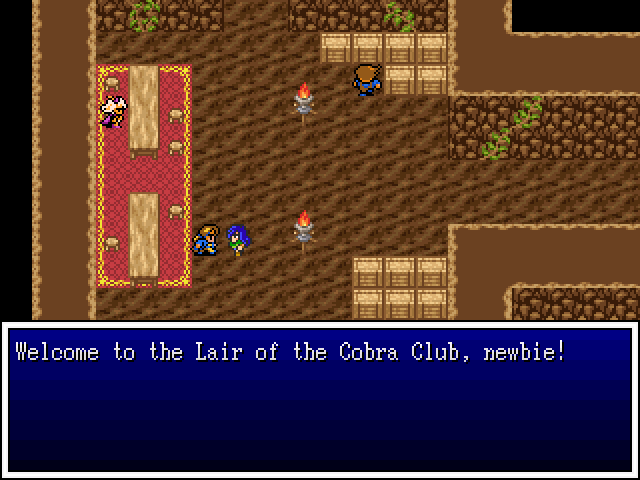
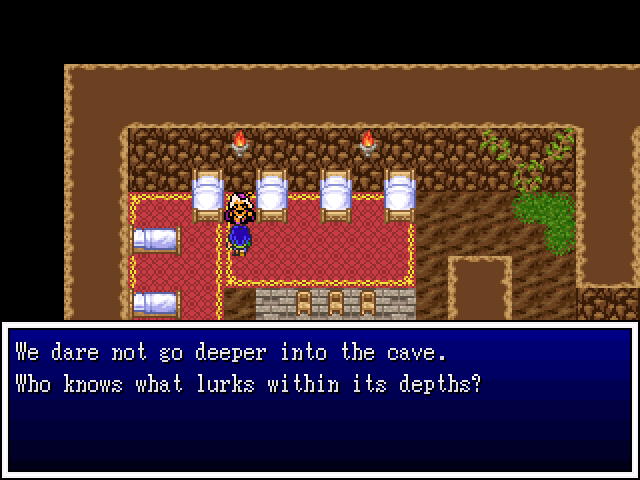
Cave-dwellers!
Right, so this quest is pretty simple. Find and kill the monsters in question. Cinch.

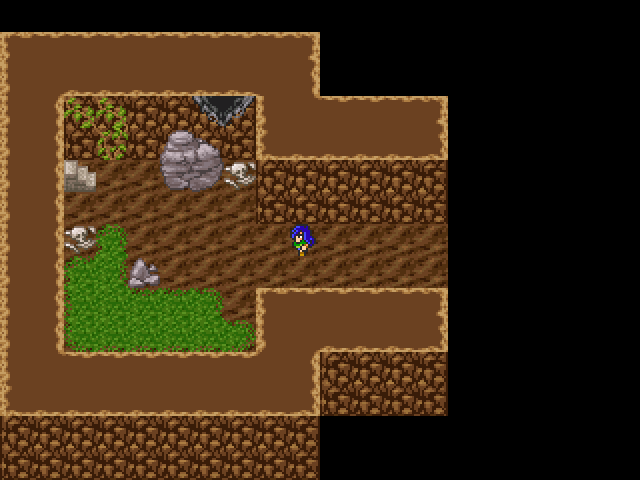
To the left we find this room.
If you can't figure this puzzle out, you should be ashamed of yourself.
Easy~

He's an ugly bugger. Let's kill him!
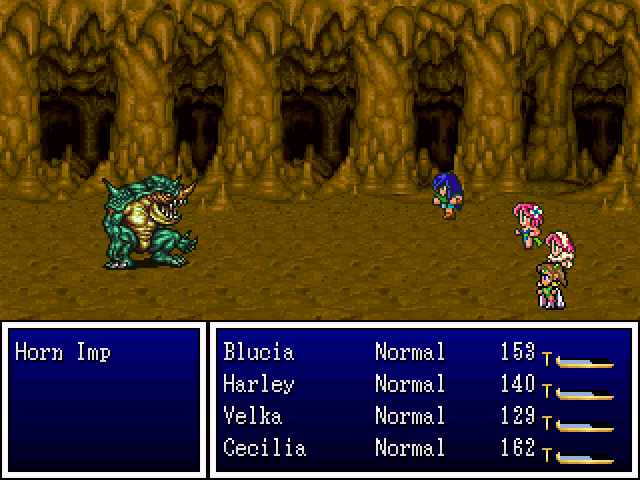
Horn Imps are pretty easy compared to the boss we just got through. It's got half the health, though its other stats are a bit lower than the eye-bros, never hitting triple digits. It has poison attacks, but apart from them, it's pretty easy to put down.
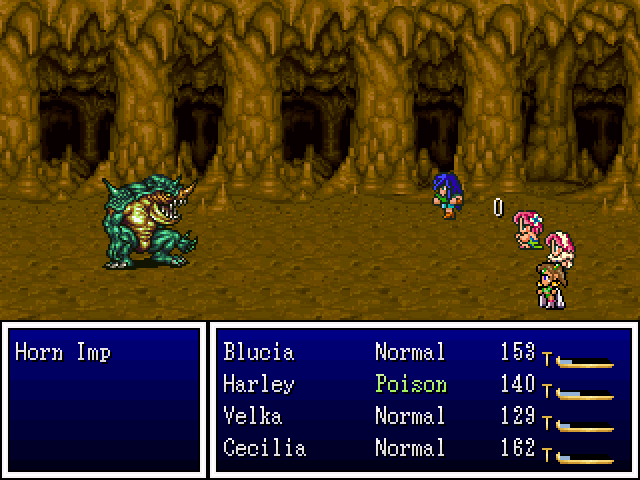
It should be ashamed of itself. Harley is our second-flimsiest character.
Honestly, they aren't a threat at level 6. Level 3-4 could give you a run for your money if you're not careful, but as it stands, it's pretty easy.
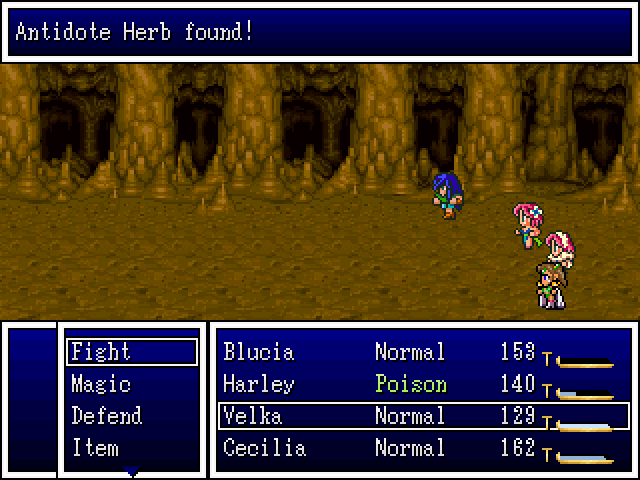
The treasure drops aren't great either, though the experience and gold isn't bad (a flat 100 for both - not great but not horrible).

What's that Lassie? Timmy is trapped in the well?!
I look forward to it!
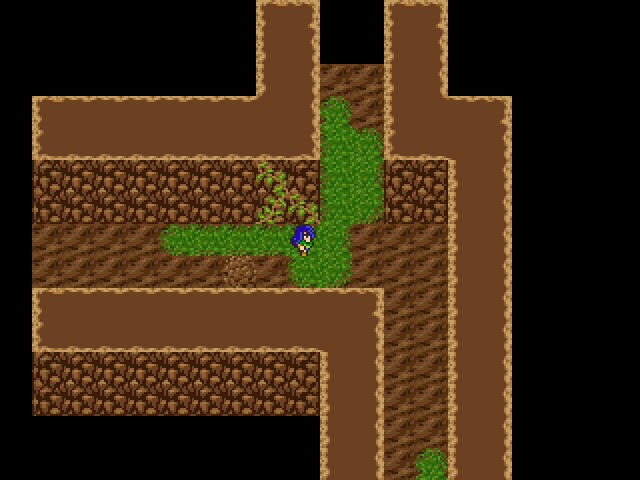
Let's see... If I were a green-skinned Horny Imp, which way would I go...?
'ello, me lovely~
This is the path to the south. Do you see the ladder? We need it to progress.

Wow. You're even worse than your brother.
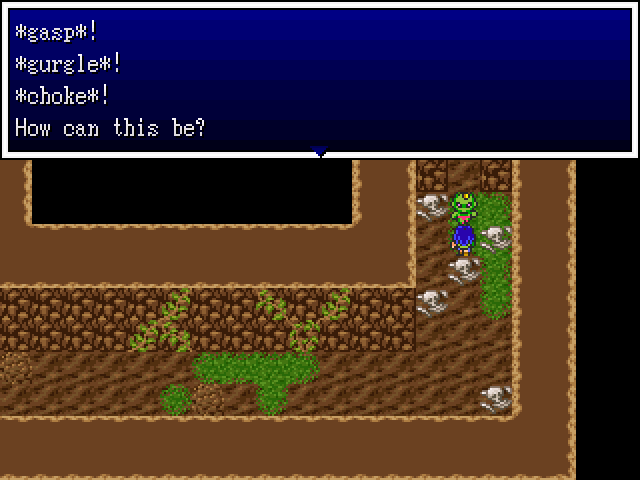
I just like killing green things. What can I say?
A new monster! Wolf is a downgrade to most enemies we've faced so far.It does middling damage and has an attack, Bite, which doesn't do much.
As you can tell, you could probably get away with doing this area a bit earlier since the trash mobs are easy enough. Level 4 should be okay, if you're good at RPGs.
I just like waiting. I'll explain that at the end of this excursion.
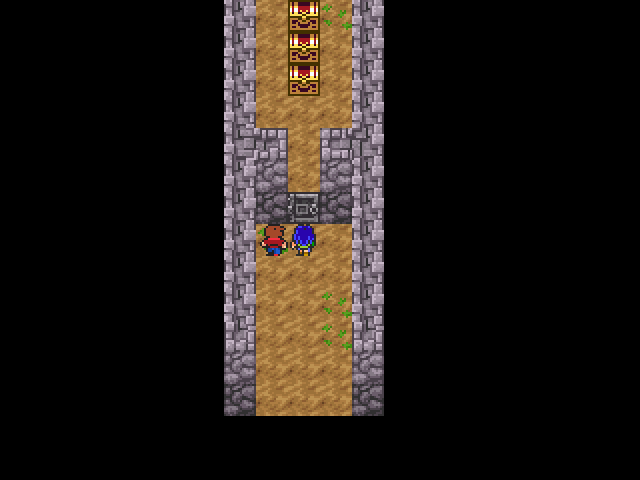
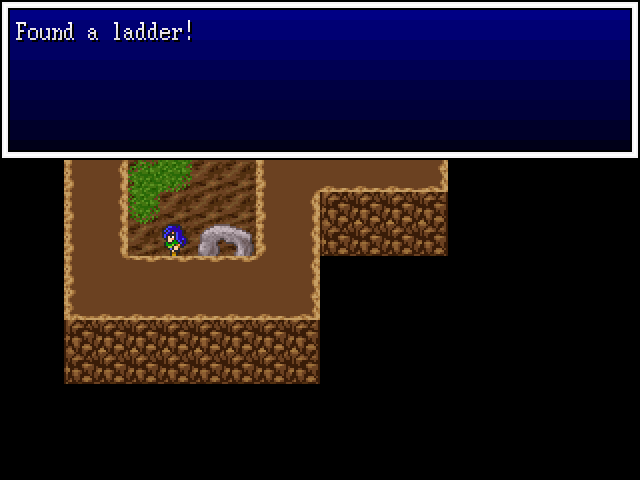
To the north we find this room. Good thing we went and got that ladder!

To the right there's a chest with this in it. Not great loot but hey, free shit is free!

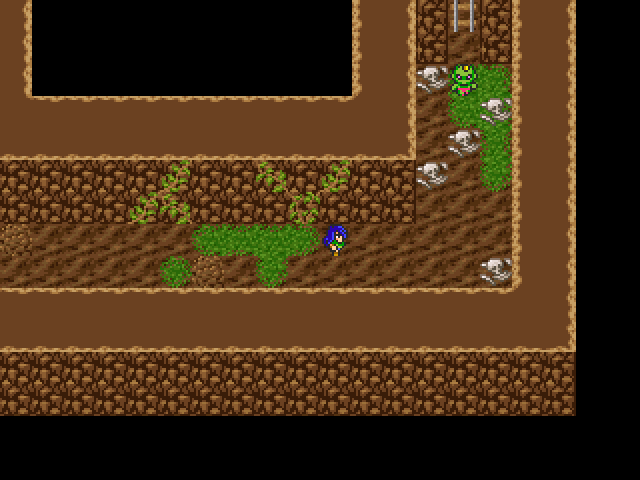
You can pick either way to go. I decided to go this way because, well, why not?
I see you, you sneaky fucker. Don't think you'll be missed just because you're hiding behind a rock!
Not an upgrade but, hey, something to slap on whichever of the girls is currently shieldless. I think this one went to Cecilia, actually.
The other ladder leads here...
...which in turn leads here.
Nab that ladder and...
...yoink!
To the left of the crossroad we find a gap. Are you surprised? I'm surprised!
(I'm not surprised.)
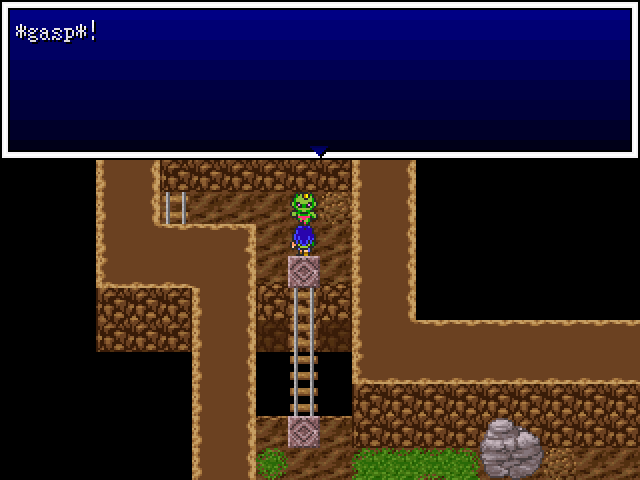
*gasp* How rude!
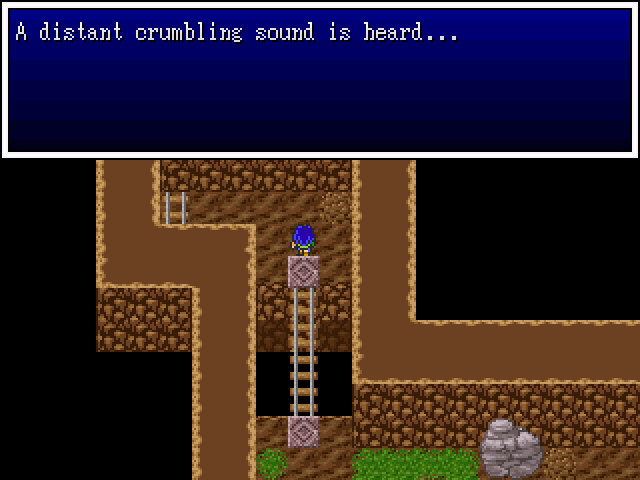
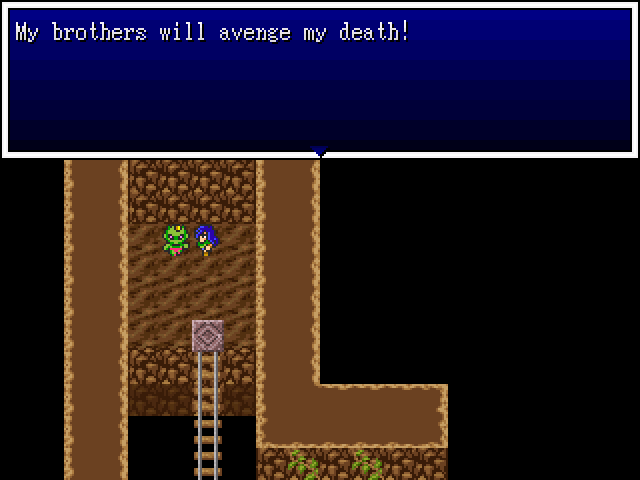
Kill the last one and there's a sudden, convenient off-screen occurrence. Let's get out of here!

Don't worry, I grabbed the ladder. That will come in handy later~
Always happy to helpfor a price!
Alright, just a quick run down as to why I usually leave this quest for a while. In the first edition of the game - when it was just a demo of the first chapter - this quest was not set inside a cave. It was set on a series of cliffs (that we'll see later) and it was much harder. The Horned Imps would eat your for breakfast and the trash mobs would have your bits for dessert.
I have been trained to dread this quest, even though I know it's a lot easier in this version. That is my story. It's not a great story, but it is a story.
Onward!
I don't even remember what I killed - I think it was an Ourson. Only Velka and Blucia level up here. The other two will do so eventually.
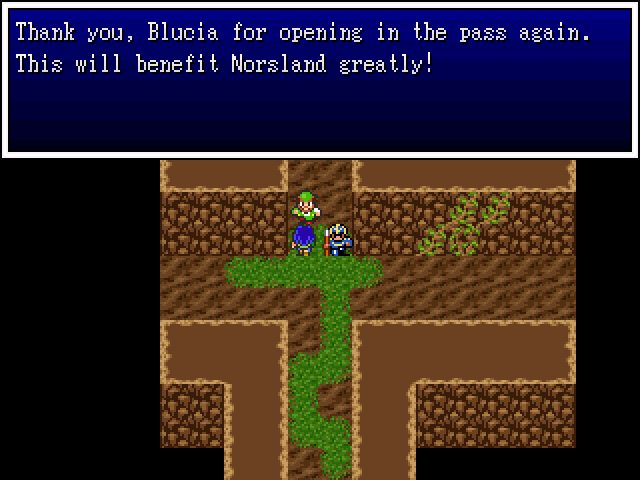
:)

Credit where it's due!
They both say this - I didn't forget to nab one.
Hello, reward~

I'm glad you're happy with my service. So... about that reward?

Mufufufu~

<3<3<3
We both are! This is a happy day!
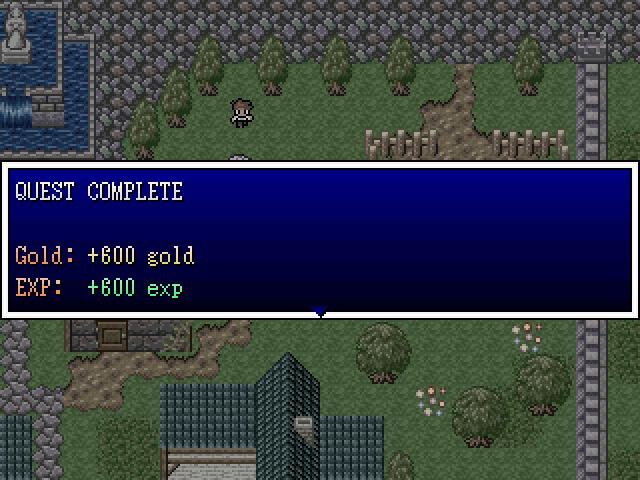
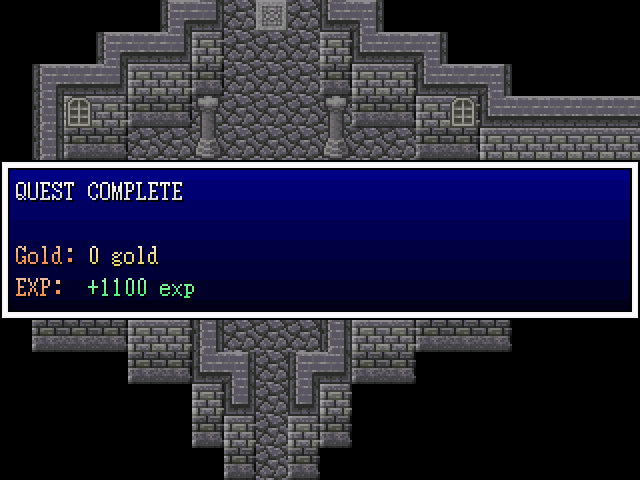
Confirmation! And more Experience, to boot!

Yes!
Oh, good God, yessss!

This will be very, very useful.
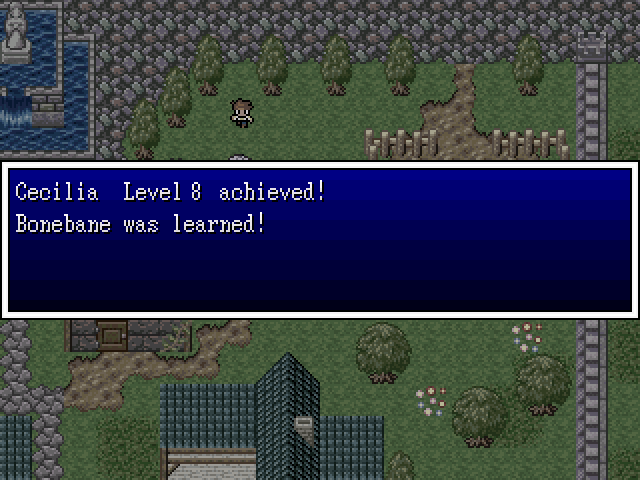
Cecilia will not need any weapons for a long while with this baby in her arsenal.
Now, to the plot! >:D
That sounds plot important. You go do that!
Yus!
Oh, dear God, yus!
Damn straight!
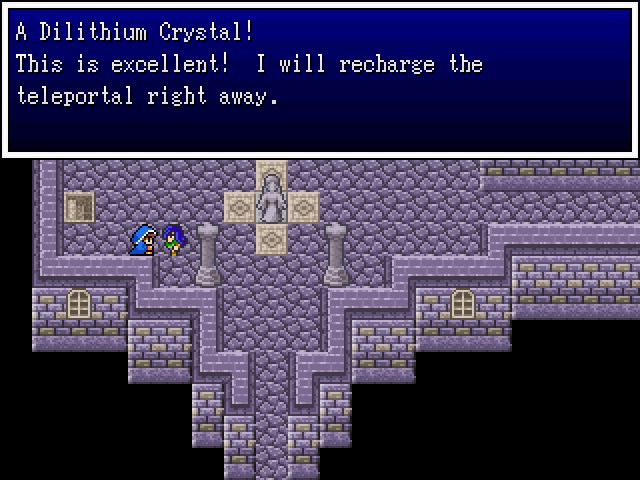
Time to put this baby to the test!
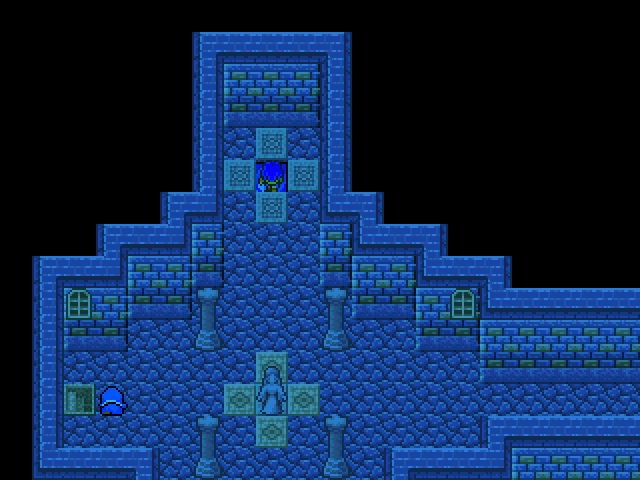
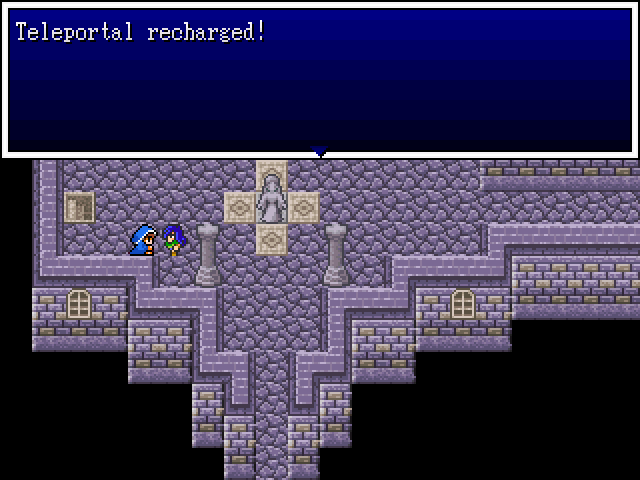
Blue flash as the screen shakes. You can't tell because *screenshot* but that's totally what happens.
This is new!
Hello, next update!
Next time:
GET. IN.
Apologies if I give the wrong information in parts. I'm working off memories of the game as well as lurking through the game itself (yay for unlocked games!)
===============================================================================
Update 01 - Loot up and Suit up!
Let's start with the typical title screen. As an RM2K3 game, there's not much you can do with the title screen - just change the window graphic, music and background image. That said, this is a nice piece, considering that 2k3 games are stuck with 256 colours. Yikes!
Gotta appreciate the choice. We're not going to be taking it, though, but thankfully the opening is pretty short, so...
The screen scrolls down, with the image of the main icon super-imposed over the map. There's a castle there. We'll probably visit it at a later date.
A better look at the logo. It's nice, considering the colour depth issues the engine works with.
The screen fades out and...
...into another area of the map. Cue credit roll~
We find ourselves in the middle of a desert as kudos to the inspirations that caused this game to be made fade in and out. It's nice to give appreciation!
Another place we'll be visiting. This isn't taking as long as you'd think as the game employs a fade out after each credit given, then showing up in another area.
Yeah, I know, this is riveting stuff. It'll get better, trust me~
Ice! Every RPG has that one town...
You may notice rips in this game. RPG Maker games tend to not care too much about where resources are gathered. It's an interesting phenomenon, so you'll probably be seeing more through-out the game. The game itself is free and any resources used are from old games, so most people don't see it as an issue as long as correct credit is given.
Always thank your
Welcome to chapter one! Why do the children need to be thought of? Let's find out shall we?
That dude is on the move. You can just see a house in the lower left of the screen. That's where he's headed.
Well, hello there! Just come on in. Make yourself at home.
There is a great crisis brewing in the kingdom, one that has all the citizens worried! Please go talk to the King! We are in need of a hero!
First game dialogue ahoy!
The main character of each chapter has their own special class. We'll get into the other classes a little later in the update, but just pointing out that this character will be the only Huntress you get in the game.
Time to get your participation on! Her default name is Holdana. Let's see if we can't do better. There are 10 characters in each name, so keep that in mind.
Okay, so no bets on who this mystery hero is going to be.
Ah, the ol' 2k3 menu system. Everything is pretty easy to figure out. A fast run-down, though.
Items are where you'll find all of your items. I'll show them off later.
Magic shows what spells you have (none so far).
Equip lets you mess with your equipment set-up and see how it affects your stats.
Currently we have a Club (+13 STR) and Leather Armor (+12 DEF). Not great stuff but enough to beat up furry animals with.
The Status screen shows character stats - pretty basic if you've ever played a jRPG before. Title won't be used, sadly. Frnt shows if you're in the back or front row.
Row will change whether you're in the front or back row. Back row will up your defence but lower your attack (unless you have a ranged weapon equipped) while being in the front will raise attack and lower defence.
Order will let you rearrange your party.
Active/Wait can be toggled to allow waiting while you choose actions in battle, or allow constant actions by the enemies. I prefer Wait just so I can think about what to do next, so that'll be what I use for this LP.
Save can only be used on the world map, and as the label says, will save your game.
Quit ends the game. Pretty self explanatory, really.
...I'm gonna take my time and loot the place. It's my own home so it's not like I'll be stealing. (Though that's bound to happen some time in this update.)
As with Dragon Quest games, various containers can be searched in this game. When empty, you'll get this message. I won't be showing all these messages and try only show when I actually hit jackpot.
Mirrors, however, are always going to get a spotlight because each has something different to say. Some funnier than others. That said, NAME ME! had a good sleep last night and is really feeling her look today.
When you do find an item, a small item will pop up over your head. They can be hard to capture via screenshot though, due to them being pretty fast to vanish. I got lucky with my first, so here's the typical herb/medicine icon. I'll probably not bother screenshotting them, though.
This was a Medicinal Herb. They restore HP by 35. Not great, considering NAME ME! has over 80 HP at the moment, and will soon jump over triple digits, but we'll end up getting enough to spam heal if we need.
Case in point: our second Medicinal Herb, found in the barrel across from the last one. These should last us well enough for the moment.
That's all for inside the house, so out we go. It's a pretty piece of land and it's ours! We have a well AND a pond! Living the high life!
If you happen to come across any Beast Tokens in your travels, seek out a Token Market. You would be able to trade it there. Take care of yourself.
Yes, our mother lives. We're already ahead of the jRPG hero curve! True to motherly form, she dispenses wisdom - though we won't be seeing this nugget of wisdom come in handy for a while.
We are now free to explore the world map! And when I say we are free, I mean we can go anywhere we like (within the borders of the Kingdom, at least).
Hm... That place looks plot relevant. Screw that!
FREEDOM!
Oh.
Uh...
Oh dear.
Well... perhaps we shouldn't have done that just yet.
I actually forgot to drop a save and had to replay the start. Thank God for that Skip Intro option. This time I rectify that as soon as I hit the world map. Now, there was something...
Well, well, well.
Some wells will have little hidden areas in them. It's a nice throwback. There will be more.
Down here you can fight Peeps. They're pretty easy and a good way to introduce the battle scene. It's simple, really.
The bar to the far right will fill up and shows how long until you get to take a turn. Once full, you get to pick one of the actions to the far left.
Pictured: Me forgetting to get an image of the first half of the action box. You're bound to see the options eventually but it's pretty basic stuff - Attack, which allows you to hit the enemy with your current weapon; Skill/Magic, which lets you use skills/magic; Pummel, which is NAME ME!'s personal skill (it basically saves up a turn and double attacks on the next. It's more useful as it sounds as it sometimes bugs out and allows for a no-action turn to pick skills then have everything go off at once. This can make the difference between life and death sometimes, as your heroes often get their attack to go off first.); Defend, which takes a turn and cuts damage; Item, which lets you use an item in battle; Escape, which lets you run from the enemy, based on your party speed; and Row, which lets you move your characters from one row to the other.
Phew!
NAME ME! wails on the enemy with her club. Since this is a very small, very furry critter, it dies immediately.
NAME ME! rejoices in it's death.
Now, you'd think this would be a good area to grind up a few levels, but the experience and gold isn't worth it. They give 5 EXP each and only show up in one-monster packs but since you need 301 EXP until your next level... It's better to just use the monsters on the world map.
Not pictured: Metal Peeps which are very, very rare and give much more EXP. Unfortunately, I couldn't run in to one after grinding up to level two, so... They're basically a recolour with bigger stats. So much so that it makes it very hard to deal with them with a one-character party.
Right, enough piss-farting around. We don't want a repeat of the Greywolf incident, so we'll head straight to the castle.
We don't even get to say a word before being dragged off to see the king - whether we're ready or not.
Well, Your Majesty, I'm here. You wanted to see me?
I kid, I kid. Loot first, plot second!
These four chests are ours for the taking!
We get:
- a Life Acorn (increases MAX HP by 5)
- 120 Gold
- a Medicinal Herb
- a Warp Wing (returns to previously visited area)
Now, you might think that these would be the only items in the room but there are two hidden items in here as well!
Something found in the early Dragon Warrior games, the under-foot search is brought to Hero's Realm as well. Behind the throne we find the first of another Dragon Quest staple - Tiny Medals. I'll be explaining them in the next update.
You can also find hidden chests under water! This one holds a Knife, which we'll check out in the next update too. For... reasons~
Oh, don't worry, we'll be seeing the barracks very soon.
Since we found the chest you can now see it in the water, too. It'll give a generic "Chest is empty" message if you check it again, as with any spots where you grabbed treasure.
Looks like we have no choice.
Fine. On with the plot then.
You must have heard the rumour that children across the land have been vanishing recently. The parents from Helminsk have come to me this morning in tears, begging for help.
I cannot ignore this rumour any longer! NAME ME!, as our nation's greatest tracker, please find the missing children!
Our country is counting on you!
Feel free to visit the barracks. You may find companions to help you on your quest.
Sounds like something I'd be interested in helping out with. No good can come from kids being kidnapped, after all.
If you talk to the King again he will offer to save your game for you, and tell you that he's counting on you. No pressure then!
The advisor will now chat, though he hasn't got much to say aside from pointing out that speed is needed. Fine, then, we'll go.
Oh, hey! S'up Gary?
Yup! We figured that one out for ourselves. Thanks for the advice, though.
The castle has a few areas in it. To the far right is a doorway that leads to the jails and to the north is a door leading to the castle gardens. Let's check out who's hanging around here in the main area first, though.
:(
The King is a nice man.
Door! >:(
We'll be back for you...
This means we're locked in the Kingdom. Don't worry, we'll get to escape eventually.
Good to know, I guess...?
Don't worry, random lore-building NPC, NAME ME! is on the case! They're practically home already!
Pretty~
Meta much?
There are some bugs through the game. Hopefully you guys won't deal with them in this LP, but for the most part the game is pretty bug-free. The issues are more problems with the engine it was made in, really.
Bikill - Doubles attack power.
Upper - Doubles defence.
Focus - Doubles magic power.
Speedup - Doubles agility.
Heroic - Doubles all stats.
Invisible - Immune to physical attacks.
Werewolf - Doubles attack, no control.
Ironize - Immune to phys/magic attacks.
Weak - Halves attack power.
Sap - Halves defence.
Discord - Halves magic power.
Slow - Halves agility.
Inept - Halves all stats.
Poison - Lose HP while walking.
Sleep - Cannot act.
Numb - Immobilized.
Surround - Unable to hit targets.
Stopspell - Unable to cast spells.
Chaos - Attacks allies randomly.
Yes, he tells us exactly all of that. Useful information but each condition name pretty much spells it out so we shouldn't get too confused.
Oh? Me too!
Oh, hey, what's that conveniently-looking odd spot down there?
Money!
But you never know what a Tarot card will do until you use it.
I don't mind using Tarot cards (and thus, Harlequins) but they can be a bit OP. Doesn't stop me from loving them, despite the random nature of their spells.
To open these chests in your inventory, simply use them like any other consumable item. The contents of the chest will then be revealed to you.
Alternatively, you can press the 0 key to automatically open all chests in your inventory.
This is an interesting feature of the game and I'll admit I'm kind of fond of it. Even if it doesn't really affect the game much, it's a funny little touch and depending on the chest you'll get different items at random.
This is found to the left of the main castle hub, which leads to the jail.
I'll be keeping an eye out for that!
Dooooor! Grrrr!
I'll be back for you.
Someone has the right idea.
Pssst! By the way, I would watch out for the guy in the cell next to me... He only wakes up at night.
Okay, I'll be sure to come back at night if I ever need to talk to him, I guess.
There is a tower on the island north of Helminsk.
To the left of the gardens door is a staircase going up to the King's room. I don't know why his tutor is chilling in his room. He's not very helpful - that's all he says. If you choose no, he just shuts up.
This is a nice find and will help us out in battle. Blaze Scrolls cast Blaze - a single-target, fire-based spell. It will come in handy.
That is all the King is packing, though. We can tick the castle off our 'To Loot' list for the time being. Now to check out the town!
FREEDOM!
You don't have to tell me, mate!
Greywolves! >:O
The church will restore your allies back to life (for a price) or give a blessing (heal from an ailment)...also for a price. Uh, I mean 'donation', of course!
...but you're still ugly...
There sure are! Often in packs, too.
...let the looting begin!
Muahahahahaha!
Soon...
You bastard. I just know there's something in that cupboard! I'll be back...
Right, let's see what the word around town is then, shall we?
Nah, that's my job. And I'm expecting pay for it, too.
Goddess: Kristin. +1 Lore!
Allergies? I hate allergies.
Oh. Not allergies.
You'd better! I'd hate to rescue the kids only to have to go after them again because you dropped the ball.
Don't worry, Ma'am. NAME ME! is on the case!
^.^
X3
Sir. I think you need to lie down for a while.
Oh? Let me give it a go.
Cinch!
SCORE!
*GASP*
C-Could it be?!
SIDE QUEST GET!
I'll be dealing with that later. Mufufufufufu~
'Handsomely, eh?' I like Handsomely!
Spelling error count: 1
This is it guys... Participation time is up again!
Smells of loot in here...
This will be less useful to know than you think.
Black Magic does direct damage to an enemy, and is typically of the Fire, Ice, Lightning, Earth or Magic variety.
White Magic is used to heal or revive companions, as well as cure status ailments. Also, the Bless attack type of spells are very effective versus the undead.
Effect Magic is used to change the status condition of monsters or allies. You can double your stats, or halve enemy stats, or afflict them with conditions such as Sleep.
Poison Magic deals damage per round to enemies, typically 1% of their total health per round. It can be useful for long battles or for enemies with lots of HP.
Thanks info-dump-dude. This info is relatively more useful than the previous guy, but still pretty self-explanatory.
Well, I know where I'm headed!
LOOT!
We grab another Club, some Wayfarer's Clothes (+7 DEF) and a Leather Cap (+2 DEF).
This guy will come in useful for when you lot decide on our party.
I don't know that NAME ME! will be visiting this place any time soon, but I'm sure someone will... We will probably need an all-woman party for it, though, so keep that in mind (there will be another chance for an all-woman party later on).
Nothing I didn't already know, bud. Thanks, though. Reminders are appreciated!
Aw yeah~
More loot! In the two pots and cupboards we find even more treasure!
- a Stamina Seed (increases Max DEF by 5)
- 4 gold (...yay)
- a Tiny Medal (Yay!)
- a Firebal Scroll (casts Firebal - a fire-based spell that attacks all enemies)
Now for the real fun! You guys get to
There will be three characters that need to be created. You get to choose gender, name and class.
Gender is pretty much just cosmetic, though it should be pointed out that there is an optional area for all-women party and women have more options when it comes to armours.
Name can have up to 10 characters.
Classes will be detailed below.
Our current group.
Update 02 - Kung-fu Paladin
Here's our team. The majority of you went for an all female party, so that's what we got!
First off is Blucia. She's going to use a mix of physical and magical attacks. She's also pretty fast on her feet and sturdy, so she'll be kept in the front lines.
Next up is our Harlequin, Harley. She's going to be mainly magic-based, depending on what Tarot cards she gets. Otherwise she'll be hitting things. She's fast, but a little fragile.
She starts out with a few neat skills.
Lullaby is a group sleep spell and will be hella useful. It hits fairly often and is one of the best spells for crowd control.
Tarot card items are interesting. Only Harlequins can use them and they teach one of the random Tarot cards to the user when applied. Harley starts with some already, but we'll get more. When used in battle the card will randomly activate a spell tied to it and randomly pick a target to apply that spell to. Some cards are better than others, as expected. These are what she started with and I'll show off any new ones she gets as well.
Star Tarot is decent. It won't target the enemy, which is great, and applies one of the four buffs to the Harlequin: Upper, Speed, Focus or Ghost. It can fail, though.
(Ghost doubles attack and intelligence, and doesn't allow physical attacks to hit on you, but you can't control the character.)
Jester Tarot is iffy. It applies Laughter to a group, which stops them from making any actions in battle. It wears off pretty fast, but can backfire and hit your group which isn't great.
Fool Tarot is another hit or miss. It can do nothing or apply Heroic or Confusion to the target. The target is, again, random.
The Card we had in our inventory taught us the Eurayle Tarot.
Eurayle Tarot isn't great. It applies either Numb or Poison to the target. Once again, target is randomised so it can backfire.
Our Druid, Velka, is pretty fragile and can be a bit slow, but her healing is going to come in handy, just like her ability to use the Bless spells later on. She starts with two spells already - Poison and Heal.
Now, Poison may sound bad but it's actually pretty decent. The spell has a chance to inflict poison to the enemy but also does some pretty decent damage - more than she can currently deal out, even with a weapon. She will be kept in the back row, though, due to her fragile nature.
Cecilia is our Paladin. She's sturdy and while she's not the fastest, she'll be able to take some hits while also healing up our group when needed. In fact, her healing is on par with Velka's, though it takes her a while to get some spells. She will also get Bless eventually, which means that we're going to be overpowered for this chapter. I'm perfectly okay with that, though.
When we last left off we had just gotten the crew together so now it's time to check out what we can buy. You'll notice that the gang already have some goodies equipped - these are the items that we'd found before. To the Shops!
The weapon and armour shops in Stromholm are in the same building.
The weapon shop has some weapons that are upgrades and some that we can't buy or can't equip. On the right you can see how the items compare to what is already equipped.
Green arrows mean that the main stat for that item is higher than the current equipped item.
Red arrows mean that the main stat for that item is lower than the current equipped item.
For weapons, the STR is what it's judged by. For armour, DEF is. Other stats aren't taken into consideration on this screen, so it's hard to know whether one item has other aspects to it.
The item store has a few non-typical items.
Antidote Herb removes poison.
Moon Herb removes Numb.
Wolfbane will revert Werewolf status.
Next up is the alternate item shop. Here you can find things for different classes and accessories. The Recipes are for Witches/Warlocks and the Tools are for Engineers. We don't currently have any, though. The Viper Amulet will nullify poison attacks when equipped and while it would be useful, we have better things to spend our money on. Like armour.
Speaking of...
Most of this stuff is an upgrade to what we found, bar the Cloth Tunic. Each of our current classes can use a shield, which is nice.
I picked up a few Wayfarer's Clothes (7 DEF) and a Copper Sword (24), which I gave to Blucia.
Lady, not everything is about you.
Now, some of you might notice we skipped a house in the last update. The reason for this is because we've a small sidequest there, but will need a party. Thankfully, we now have one! Time to raid!
In the bookshelf to the right we find a Heal Scroll which casts Heal (+45 HP, one target).
Blucia stops to flex in front of the mirror and check out her epic muscles. She's been lifting, brah.
Good good. Having a well-balanced party is crucial to survival these days.
Okay, fine, that's about all we're getting here. Let's check out these rats in the basement the lady mentioned.
My loot senses are tingling.
I see something of interest, though. Let's check that out first, shall we?
Hitting this switch...
...will open this hidden door.
Loot now! We grab a Ticket here, which will be explained in the next episode.
We also find an Antidote Herb in one of the barrels and a Cloth Tunic in one of the other cupboards.
We also check out the mirror for more epic flex time. Sadly, it's too dirty be be of use. Oh well, maybe next time, Blucia.
Aw, our first dungeon!
Granted, it's a small dungeon, but a dungeon non-the-less! So... let's go!
Most dungeons will have branching paths. It's easy to get lost if you're not good at directions (not something I have an issue with, thankfully) but shorter ones shouldn't pose a problem for people. That said, I'll just be showing off points of interest and giving general directions.
Let's go! There's a branch up and one down that leads both left and right. We're going to head up first, because it doesn't seem to lead anywhere. Dead ends before progress~
We find a dead end and a treasure chest with a Leather Cap (2 DEF). I hand it to Velka, since she has the lowest DEF so far and we'd like to keep our healer alive.
Rats!
...and a Mouse. These are the only enemies we'll find in this dungeon. They can do a bit of damage when you run into larger groups, but for the most part they're pretty tame, though the Rats do have Plague Bite, which can poison an ally.
Heading back to the central area, we go down and to the left.
Where we find another throwback to classic jRPGs, in the form of a monster chest.
Crud.
Blucia is poisoned by one of the rats, while Cecilia heals up. White numbers indicate damage, blue indicate healing.
We're still on level 1 in this fight, so it can be easy to get overwhelmed, especially if you don't have a good party. The Firebal scroll that we picked up earlier can help take this battle down.
Thankfully we have Harley and her great singing voice. She busts out a Lullaby (consequentially sending all bar one Mouse to sleep. I love this spell! :allears: ) while one of the enemies attack Blucia and miss.
From there we pick them off one by one. Some of the rats woke up and dealt some poison to us while we wailed on them, but they went down pretty fast.
For our trouble we nab this pretty little lovely - a +10 STR when equipped.
It was at this point I realised I'd not gotten Cecilia a weapon and that she was punching enemies. I figured, "Hey, kung-fu Paladin, why not?" and gave her the ring to bolster her attack a bit more, in lieu of a weapon.
The way forward in this area is blocked by a hole, so we go back to the initial fork and follow it down and to the right.
Aha! Following the path leads us here and those stairs will lead us...
...out here.
We are free! Take that, walls! Blucia laughs in the face of your boundaries!
Nothing else out here but a guard, chilling instead of working. Touching the edge of the screen in any direction will teleport us to the world map.
It is what it is.
O Holy of Holies, O great goddess, Kristin! Please remove the foul venom inhabiting our heroes!
Poison will deplete your HP little by little each turn in battle, but also every couple of steps outside of it. Sleeping at an Inn will not remove afflictions, so only items and the church will rid them.
We head out to the world map to grind a bit and get surprised. Our rows get reversed and we're weaker to damage. This group will kill us if we're not careful.
Fortunately, we have a Harley and she hits them with a Lullaby.
While they're sleeping, I decide to show off the Tarot skill, using the Eurayle Tarot.
Unfortunately, we have a Harley and she is clumsy.
Okay, let's try the Jester card instead.
Goddamn it, Harley...
That must have been some joke. :/
To the east of the city we can find this small place. It's the border guard. Let's check it out!
Seems peaceful enough.
Under this tree we can find a hidden spot. Doing an underfoot search, we find our first Chest item!
Hitting 0 opens all chest items in our pack.
BONZAI!
Let's check what we got~
Ah, the Moon Tarot - Randomly applies Sleep, Sleepmore or Werewolf status to a random target.
Sleepmore is an amped up version of Sleep with higher chances of not waking up over time or after being hit.
Let's explore the area and see if we can't find some goodies.
Guard-man knows his business.
When in hills on the world map, enemies will come more often. This can be a curse and sometimes it's better to take the long way around than to cut through hilly areas.
For the record, we are currently in the country known as Norsland. You may notice a little theme when it comes to country and town names. This will become a lot more apparent over time...
And the king has the country on lock-down. Amber alert in full effect, I suppose. the dirtbags who took the kids won't be leaving the country easily, that's for sure.
Inside the house we find a small inn. Grandma is resting her eyes here. I think she's sleeping even if we come back at night. In fact, she might be laying comatose for all we know.
Tell us something we don't know.
Cadana is to the south-east of Norsland. It's a pretty big country and we'll visit it later.
Noice!
Mystic Acorns will increase your Max MP by 5.
Speaking of... I gave Velka the Life Acorn we had on hand and passed the Stamina Acorn to Cecilia. Sure, we could have given it to one of the flimsier characters, but a tank needs to have defence to be a tank. We can bolster the others' DEF with armour if needed, and they're in the back row, so they should be okay.
To the south of the border we find another small area.
I think I hear loot calling me.
As per jRPG rules, we leave no optional areas unmolested!
To the right we find this guy. There's a cave entrance just off screen but we won't go there yet. This information is handy, though, and will come in useful some time next update.
Gimme that! It'll come in handy later.
Something smells a bit... side questy...
Definitely getting that side questy vibe...
It's almost as though this would be a job for some sort of group of travelling heroes... or something like that.
You look strong, why don't you try to clear out the monsters?
>Yes
I can only hope you succeed.
>No
Saying no here will present you with that most classic of dick moves - the eternal 'But Thou Must!' choice. Picking yes will just repeat the previous Yes line.
Now, this is a little bit of a dick move because you can come here at relatively low levels, jump on in and get slaughtered very easily. This sidequest is for when we beef up a bit more, I'm afraid.
So, let the beefing commence!
On level 2 Blucia learns Blaze, the fire element spell. It does small damage to one target. Not a bad spell by any means.
That's one thing about this game - kentona made sure that spells were useful, even status effecting ones. We'll see more of that as the game goes on, but for the most part there won't be many spells that don't have their uses.
Here we have the opposite of a surprise attack. This time we get the upper hand.
Oddly enough, our accuracy takes a hit when this happens, though by all rights it shouldn't. It's an engine issue, though, so it can't be helped.
We managed to best the enemy, though. Our allies gained a level this fight. The party tend to level up together until a few deaths have occurred.
Velka became more useful by learning the Puff spell - an all-enemy earth elemental spell. It's pretty good and can help out in desperate situations.
Cecilia also learned the Heal spell, which we'll put to good use.
Night falls, so we head back to town and check out the different NPCs.
Heh, sorry kid, but we took that already. This is the kid that was trying to push the rock in the last update.
:3
Most shops are closed at night.
Mr Snuffles finally gets some much needed rest from his allergic reaction to being talked about. The other guy is snoozing in the room above.
...that reminds me...
You bastard! I knew it!
This is mine~ :yoink:
Uh... Ma'am? Are you... sleeping? In a chair?
;.;
This guy says something new. It would have been helpful if he'd told us that beforehand but whatever. We've got a good party so far - accident-prone Harlequin and kung-fu Paladin aside.
This guy's awake, but he doesn't say much.
Really? Hm...
I wonder...
The fuck is this?
Um, hello? Sir? Do you have a permit to live in a fucking well?
Uh...
Yeah, I did. And they're mine.
Wait, what? Hey! Gimme back my shinies, you ass!
Did you say... RARE ITEMS?
Deal.
I will bring you ALL the shinies!
Ah, nice. Let's see what we can get, shall we?
5 Medals - Boomerang
10 Medals - Bladerang
40 Medals - Staff of Jubilation
50 Medals - Shield of Wisdom
55 Medals - Crosserang
60 Medals - Immunity Idol
70 Medals - Fixed Dice
80 Medals - Chakram
95 Medals - Hero Ring
100 Medals - Lightsabre
Ah, Tiny Medals~ I do so love them.
^.^
A staple of the Dragon Warrior/Quest series, you find the hidden medals, redeem them to the Tiny Medal King/person/thing and get you some nice loot. Thankfully, this game will give you all the items on the list as your raise your medal amount, instead of making you save up for them over and over again.
Not tonight, Blucia. We've got training to do! :DDD
RedCabbage are cousins to the Leafers and area a bit more hardy. They've more HP and will heal when needed. They will also use Surround.
Surround is effectively a renamed Blind that will hit the whole party. They're not a problem, and even if you do get Surrounded, spells aren't affected by the miss rate so you can kill them easily enough that way. Or wait for the ailment to wear off.
Let's try out our new Tarot!
...goddamnit
Thank God Velka's on the job. That Puff spell isn't powerful, but it can come in useful for whittling down a group's HP.
Ourson's (our son???) have a lot of HP. Most enemies will take two hits and die, maybe three. Oursons take a whole round of beating and then some, but they are quite slow so by the time they get a turn you can get them out - which is a good idea because they can hit for decent damage.
That was a critical hit from Harley there, by the way. Yes, our frail little Harley can lay down the hurt with a knife.
Harlequins. ~<3
Ravens are fast and can do some fair damage with their Double attack. Otherwise, they're pretty bland.
Blucia is supposed to be the main hero and she's getting a bit upset at how much screen time the other girls are getting, so she shows off her muscle. Her mind muscle, that is.
She's flexing that brain of hers and damn, can she flex! Someone's been hitting the books because that Blaze spell hit for triple digits.
Vamplants are weak to fire and come in large parties. They can wipe an unlucky party, mainly because they have a numbing (basically paralysis) attack. When all four members are paralysed, it's game over. Luckily, they don't break out Numbing Thorns too often.
They also have a poison attack but that's not much of an issue for a well-prepared party.
You do want to fight these, though because...
That.
That is why.
That also makes a convincing argument.
With that experience boost came new levels!
The girls each go up to level 3. Booyah! >.<)b
Blucia learns herself how to poison foes. Now she can deal even more damage with her mind!
The other ladies are content with their stat increases. They are independent ladies who don't need no skills!
Heading north, through the mountains and hills, we find this small area. Let's get our explore on!
I will need a new Dilithium crystal to recharge the portal.
Good luck with that. We've got other business to attend to.
Namely stealing from nuns.
Just checking!
Why you...! >:\
Door count: 3
We will be back and we will be bringing the hurt, Mssr Door!
Across the bridge and to the south we can see a cave.
A little north and we find the small village of Helminsk.
Next time:
Things do not look good for our heroes! >.<;
Discussion time: Should we keep Cecilia as a kung-fu Paladin?
Now, our party is pretty decent for this chapter. In fact, probably one of the best parties we could have for it. Cecilia, without a weapon, is dealing half the damage that even Velka is doing. That's... about 30-40 damage a pop.
We could keep her off weapons and just use her as the heal-tank she's shaping up to be (her healing is on par with Velka and she will get Bless eventually. Velka is using a lot of her magic on Puff and deals a goodly amount of damage just by whacking things on the head, even in the back row.)
It'd give the chapter a bit of a challenge and make things interesting, that's for sure. Besides, kung-fu Paladin. What's not to love?
Update 03 - Puff Puff Destruction
Last time, on Hero's Realm:
Yup.
Helminsk is just ahead. Let's loot the place before we start progressing any plot, shall we~?
Yeah, we rock in as night falls.
This game has a very simple day/night system. Time will progress while you're on the world map and different things will happen in towns depending on the time of day (of which there are two - day and night). While in town and dungeons time will stop, so you don't have to worry about racking up the clock.
I tried to tell her, "But Momma, only 12-year-olds have gone missing!", but she won't listen!
Kid, you are just begging to be kidnapped. Seriously. You're talking to complete strangers in the middle of the night about how your mother doesn't know you're not in your bed... :/
Wait... What the?! o.O
We'd better check this out!
Okay then... good to know the Apocalypse won't be starting tonight. Still, that's no mean feat - Timberwolves can be dangerous for lone travellers! (We've yet to meet one.)
If we indulge in a little grave-robbery, we find some nice loot.
Wizard Potions will restore 60 MP. This will be the only item this group will have that can heal MP. Thankfully, Wizard Potions will do fine for MP healing for quite a long time.
Probably a town or something, mate. I wouldn't worry about it.
Oh, hey, the armour and weapon shop is open at night. Inside we find another Tiny Medal, and a few sleepers. They just ZZZ the night away.
This guy, though...
He sells shit! It's decent stuff, nothing awesome but they can come in handy if you don't mind the RNG (random number generator) too much.
I'm gonna start just detailing the items that our group can use instead of all of them. I'm sure we'll get to see the others later on, though.
Cypress Stick (3 STR)
Lucky Dice (6 STR; +50% Crit)
Poison Needle (20 STR; 10% Crit; 15% Death)
I nab a Poison Needle for Velka and head back to the search for epic loots.
You don't say...?
I like this guy. ^.^
Yoink! Can never have enough Blaze Scrolls. I promise, they will come in handy later.
They just celebrated their 12th birthday, too. *sniffle*
:'<
Let's leave these two to their grief and check out the Inn.
There was a raid on them a while back - their leader was taken prisoner!
Sounds interesting. I'm sure this won't come into play at any point in the future.
Thieves have started to run amok in a cave south of here, to boot! It's sad times, my friends, sad times...
I feel like I need a drink or something. This place is downright depressing.
Loot should help us feel better!
You can miss this if you don't do a bit of night burglary, since the way to the back of the shop is blocked during the day.
We'll check those stairs a bit later. Let's see what the well has to offer.
WANT!
Remember that guy in the last update who talked about ladders being placed across gaps? This is the first instance of it coming in useful.
Certain areas have gimmicks - usually dungeons. This gimmick is comprised of finding ladders and placing them down so you can reach other areas that are blocked off. The stone we're standing on shows where a ladder can be placed and there's another on the other side of the gap that shows how far the ladder will go.
Just off screen you can see a path leading to the left. Let's follow it and see if we can't get to that chest by another route (or find a ladder).
We are now in a real dungeon. This means...
Monsters! >.<;
Beaktrots are fairly tame. They can cast Sap (defence down) on a single ally or Upper (strength up) a target on their side. They're easy enough to deal with by themselves, though they can cause a little hassle when in groups with other enemies. They also drop Chests at a rather low rate.
Spakles are lightning-elemental spirits. They're pretty fragile and aren't much of an issue. They have a lightning-all attack which is pretty weak, and a sleep spell that hits one target.
Is that...? o.O;
Someone is living here in the bottom of the well? I mean, that shouldn't surprise us considering that this is not the first well-dweller we've seen but at least the other guy had a house! This guy doesn't even have walls to keep the monsters out!
I actually feel a bit guilty taking this - the poor guy probably needs it since he lives with monsters all around him and all.
Wait. They know you're down here? Who lets their grandpa live in a fucking well?!
...I see? And you couldn't write it in the comfort of a real house? Dude...
Yeah, okay, sure. Tell me about the Big Bads of the game, Mr Well-Dweller.
Mephistocles
Ah, Mephistocles, the Lord of Demons...
He is a fearsome demon, that one. He rules the Shadowlands from his Throne of Skulls. He and his demonic ilk were caged in ages long past within the Void of the World, separating his Shadowlands and Shadowspawn from our world.
He struggles to break free from his prison, and will do so for all of eternity.
Balthalas
Balthalas, the Undead Mage.
He is a pompous fool, that one, though that does not make him any less dangerous. Balthalas fancies himself as being Mephistocles' second-in-command, but it is unclear if this is so.
Like all other demons, he was locked away behind the Void of the World in ages past. Which is fortunate for us, for his undead army would ravage the world...
Murzhor
Murzhor, the charismatic manipulator.
This crafty and vile demon is a master of deceit, illusion and magic. He is brilliant in his own evil way. Though shrewed (shrewd*) and conniving, he was no more able to escape from the Void of the World than the other demons.
Urok
The fierce demon Urok is a force in and of himself.
Massively strong, and massive in size, this Goliath is truly frightening. He leads the Demonlord's armies mercilessly and with a cool conviction. Despite his ferocity, he is utterly loyal to Mephistocles.
If you tell him you don't want to read his book he says:
Ah well, waiting for the final draft, are you? I don't blame you. Who'd want to read a half-finished book anyways, ho ho ho?
:DDD
Eyeballers can be a pain. As you can see, they are perfectly capable of destroying your team if you're not careful. They used Blaze on poor Harley and it destroyed her. They also have a pretty long list of skills they can hurt you with - Poison, Surround, Heal and Shadow Flame. The others are pretty self-explanatory, bar Shadow Flame, which removes all buffs from a target.
Thankfully they aren't too buff, so they go down fast. They usually show up together or in a group with other, stronger monsters. They drop Demon Tokens and decent EXP.
Lizarders come in a group. They can call for back-up and hit hard. They also have a draining attack, though it doesn't do much in the way of damage. They have middling health, too, and drop Dragon Tokens.
They can be a hassle since they're often found in large groups.
I was worried until dear, sweet Velka pulled out Puff and destroyed them all. This is why Puff is a great spell.
Heading to the right of gramps' study nook is a small passage that heads up and to the left, transitioning back out on the other side of the initial room.
Inside we get this. It can't be used, sadly, but it will come in handy very soon.
To the south we find a room with a Ladder...
...and use it immediately. Let's get out of here.
Harley is dead, so we need to get that seen to. The price required is levelx10 for each dead character. It's a pittance to pay most of the time, though if you forget and spend your money on something else, it can be a pain.
Yes, please come home, Harley. We need our resident Harlequin to keep spirits high!
She may mess things up when it comes to the cards sometimes, but she's quite good at stabbing things.
Nice and sunny out. (Yes, I slept at the Inn.) First things first...
...we have a lady to talk to. Bet you guys can't guess where it is!
If you guessed in our pack, congrats! You were right! The brooch we picked up earlier is hers.
For our troubles we get...
Booyah!
That experience shoots us up a level each.
Blucia learns Heal. It's the same spell that our girls Cecilia and Velka have. She'll only use it when the others can't. She's better off using Pummel. A correction about that skill - it does cause the bug in question, but it also inflicts Blucia with double-attack. For the rest of the battle she will attack twice each turn. It's a great skill to use, especially when she's got a good weapon.
Velka also learns Antidote - a spell that removes Poison from an ally.
Happy to be of help, Ma'am! :salute:
Let's do the rounds now that shops are open and people are awake.
Hm... Sounds like we got Rovers up north. That could be interesting to check out later.
>Yes
*whispering*
It's not safe to talk about them now. Come back at night.
>No
You haven't? But they are the most notorious gang this side of the Alberich mountains!
(More like the only gang on either side of the Alberich mountains...)
Sorry, kid, but I think you're going to be a bit upset when next you check there.
Remember the stairs near the well? Here's where they lead.
DOOOOOR! >:O
Soon.
Thanks! Nice doing business with you.
Wow, this will come in handy when we head to the southern caves.
Oh, please, like we weren't going to go there at some point.
Oh. Uh. Damn.
Shopping time!
We can find some of these in treasure chests. I tend not to buy them, myself, but I can see that they'd be useful if you're wanting to boost your characters a bit more.
We already have a Ring of Might.
Ring of Warding (+10 DEF)
Ring of Readiness (+10 AGL)
Ring of Energy (+15 INT)
Ring of the Sky (+3 STR/DEF/AGL/INT) This is a downgrade to the Ring of the Stars that we found in Stromholm's rat nest.
Goggles (Immune to Surround)
Hm, I'm not so sure, but I guess we'll have to check it out eventually anyway.
Oh, well, if your bones say so I'm sure it's true.
>Yes
Isn't it a blast? I can't wait until I get my hands on another Ticket so I can go again!
>No
The Amazing Funhouse has just opened, down the coast from here. If you have the time and the tickets, you should go.
Hm... should I tell him or let him keep thinking the best of his idol?
Armour shop~ Let's kit up!
Leather Shield (9 DEF)
Bronze Shield (18 DEF)
Leather Armour (12 DEF)
Leather Dress (15 DEF) This is the first of the extra armour that women get. It's female only and thus, our whole party can equip it... if we had enough money to purchase them.
Wooden Helm (10 DEF)
I grab a Dress for one of the girls (probably Velka who is still low on defence), and a few Leather Shields.
Oh, hey, it's that dude from the night before. So, he sneaks in while these guys are sleeping and show off his (more interesting) items to... burglars? His clientele is a bit suspect, methinks.
Weapon store has a few new stuff to offer us.
Scimitar (29 STR)
Short Bow (32 STR) This bow is nice since it always hits.
Long Sword (43 STR)
Iron Spear (51 STR)
Blucia picks up a Short Bow for herself, upping her damage output.
There's a secondary Accessory shop here. And just down from where we stand is the item store - no new items.
I'm just showing this off to say I did. We can't get anything here so...
Oh, you again. Yeah, troubles, doom and gloom. Got it.
;.;
So... I take it the fish aren't biting then.
To the north-east we can see the Funhouse. It's an interesting place. We'll be visiting there next time.
Here's the group as they currently stand:
Blucia is our best physical damage dealer at the moment. Using her high strength and the Pummel skill, she can destroy enemies quite easily. Her Blaze spell is good for times when her physical attack won't work - ghost-type enemies, for example, so she's a great all-rounder at the moment.
Harley has been getting crits pretty often - I'm not fast enough to capture them but she did get 400 down in that minidungeon which made my jaw drop a little.
I'll be getting her some better defensive items soon, too. Her Slumber spell continues to be an asset.
As you saw in this update, that Puff spell can be very helpful. Combine it with Harley's Slumber spell and trash mobs aren't much of a challenge. I gave her that Poison Needle because, while she doesn't attack much, if she does I won't mind if there's a chance of instant death in the mix. I'm sure it'll pay for itself in the long run. Maybe.
Cecilia is still weaponless. That's fine. Her spells are what will matter most when it comes to battles, so we'll let her keep her kung-fu for now. If need be, I'll keep a weapon on hand just in case we need her attacks, but for this chapter it shouldn't be an issue.
Next Time on Hero's Realm:
<3<3<3
Update 04 - Happy, Happy Fun Times
Last time on Hero's Realm...
The Undead apocalypse was averted~
It's about time we headed back to the plot now that we've got a sidequest or two under out belts. We'll get back to the optional stuff after this, though, promise.
Remember this place? It's just to the south of Heminsk. We're not going there yet.
Instead, we're going to happy fun land!
To the north-east of Helminsk is a happy little place called the Happy Funhouse. It's a catchy title, I know.
Prettyful~
Hm, this will come in handy around about now-ish.
This be my kinda place!
HellooOOOOooo
Do tell!
I am certainly feeling welcome!
:Yoink!:
It sounds A-maze-ing!
^.^
OH HELL YAS!
~<3
And you don't half look it, either!
Fill me up, barman!
NOT THE RUM!!!
D:
Now that we can't get wasted, I guess we'll have to look elsewhere for some entertainment. (And I was so looking forward to seeing Harley and alcohol combined too. Who knows what kinds of crazy fun we would have gotten into?)
Well, I'm glad someone is. >:/
Who, me? Alright, keep your pants on mate. Before I talk to him, let's take the stairs to the left instead.
'Ello!
This is the Token market - the place our mother was talking about way back in the first update. It's a simple process - you collect tokens by killing monsters of different types, then come here and trade said tokens for items to help you on your journey.
Exchanging a Beast Token will get you a Hide Herb.
Beast Token + Avian Token will get you a Warp Wing.
Undead Token + Demon Token + Insectoid Token will get you a Wizard Potion.
Beast Token + Beast Token will get you a Blaze Scroll.
Hominid Token + Hominid Token will get you a Firebal Scroll.
Mandrake Token + Mandrake Token will get you a Heal Scroll.
Dragon Token + Demon Token + Mandrake Token will get you a random seed.
Mandrake Token will get you a Medicinal Herb Pack.
One thing left to check out here. TO THE MAZE! :black101:
{x} Drink
{x} Rest
[x} Carouse
{_} Try Maze
We know what we have to do.
Hells to the yes!
Give me your adoration!
Pfft! We're tried and tested adventurers! How hard could this possibly be?
Aight. Lemme at this!
Aaaaand we're off!
We do literally have only one minute of time in here to find our way through the maze. It's not terribly difficult, but there are a few bits here and there worthy of notice.
Treasure, for example.
And !Treasure, too.
The ghost isn't a difficult fight as long as you have either some scrolls at hand or a magician or two. They are immune to physical attacks, so if you made a party of beefcakes you might want to go grind up some Blaze scrolls just for this battle.
That said, it is an entirely optional battle, and aside from the no-hitting thing, not very hard. Ghosts don't do much in the way of damage, but they will slow you with a whole-party target skill.
For our efforts we get a Ticket and run out of time. Yes, time will count down in battles.
Bugger.
In the maze is usually a shop of some kind. In this chapter it's a pretty nice weapon store.
The Iron Claws were what that one zombie/skeleton in Helminsk used to kill a Timberwolf.
Harley can use the Bullwhip (35 STR). It's a big boost to what she had equipped (a Sabre I think) and allows for two attacks a turn.
Chainmail (20 DEF) is a decent upgrade that everyone bar Harley can equip.
I sell off some of the items we have on hand and get me some of that double-whip action. Harley is now one of our physical attackers - combined with Healing Aria and Slumber, she's the current MVP.
:DDD
Don't mind if I do~
That's my fastest time yet! I breezed through it in this run, but then, I'd already grabbed all the prizes. Each time you restart the maze, the treasure chests will refill, but since they're small prizes (a handful of money and healing item) they're not worth wasting your Tickets on.
Onward to the main prize!
^.^~<3
Oh, don't you worry. There's no way in hell I'd forget about them!
(I say, but my first time playing, I was so happy, I walked straight on to the blue tiles and fell back to the Funhouse below. Meaning I had to do the maze all over again. Joy.)
GIMME!
OM NOM NOM
Harley is criminally under-protected at the moment. We'll get her some stuff eventually, but for now, this should beef her up a little.
And yes, I've yet to equip the new weapon because I am a dingus. Don't worry, I remember for the next area.
Speaking of, let's head to that cave now that we've done all we can here, shall we?
There's a few people hanging around. Let's see what they have to say.
I hear you, bro.
Oh yeah, I remember hearing about that. I met the guy. Seems like a top bloke. You know, bar the whole 'being a criminal' thing and all.
We'll be using this shortly~
Oh yeah? Good thing we managed to procure one of those back in Helminsk, eh? Check this puppy out, Mr Guard!
...bugger.
Right. I know how to fix this. TO STROMHOLM!
Warp Wings will let you teleport to towns and certain places of interest that you've visited before. You can only warp if you are considered 'outside' - that is, if it has a roof you won't be able to warp.
When used, it will open up the list of places you can warp and when you choose where you want to go...
...you'll be teleported where you want to go. This is me
We want to talk to this guy again. For a criminal his heart is in the right place.
Item get~
We won't need it but thanks anyway!
Vultures are pretty weak monsters. They usually turn up with another monster or two and have a swooping attack that just deals straight damage (though not much). They are fast, but fragile.
They also drop chests and give decent experience. Chests dropped in battle are chest items. Which means we have to open them with the 0 key or through the item menu.
Ni~ce! You can never have too many of those.
Right, let's get this party started, shall we? Time to follow the plot for a little while.
Uh, thanks?
For a cave it's surprisingly comfortable in here.
In fact, the legend says that the King himself was a
The Golden Pickaxe lies there to this day.
*is
*cough*
Hells yes, we are!
Hm... talk to the seemingly important man in red or...?
Pffft, like there was a choice!
Warp Whistles are the cousins to Warp Wings. Instead of teleporting you from one place to the next, they will warp you out of a dungeon. Very useful for when you're running low on life and need an exit strategy.
Well... not really.
Oh... uh... hi there.
Uh... I have a bad feeling about this!
Of course you do.
Of course they haven't. >.<;
...suddenly I'm liking this idea a little more.
YES!
SIR! o7
You can get there by the teleportal in the northwest.
Well, we could if the batteries weren't flat. Guess we're going to have to wait a while before we get to go north.
Guess who's going to find out?
Us.
The dungeon here is a little more maze-like than the last two we went through, but still pretty simple. Heading north will lead to many different branches (about four or five). Most of them are dead ends.
Like so.
Follow the path and you'll find stairs leading down.
Yeah, I did a bad in taking images of this dungeon. Really, it's more simple than it seems.
Going to the east leads us to this water room. It's pretty~
Oooh~ I've always fancied myself a pirate!
There's no way to get to it yet, though, but it shows off another dungeon gimmick that will return - boating in caves.
Head to the east and we get to a tunnel that leads south. Really, there's not many places to get lost in this dungeon.
Harley... ;.;
Popliums come in packs but you don't have to worry about them too much. They have a lightning-all skill that isn't too damaging and a slumber spell that hits one target. They aren't very dangerous, and they do have a chance to drop Demon Tokens, so it's worth it to fight them a few times.
The tunnel leads down and to the left.
Spitting out here, where there's a few ways to go.
Hm, I think I forgot to talk about Cave Mammoths. They're tanks - high health, decent defence and an attack that will do some pretty decent damage. They drop Beast Tokens and are usually in a group.
Going all the way west we'll find this room. It looks kind of bland but-
- as you can see, it offers a sneak peek into the future~
We will have to get across that water to progress the plot.
If we head back down the tunnel and to the south, we'll find this charming room.
Looks safe enough.
Drat. If only there were a clue that such a thing were going to happen! Damn game makers and their inability to foreshadow scary battles! :argh:
Oh joy. An army of Morkus. They have high health and decent attack power. They have two main attacks - Pus and Charge. Pus inflicts slow on a target. Charge is a low-damage attack. They can also waste a turn just watching the battle. Ideally you want them to use anything but the default attack skill.
They drop Beast Tokens and give a lot of EXP.
Shown here is a skill that I forgot to add. Harley gained Healing Aria at level five - a skill that restores a small amount of health to the whole party. It does pretty well for the early game and I tend to rely on it when two or more characters are missing a bit of health - especially since Harley hasn't the best Tarot cards at her disposal.
Also, at level five Cecilia learned Bless. It only ever does damage to the undead and is going to come in super useful.
After this battle everyone goes up a level. Well, everyone but Harley - she's behind due to dying that one time. No skills gained for the girls, though.
Loot time!
As you can see, we didn't need to buy a Ring of Warding since we got one here. I hand it to our fragile Druid so she can keep us alive. I call her fragile but she's very well protected - more protected than some of the others.
If we take the northern exit in the tunnel, we find our ship! Let's go~
Sailing! Sailing! Sailing!
... :|
Harley levels up and learns a new skill - Faint Echo. It inflicts Weak on all enemies, with a hit rate of 80%. It's not the most useful spell, but it can come in handy when you're faced with a group of hard-hitters.
The only place we can go on our boat is to the left. I'd be sad, but hey, treasure.
Yoink!
Harley tries out her new skill. It's prettyful~
Oh, hey, found a Demon Token! Nice~
Go back to the island and down the stairs will lead to this wonderful room.
Very nice. Love what you've done with the place.
To the left is plot. To the right is optional. We're going plot-first this time - just in case we have to come all the way back through.
This is definitely a step-up from the previous room's decorations.
Gettin' lucky~
Up the stairs and, hello!
McGuffin acquired!
TO THE SIDEQUEST! :DDD
Hello there, beautiful. You and I are going to meet very, very soon.
I, I, Not it!
Hello first boss of the game!
Darmon and his eye friends are mean, especially if you're not up there in levels.
Darmon will change into an alternate form if given enough time. I didn't. Give him time, that is. The alternate form will just watch the battle and wait. It has higher defence and, if killed in this state, will drop a Tarot Card.
Yes, I am an idiot.
That said, normal Darmon will drop a Behemoth Token - which are hard to come by - so either/or is a good deal.
Darmon has a fair few attacks. Bash, Charge Up, Tail Smash and Firebreath. He has high health, attack and agility. By himself, he'd be a challenge. Add in his buddies and he can be hard.
Bash doesn't do much initial damage but it is influenced by the enemy's attack and since Darmon has triple digits in that stat, he can take a fair chunk out of you.
Couple it with Charge Up, which increases his damage output and it can lay the hurt on you something fierce.
Tail Smash is a high-damage attack, but thankfully it isn't influenced by attack, so while it does hurt, it won't change much when Darmon uses Charge Up.
Firebreath is a fire-elemental attack that hits the whole party. Thankfully, it's not too bad.
Good thing we got Faint Echo. It helps a lot with this battle, weakening Darmon if it hits.
Taking out Darmon leaves us with his flunkies. From the top~
Shadeye is a spirit-type and physical damage won't hurt much. It will use Surround, Poisonbreath, Darkeye and Shadowflame.
Darkeye is a weak dark spell. It doesn't do much damage, thankfully.
Shadowflame is like the one we've seen before - removing good buffs - but does more damage. The other two spells are pretty self-explanatory.
Stoneye is earth-type and has the higher defence of the four. It can use Sap, Upperself and Stone. Stone will inflict petrify, which turns you into a statue over a few turns.
Fireye is fire-type and has the highest attack and speed of the four. It can use Speedup, Firebreath and Blaze. Of the four, it can be annoying and deal a bit of damage if you're not on the ball with healing.
Healeye is an asshole and should be the first one you destroy. It has a group heal spell, a single heal spell and Surround.
Everyone hits a level after this battle.
Blucia learns Return. It's the spell version of a Warp Wing, but it does cost a pretty MP amount - about half of what Blucia currently has.
Velka learns Bless, making her even more useful than she already was.
The other two didn't learn anything, sadly.
Oh-ho-ho! Hello, sweetheart. Come to Momma~
Let's get the hell out of here! Warp Whistle, ahoy!
I wasn't expecting you to succeed. Well, here's that gift I promised in exchange...
Gimme!
Mufufufu~
Ring of the Stars gives a +8 to every stat. It's quite nice. I give it to our leading lady since she hasn't got a pretty yet.
Aw yeah! Gotta love that extra EXP. We don't get levels from this but it'll help get us closer to the next one.
:(
Now there's a little injustice I need to see to...
'ello asshole.
Now that we have the McGuffin, it's time to break away from the storyline (heh) for a little while! Sidequest time!
You all remember this place, right? I wanted to get up a few levels before coming back since it can be hard to do this quest if you're low on them.
There's a cave that we didn't check out last time, behind the guy that told us about ladders being useful to get across gaps. It was hidden by a message box but it was there.
Cave-dwellers!
Right, so this quest is pretty simple. Find and kill the monsters in question. Cinch.
To the left we find this room.
If you can't figure this puzzle out, you should be ashamed of yourself.
Easy~
He's an ugly bugger. Let's kill him!
Horn Imps are pretty easy compared to the boss we just got through. It's got half the health, though its other stats are a bit lower than the eye-bros, never hitting triple digits. It has poison attacks, but apart from them, it's pretty easy to put down.
It should be ashamed of itself. Harley is our second-flimsiest character.
Honestly, they aren't a threat at level 6. Level 3-4 could give you a run for your money if you're not careful, but as it stands, it's pretty easy.
The treasure drops aren't great either, though the experience and gold isn't bad (a flat 100 for both - not great but not horrible).
What's that Lassie? Timmy is trapped in the well?!
I look forward to it!
Let's see... If I were a green-skinned Horny Imp, which way would I go...?
'ello, me lovely~
This is the path to the south. Do you see the ladder? We need it to progress.
Wow. You're even worse than your brother.
I just like killing green things. What can I say?
A new monster! Wolf is a downgrade to most enemies we've faced so far.It does middling damage and has an attack, Bite, which doesn't do much.
As you can tell, you could probably get away with doing this area a bit earlier since the trash mobs are easy enough. Level 4 should be okay, if you're good at RPGs.
I just like waiting. I'll explain that at the end of this excursion.
To the north we find this room. Good thing we went and got that ladder!
To the right there's a chest with this in it. Not great loot but hey, free shit is free!
You can pick either way to go. I decided to go this way because, well, why not?
I see you, you sneaky fucker. Don't think you'll be missed just because you're hiding behind a rock!
Not an upgrade but, hey, something to slap on whichever of the girls is currently shieldless. I think this one went to Cecilia, actually.
The other ladder leads here...
...which in turn leads here.
Nab that ladder and...
...yoink!
To the left of the crossroad we find a gap. Are you surprised? I'm surprised!
(I'm not surprised.)
*gasp* How rude!
Kill the last one and there's a sudden, convenient off-screen occurrence. Let's get out of here!
Don't worry, I grabbed the ladder. That will come in handy later~
Always happy to help
Alright, just a quick run down as to why I usually leave this quest for a while. In the first edition of the game - when it was just a demo of the first chapter - this quest was not set inside a cave. It was set on a series of cliffs (that we'll see later) and it was much harder. The Horned Imps would eat your for breakfast and the trash mobs would have your bits for dessert.
I have been trained to dread this quest, even though I know it's a lot easier in this version. That is my story. It's not a great story, but it is a story.
Onward!
I don't even remember what I killed - I think it was an Ourson. Only Velka and Blucia level up here. The other two will do so eventually.
:)
Credit where it's due!
They both say this - I didn't forget to nab one.
Hello, reward~
I'm glad you're happy with my service. So... about that reward?
Mufufufu~
<3<3<3
We both are! This is a happy day!
Confirmation! And more Experience, to boot!
Yes!
Oh, good God, yessss!
This will be very, very useful.
Cecilia will not need any weapons for a long while with this baby in her arsenal.
Now, to the plot! >:D
That sounds plot important. You go do that!
Yus!
Oh, dear God, yus!
Damn straight!
Time to put this baby to the test!
Blue flash as the screen shakes. You can't tell because *screenshot* but that's totally what happens.
This is new!
Hello, next update!
Next time:
GET. IN.

