


0 reviews
 Add Review
 Subscribe
 Nominate
 Submit Media
 RSS
RSS
An article detailing how to play the game at a basic level. Paraphrased largely from the instruction booklet. This page is meant for players who do not wish to download the instruction booklet.
OHMIC plays much like a classic RPG released in the 90s/2000s, with many modern conveniences added to mitigate potential frustrations. One of the most prominent is the Journal System, which frequently updates when you need to visit a new place, or go to a previous one; this includes side-quests, which are found all over the world. Starting from the first full demo and on, you can also skip the vast majority of cutscenes that take place by selecting “Yes” when prompted to by the game.
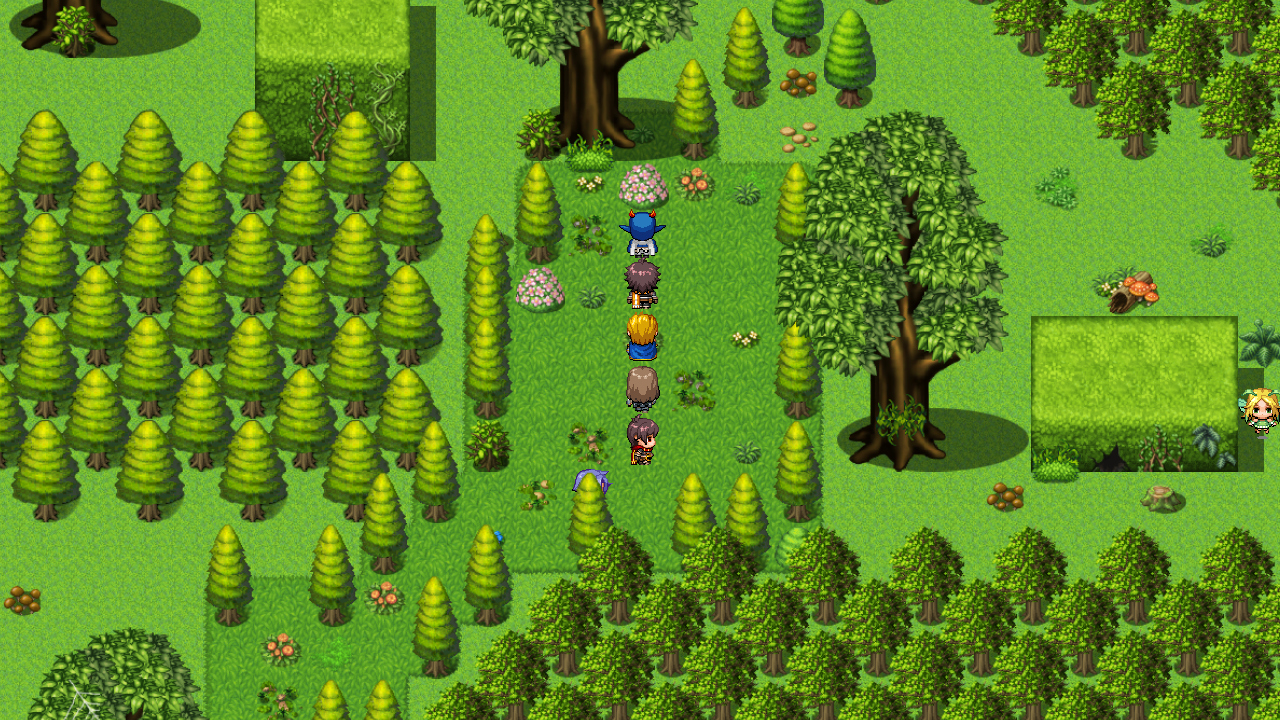
On the map, to progress, you move the leader (usually Cole) around, use the OK/Talk button to examine objects, speak with characters or read various signs, and enter new areas when prompted. Battling is also a major part of OHMIC. There are hundreds of enemies to fight in the full game, and over one hundred in the current demo release, each with their own patterns, stats, attacks, what-have-you.
A hallmark of the game is that fights with regular enemies are initiated directly on the map, as opposed to through random encounters, which is extremely helpful if your party is in poor condition. To win a fight, you simply need to kill or defeat every enemy until your party is the last one standing. More tips and other info will be detailed later in the article.
The vast majority of NPCs, objects and surfaces in the game will generate a small indicator, signaling what will happen when you press the OK button next to it. In this image, for example, the player character is checking a trash can for items of interest.
The compass, displayed at the bottom-right of the screen, serves as an indicator of where everything on the map is; from entrances to buildings, to where NPCs are. This feature can prove extremely helpful on occasion, if you’re especially confused on where to go on a map.
The menu in OHMIC is large, and packed with features. Items and Skills allow you to heal with whatever recovery skills and items you find, Equip allows you to change your equipment, and customize your weapons with any augments you obtain throughout the game, Status lists info about every character in your party, from their personality/background to their statistics, Party allows you to switch out any party members you want to with others, Stat Distr.(ibution) allows you to build your party's stats however you'd like, Enemies lists every single enemy you come across in the game, Options allows you to customize how the game operates to your liking. Journal is for checking missions/Journal Entries, in case you're stuck at any point in the game. You can probably guess what Save is for.
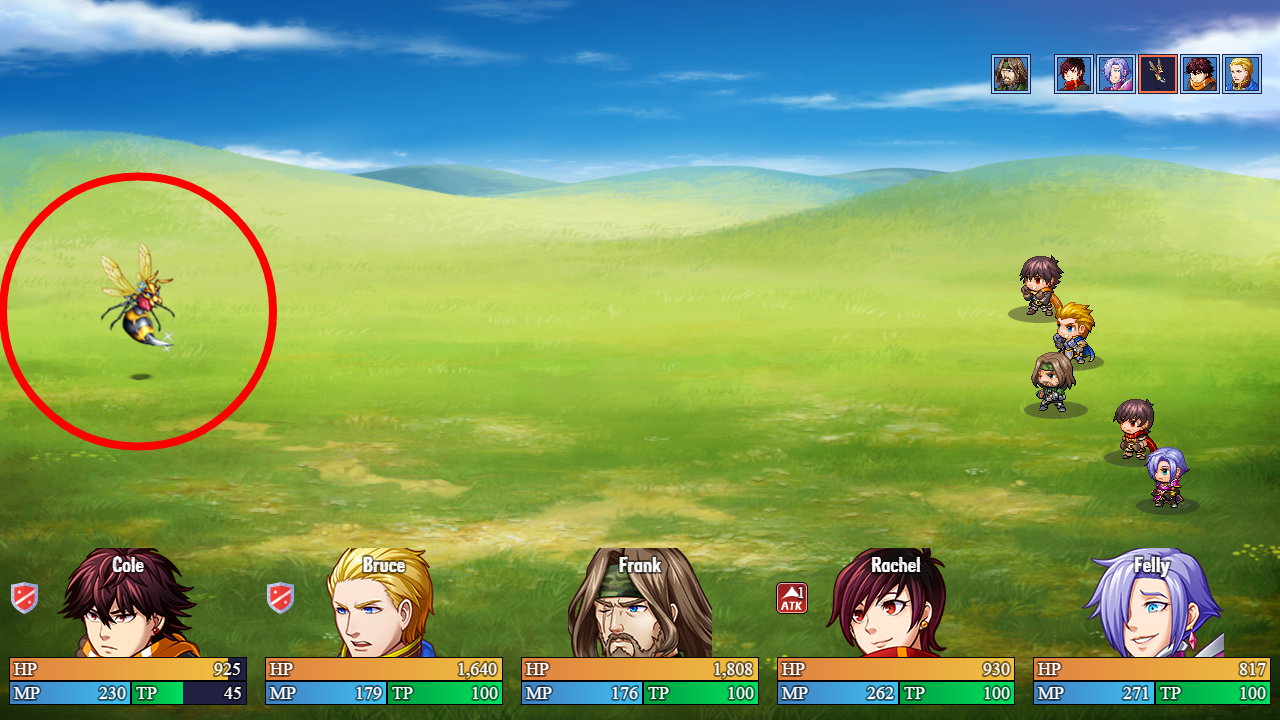
Initiating battles alone in OHMIC comes with some technicalities that you should keep in mind; sneaking up on an enemy from behind will startle them and give your party an early advantage. Enemies, however, can do the same to you if you're not careful, so pay attention to how they're moving on the map! You'll know when you've correctly caught an enemy by surprise when the screen quickly flashes green; if an enemy catches you, however, the screen will flash red instead. Starting a battle normally by walking either to the side or front of the enemy, however, will not cause the screen to flash.
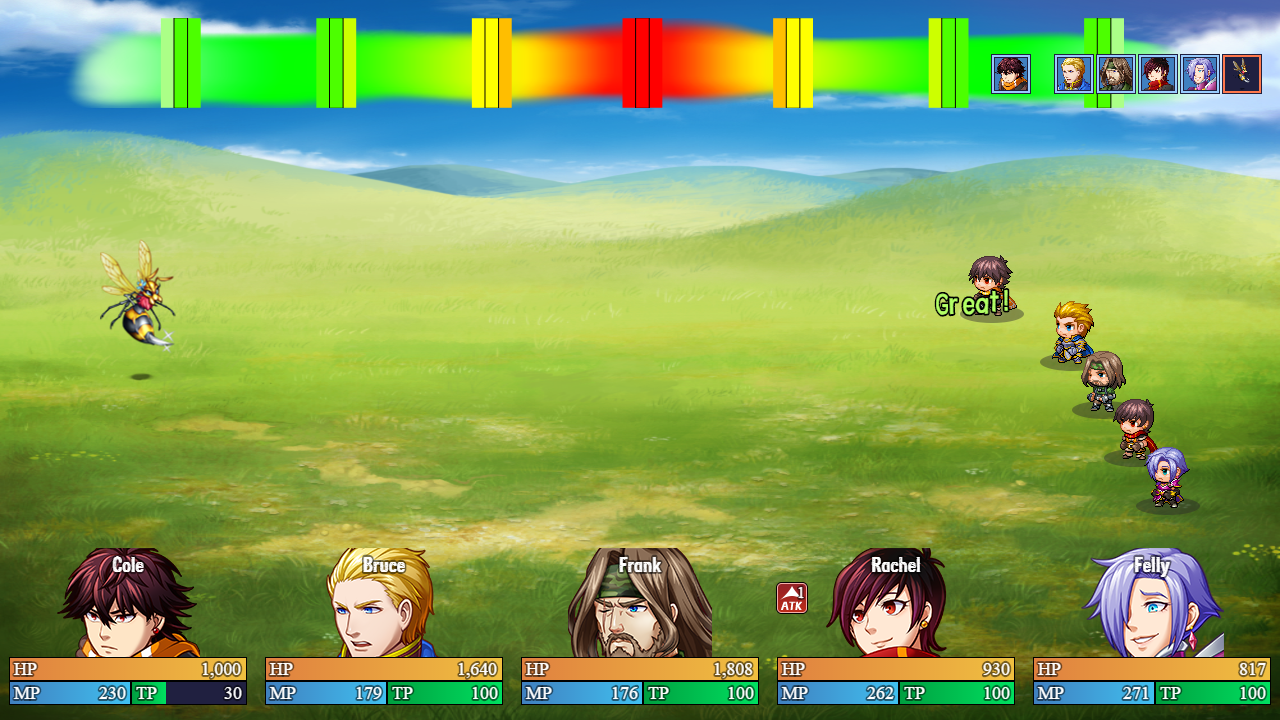
Battles in OHMIC host an enormous amount of depth in general, but early on, most enemies can be defeated simply by regular attacks and skills. The majority of attacks in OHMIC are required to be performed via minigame-esque action commands, called Timed Attacks. There are six types of Timed Attacks:
This is the default Timed Attack; a simple meter and line. Wait until the line reaches the orange/red area of the meter, then press the OK button in order to deal full damage.
This is a Circle Timed Attack. To do it correctly, wait until the circle is small or almost gone, then hit the OK button.
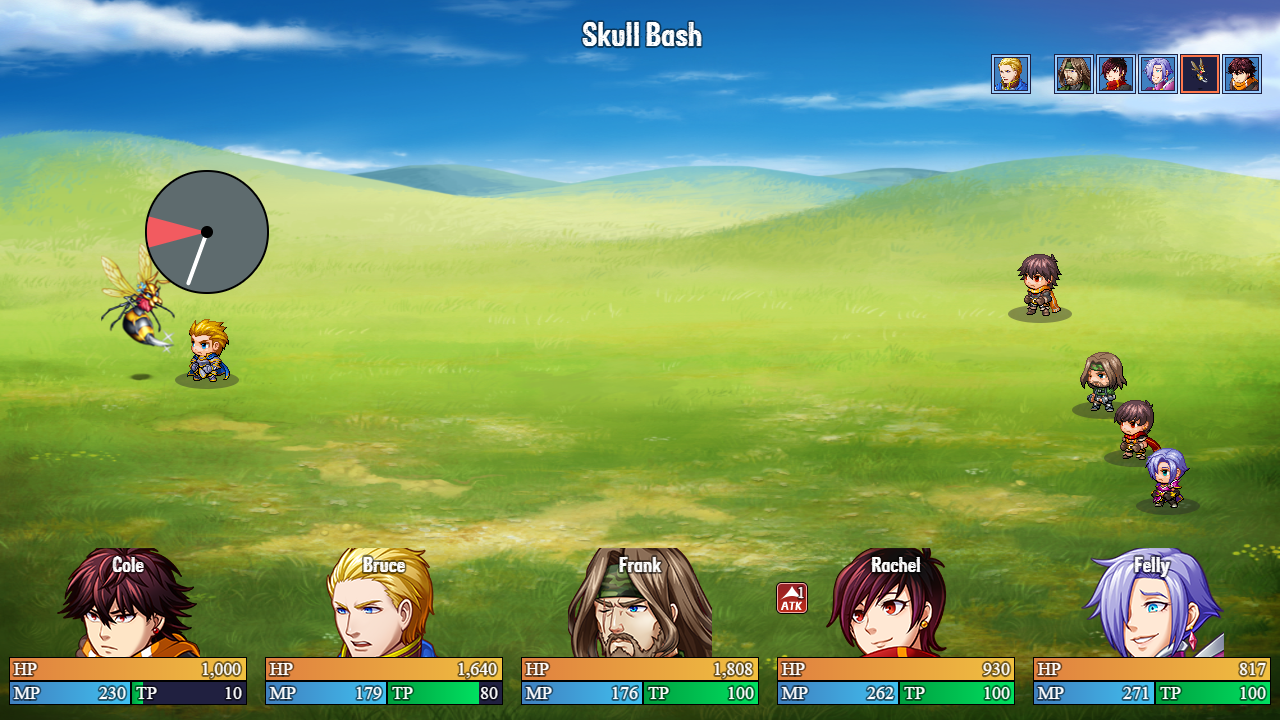
This is a Clock Timed Attack, one of the more complex TAs. To pull it off, press the OK button when the clock hand is inside the colored part of the clock.
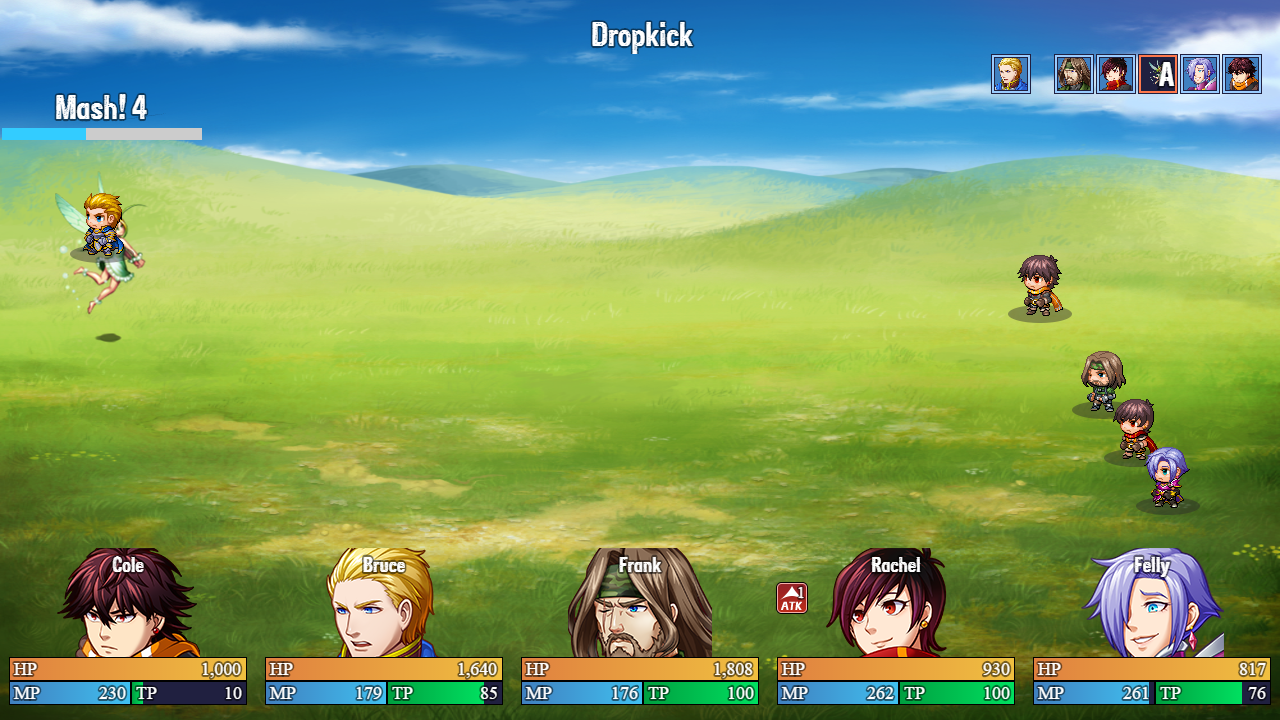
This is the Mash/Mashing Timed Attack, which is perhaps the simplest one of all; all you have to do is mash the OK button until the bar is filled.
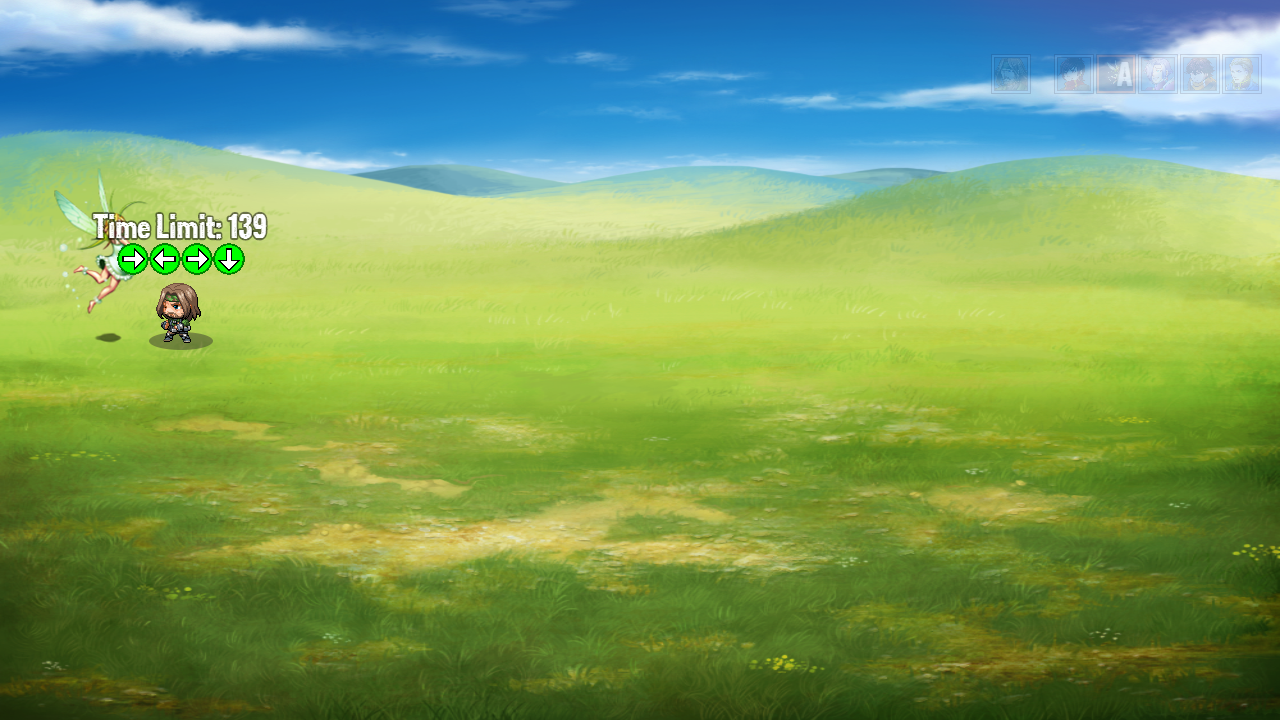
This is the Arrow Timed Attack. Press the Move keys/buttons in the sequence listed below the Time Limit to deal full damage.
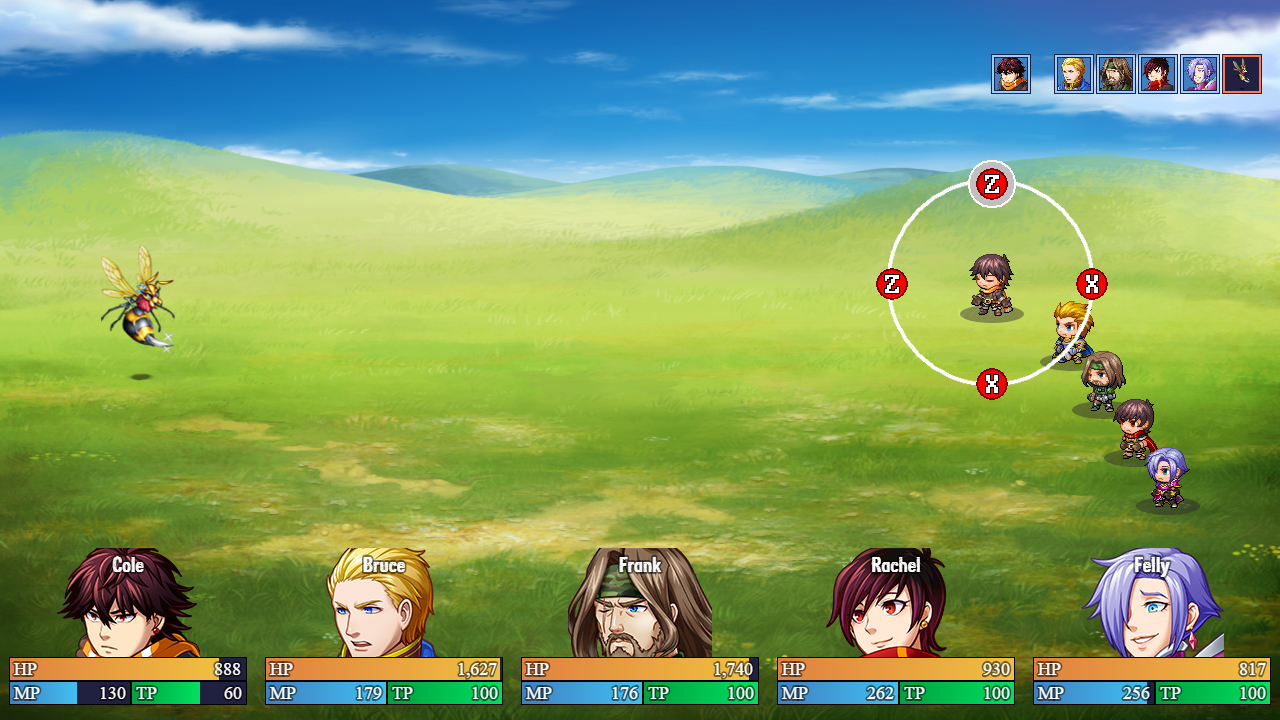
The sixth and final Timed Attack is the Wheel Timed Attack. It works like the Arrow TA in that you press buttons in a sequence; in this case, instead of Move buttons, it’s Z/OK and X/Cancel. Press either button when each corresponding Z or X circle is inside the circle at the top of the wheel to deal full damage.
There are many more things to learn as you progress the game, but this article should give you some helpful pointers on how it works. If you would like more info on what to do, how to do it, and how you can master this game, consider downloading the Instruction Booklet, located on the files page.
OHMIC plays much like a classic RPG released in the 90s/2000s, with many modern conveniences added to mitigate potential frustrations. One of the most prominent is the Journal System, which frequently updates when you need to visit a new place, or go to a previous one; this includes side-quests, which are found all over the world. Starting from the first full demo and on, you can also skip the vast majority of cutscenes that take place by selecting “Yes” when prompted to by the game.
On the map, to progress, you move the leader (usually Cole) around, use the OK/Talk button to examine objects, speak with characters or read various signs, and enter new areas when prompted. Battling is also a major part of OHMIC. There are hundreds of enemies to fight in the full game, and over one hundred in the current demo release, each with their own patterns, stats, attacks, what-have-you.
A hallmark of the game is that fights with regular enemies are initiated directly on the map, as opposed to through random encounters, which is extremely helpful if your party is in poor condition. To win a fight, you simply need to kill or defeat every enemy until your party is the last one standing. More tips and other info will be detailed later in the article.
Icon Indicators

The vast majority of NPCs, objects and surfaces in the game will generate a small indicator, signaling what will happen when you press the OK button next to it. In this image, for example, the player character is checking a trash can for items of interest.
Compass

The compass, displayed at the bottom-right of the screen, serves as an indicator of where everything on the map is; from entrances to buildings, to where NPCs are. This feature can prove extremely helpful on occasion, if you’re especially confused on where to go on a map.
Navigating The Main Menu

The menu in OHMIC is large, and packed with features. Items and Skills allow you to heal with whatever recovery skills and items you find, Equip allows you to change your equipment, and customize your weapons with any augments you obtain throughout the game, Status lists info about every character in your party, from their personality/background to their statistics, Party allows you to switch out any party members you want to with others, Stat Distr.(ibution) allows you to build your party's stats however you'd like, Enemies lists every single enemy you come across in the game, Options allows you to customize how the game operates to your liking. Journal is for checking missions/Journal Entries, in case you're stuck at any point in the game. You can probably guess what Save is for.
Battling in OHMIC
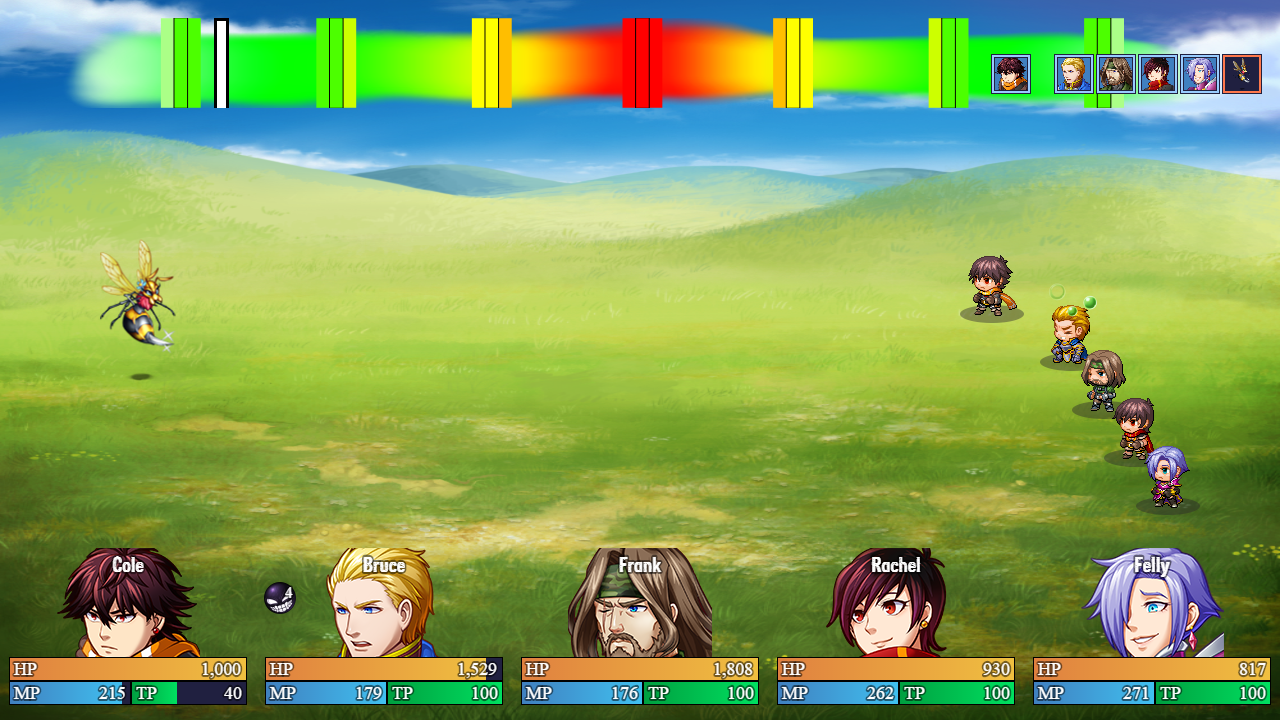
Initiating battles alone in OHMIC comes with some technicalities that you should keep in mind; sneaking up on an enemy from behind will startle them and give your party an early advantage. Enemies, however, can do the same to you if you're not careful, so pay attention to how they're moving on the map! You'll know when you've correctly caught an enemy by surprise when the screen quickly flashes green; if an enemy catches you, however, the screen will flash red instead. Starting a battle normally by walking either to the side or front of the enemy, however, will not cause the screen to flash.
Battles in OHMIC host an enormous amount of depth in general, but early on, most enemies can be defeated simply by regular attacks and skills. The majority of attacks in OHMIC are required to be performed via minigame-esque action commands, called Timed Attacks. There are six types of Timed Attacks:
This is the default Timed Attack; a simple meter and line. Wait until the line reaches the orange/red area of the meter, then press the OK button in order to deal full damage.
This is a Circle Timed Attack. To do it correctly, wait until the circle is small or almost gone, then hit the OK button.
This is a Clock Timed Attack, one of the more complex TAs. To pull it off, press the OK button when the clock hand is inside the colored part of the clock.
This is the Mash/Mashing Timed Attack, which is perhaps the simplest one of all; all you have to do is mash the OK button until the bar is filled.
This is the Arrow Timed Attack. Press the Move keys/buttons in the sequence listed below the Time Limit to deal full damage.
The sixth and final Timed Attack is the Wheel Timed Attack. It works like the Arrow TA in that you press buttons in a sequence; in this case, instead of Move buttons, it’s Z/OK and X/Cancel. Press either button when each corresponding Z or X circle is inside the circle at the top of the wheel to deal full damage.
There are many more things to learn as you progress the game, but this article should give you some helpful pointers on how it works. If you would like more info on what to do, how to do it, and how you can master this game, consider downloading the Instruction Booklet, located on the files page.

